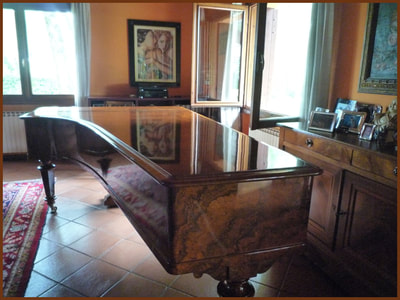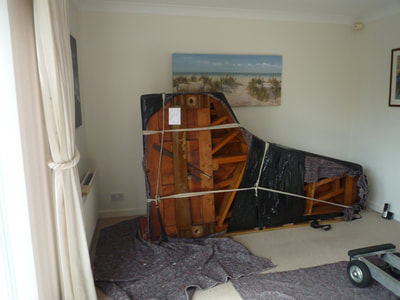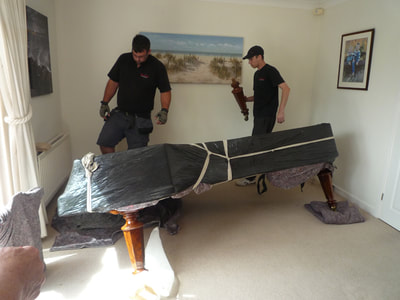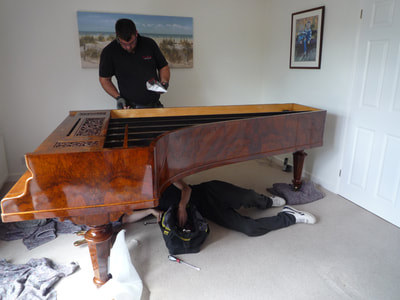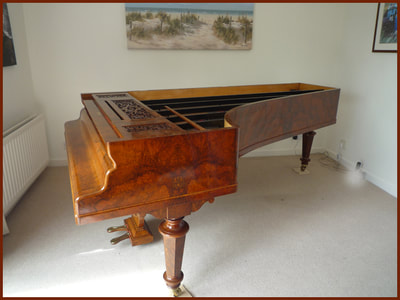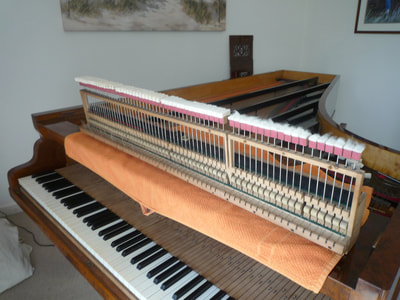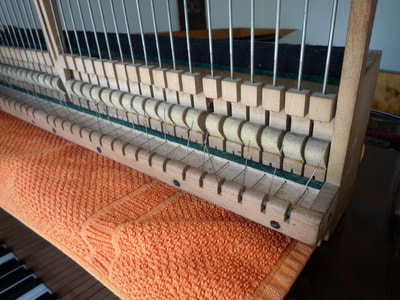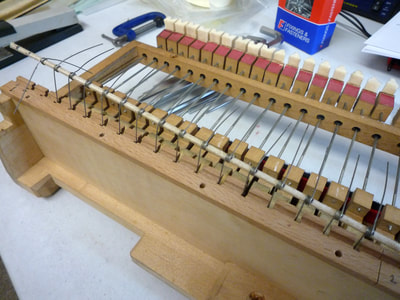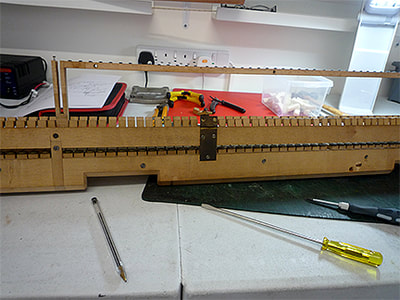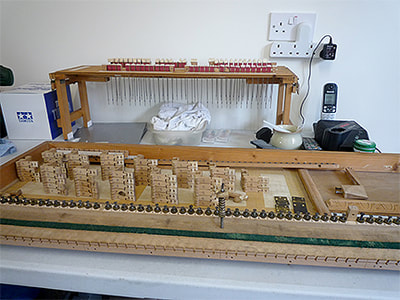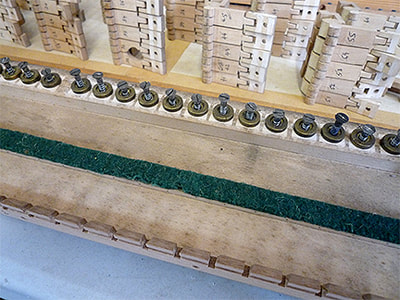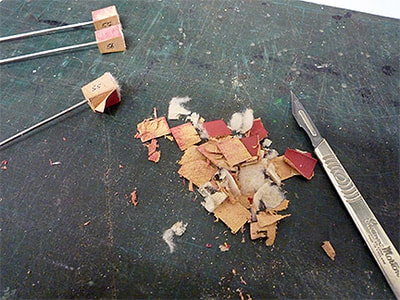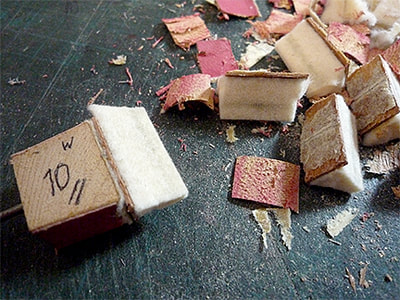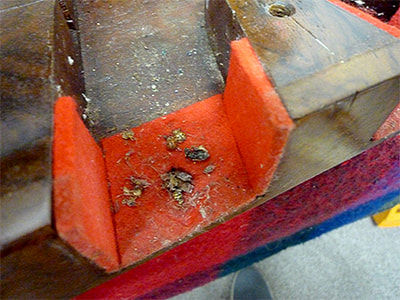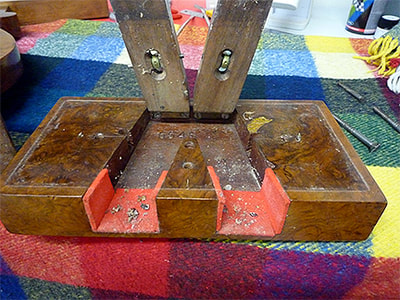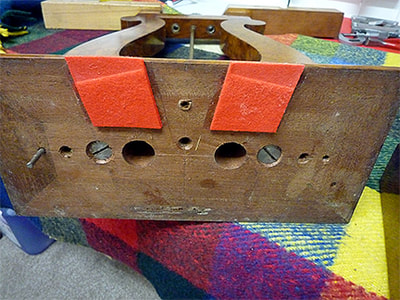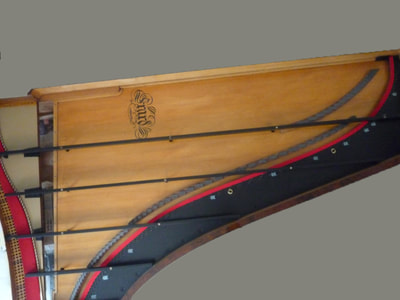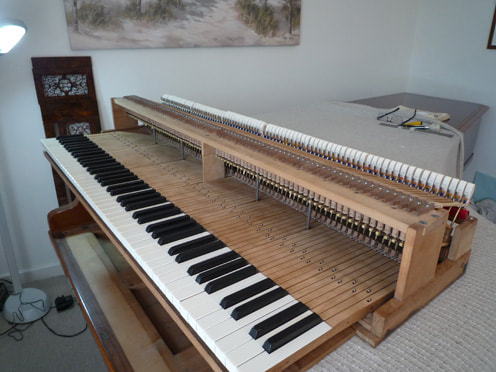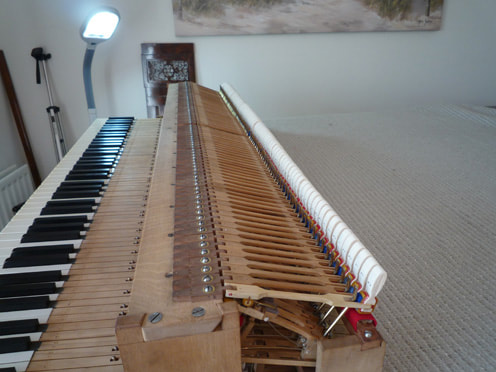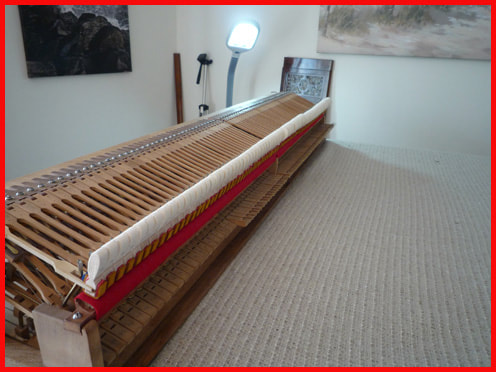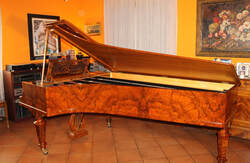
erard de concert grand pianoforte
001 BRIEF HISTORY
Erard was established in 1777, first working in Paris. Due to the French Revolution in 1789, the Erard brothers (Sebastian & Pierre) moved to London to continue their work - Erard were French, even though they worked in London. Pianos were built using the same machinery in London as Paris, with small changes to parts of the mechanism. Realistically, the only differences between London and Paris were their name appended on inlaid brass on the fallboard. Music rest fret work and other ornamentation remained similar. Earlier London grands were straight-strung/ walnut, and lacked cast iron frame brace bars, so gave rise to weaker tuning stability/ weak wrest planks, and putting a lot more strain on the lower bridge in the bass. (Which is possibly why the 9 bass strings were replaced) – giving rise to bridge and bridge pin separations from the soundboard. Paris grand pianos changed from walnut veneer to Rosewood and Mahogany, they also developed the over-strung stringing design/ full iron frame with brace bars/ agraffes and over-damped dampers. (The piano I restored in 2015 was dated 1904 and was under-damped).
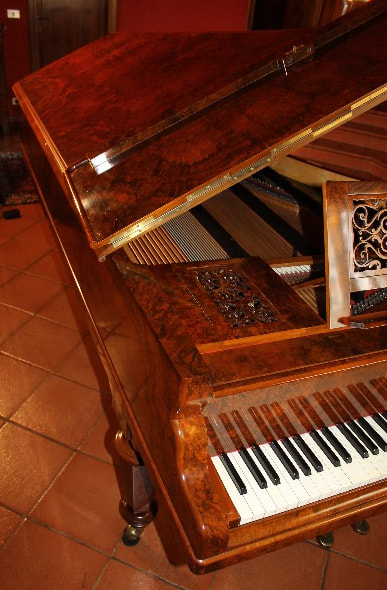
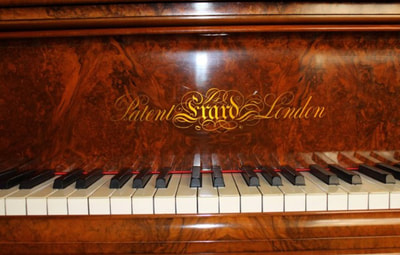
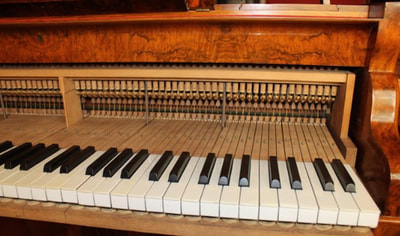
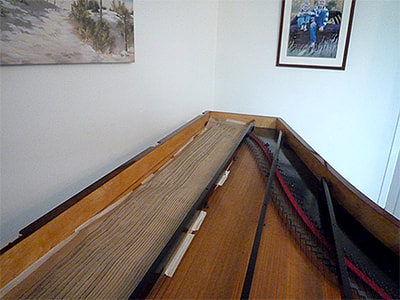
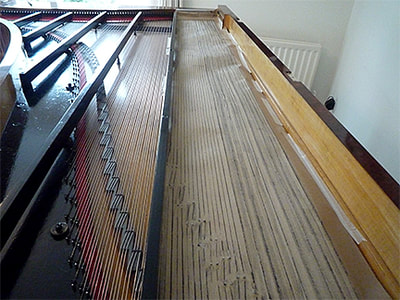
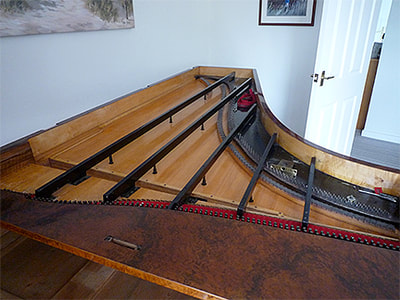
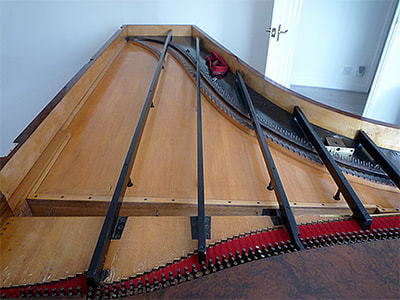
The piano above is a genuine "Erard London" concert grand, dated 1860.
002 ASSESSMENT 1
Following various emails and research with my client in the USA, my work colleague Edward Bamford (Yoss) and I were requested to fly out to Italy to fully assess the piano with a view of my (potential) client purchasing and having the piano restored in the UK.
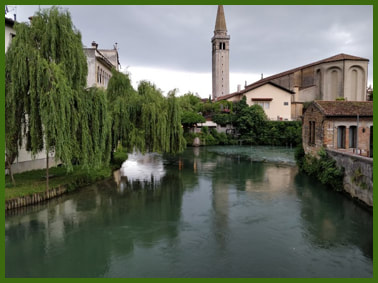
The piano was located near Sacile, Northern Italy, 67 km (41 miles) north east of Venice airport.
On Thursday 7th June, 2018 (3 am start in NE65), we flew to Marco Polo airport, Venice - via Schiphol airport, Amsterdam.
We arrived in Marco Polo at around 11am, and warmly greeted by the Italian piano owner (seller) at the airport.
Some images of the journey >>
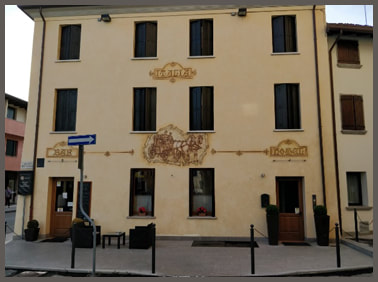
Left: Newcastle Airport Middle: Sacile Right: Hotel Italia
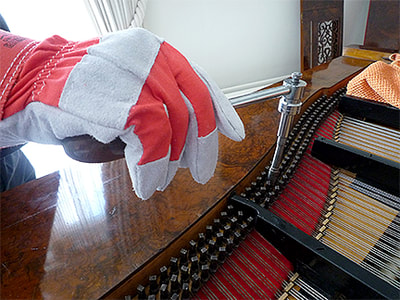
To get an idea of the general condition of the piano, before the main assessment started, Edward filmed myself (Colin Nicholson) playing the piano. To get a feel for the depth of tone in the bass/ characteristics of the instrument, I chose the "Moonlight Sonata" by Beethoven (1st movement/ shortened version) >>>
All the notes worked on the piano "mechanically", but due to the age and condition of the strings, these gave off various unwanted over-tones, and being flat in pitch. I requested previously for the piano not to be tuned so that I could test some of the tuning pins, and assess the pitch which was about quarter of a tone flat. Some knocking noises occurred during pedalling, and possibly also caused by worn materials under the piano keys (key frame) and inside the mechanism. On the whole though, for its age, it could still knock out a tune!
BRIEF VIDEO - THE ERARD LONDON MECHANISM >>
BRIEF VIDEO - THE ERARD LONDON MECHANISM >>
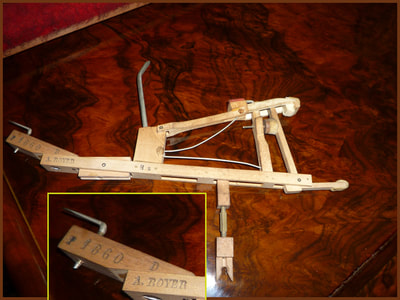
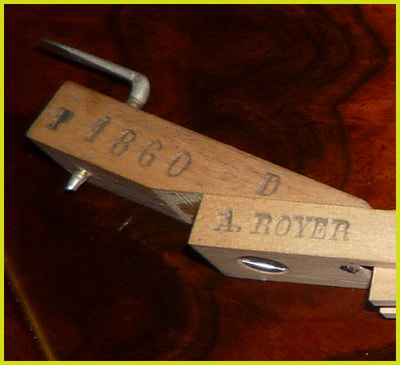
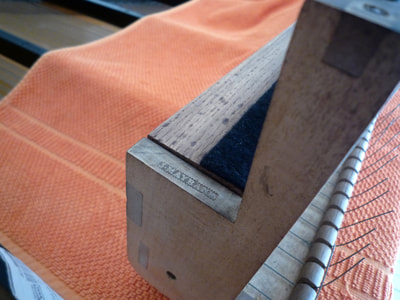
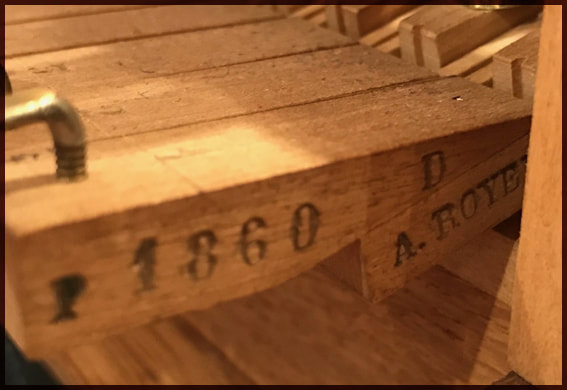
Typically, the mechanism showed signs of wear and tear (grooved and scrubbed felts), knocking noises, and no response from the lever undercarriage repetition springs. I also discovered the original date stamp on the side of lever A1.
003 SPECIFICATIONS
ERARD DE CONCERT -- LONDON -- SEMI-CONCERT GRAND PIANO
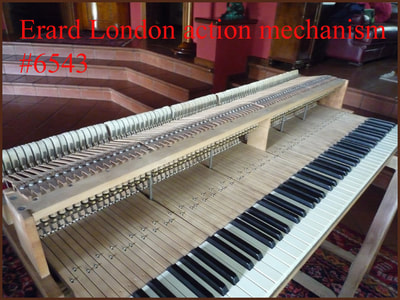
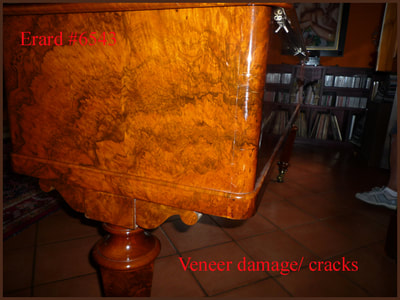
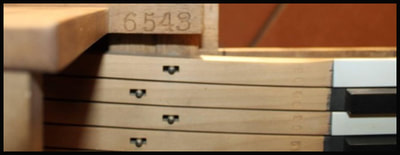
Serial Number: #6543
Year of Manufacture: 1860 (previously incorrectly dated around 1854 prior to my inspection)
Unless a date stamp is present, Erard London pianos are more difficult to date accurately, due to limited serial numbers.
(Dimensions): Length: 8ft 2 [c.247cm]
Width: 4ft 6 inches [137cm]
Height: 3ft 2 inches [with legs] / 97cm
Height: 1ft 5 inches [without legs] / 42.5cm
In terms of tradition, this "London" piano is French, and may be stated as "Erard de Concert".(for advertising/ concert venues etc.)
Strictly speaking, this is technically a semi-concert grand piano, because it is shorter than 8ft 10 inches.
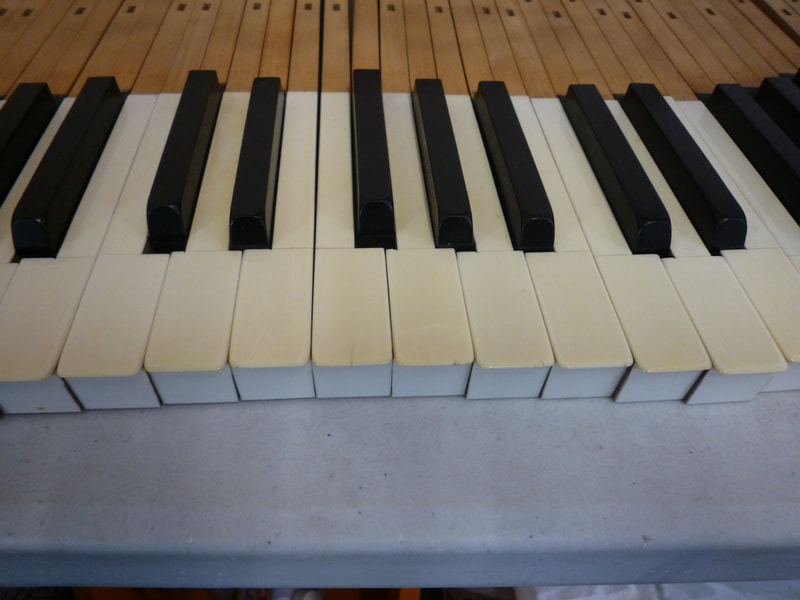
Keyboard: 85 notes / 7 octaves with original ivory & ebony key coverings/ bone key fronts
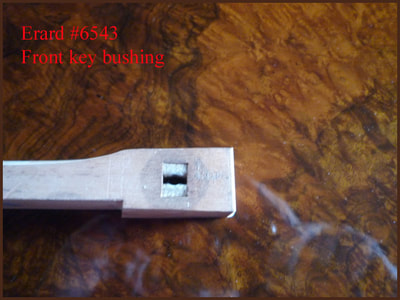
Keys bushed at bottom only.
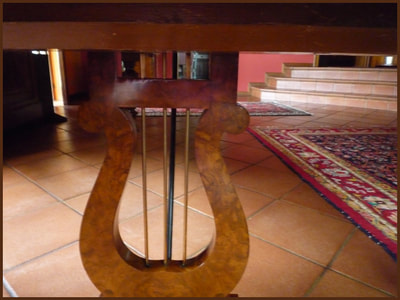
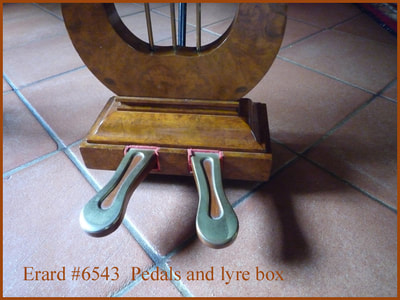
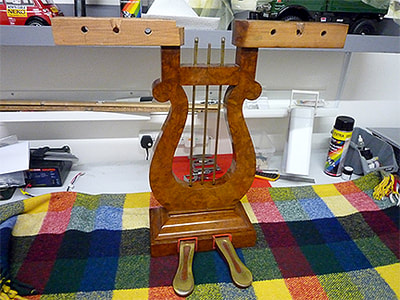
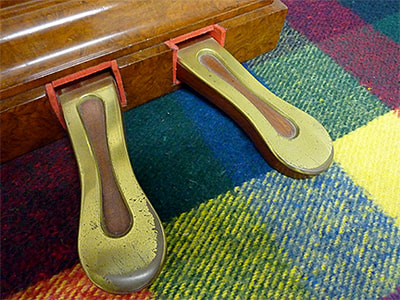
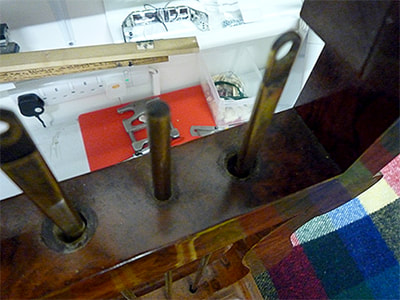
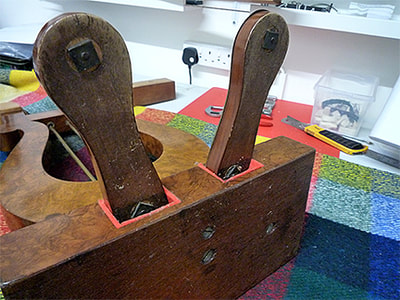
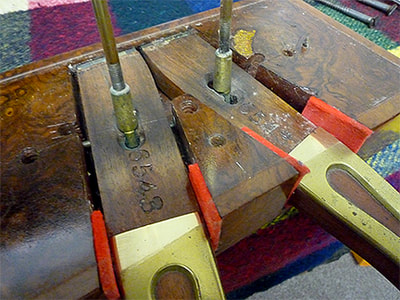
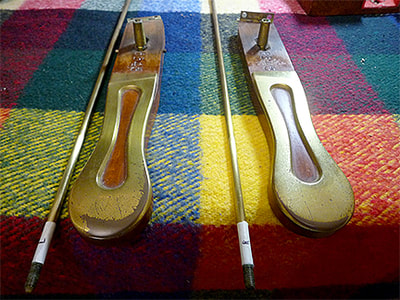
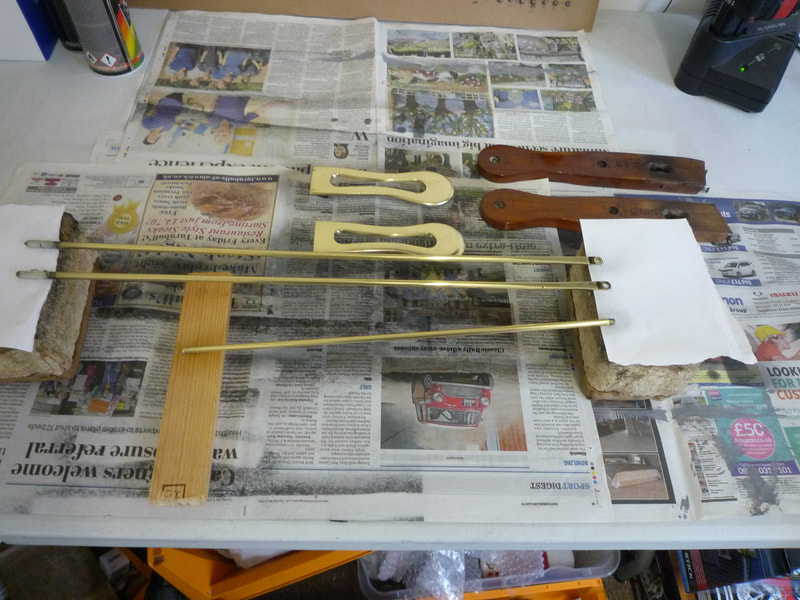
Pedals: 2 pedals with matching walnut lyre. Left pedal: Una corda shift. Right pedal: sustain.
Decorative Brass ormolu to pedal feet with exposed "lolly pop" design / original steel pedal lyre stay rod.
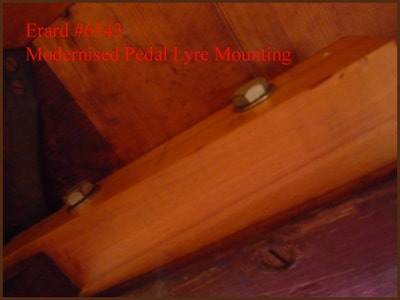
Modernised lyre fixtures.
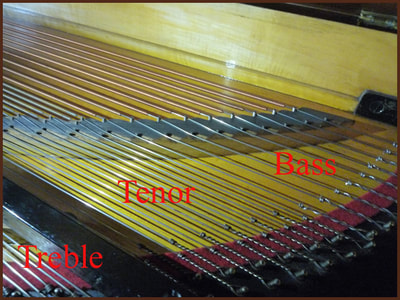
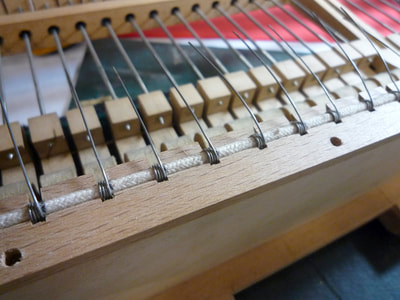
String formation: straight-strung/ all strings with individual "German" style eyes (no loops or twists) - finished with neat coils.
Dampers: Under-damped system
Mechanism: Roller action / front checking system & escapement
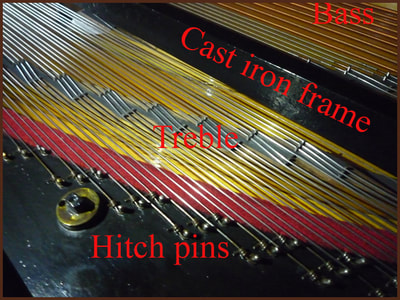
Structure: Part - cast iron framework (braces) with capo bar. Exposed maple wrest plank with oblong tuning pins.
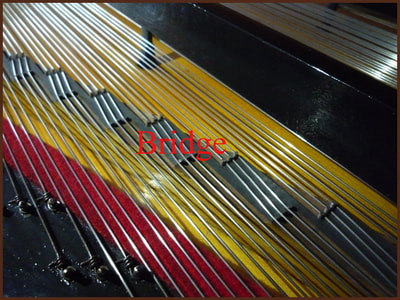
Soundboard made from solid spruce / bridges made from maple.
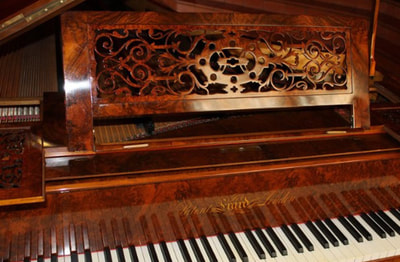
Cabinet (casework): Plum walnut with decorative fretted music tray and sliding coasters at each end.
Hexagonal square-tapered turned legs X 3, with original brass castors and cups.
Fallboard with original "Patent Erard London" name - set in brass inlay with scroll work/ Gothic - style lettering.
SHORT VIDEO: INTRODUCTION/ ASSESSMENT & DELIVERY >>
https://www.youtube.com/watch?v=dLU1-hWlsFY
004 STRUCTURE
The wrest plank, soundboard, bridges and framework were checked, and mostly in good condition.
This means that the piano was deemed as "restorable"
In the bass region, there was one small surface crack to the wrest plank, which was repairable.
One string has slipped off its bridge pin, which will be looked at during assessment 2 (workshop).
All stringing braid is in original condition.
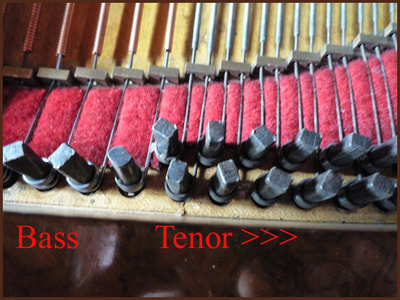
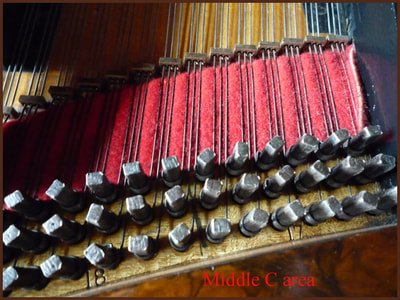
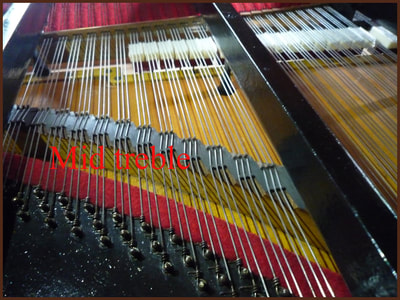
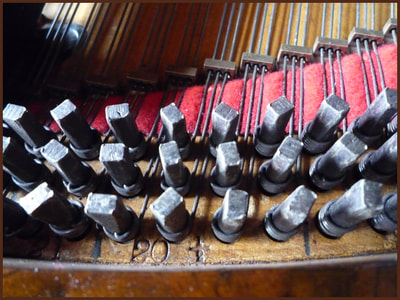
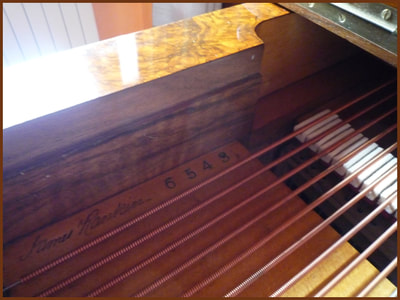
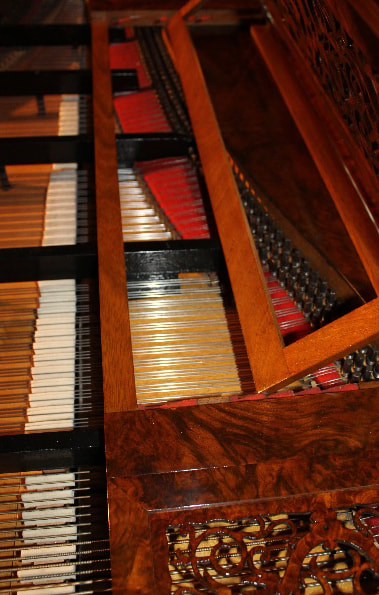
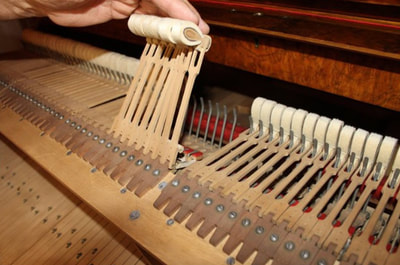
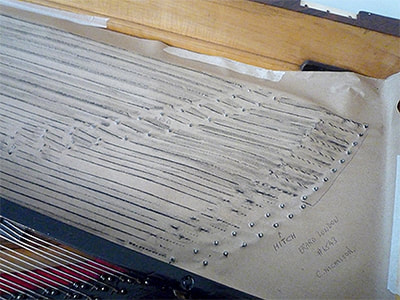
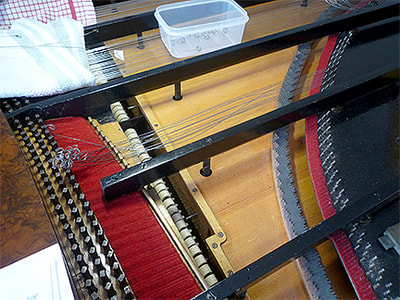
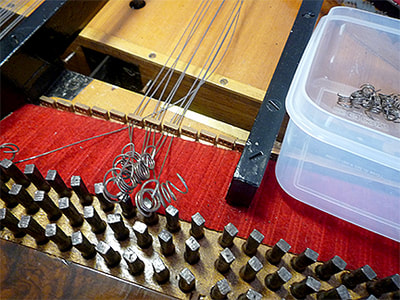
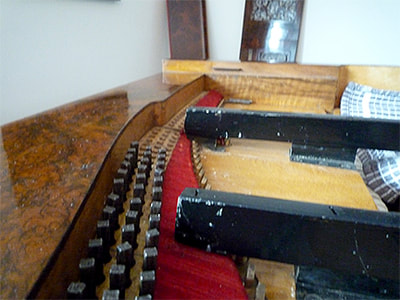
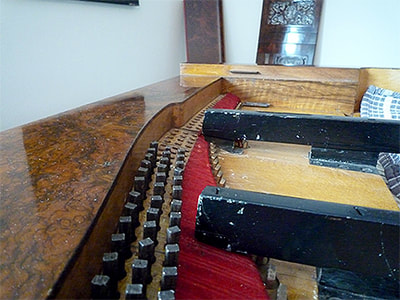
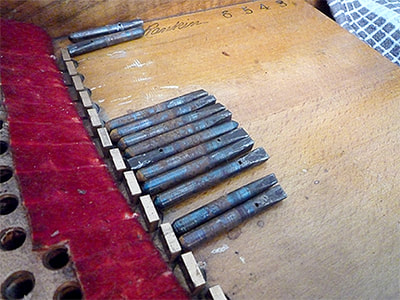
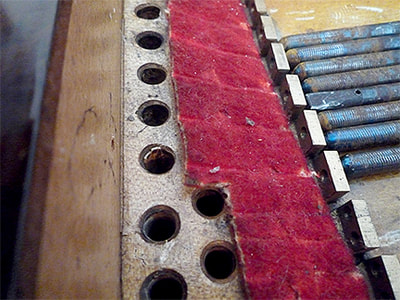
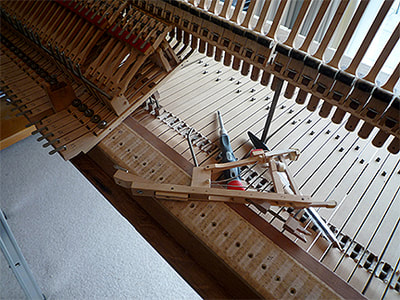
The piano advertisement claimed that this piano had been re-strung, however this was impossible, and proved beyond any reasonable doubt that the original strings and tuning pins had not been replaced. Firstly, oblong tuning pins no longer exist and became obsolete in the early 1900s - see images 1,2 and 7 below. Secondly, the condition of the strings were very old/ corrosion in places, and many adhesions between the string coils and tuning pins. This was all original.
005 MECHANISM
The internal mechanism requires new hammers, rollers, check leathers, repetition springs, regulation button felts/ cloths, jack cushion felt and a complete strip down and rebuild.
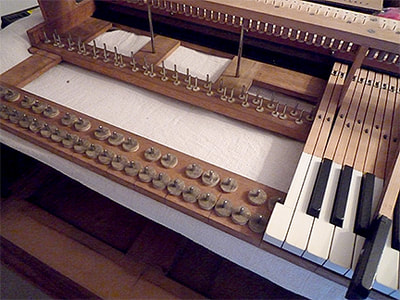
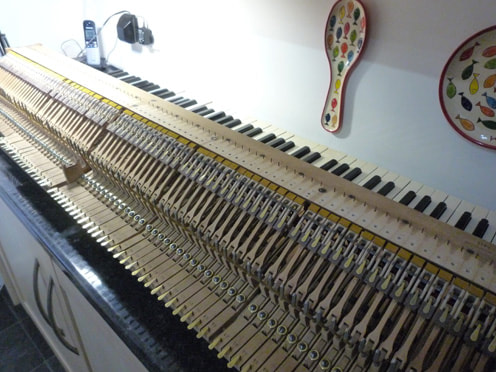
Photo 1: View of complete mechanism & keyboard
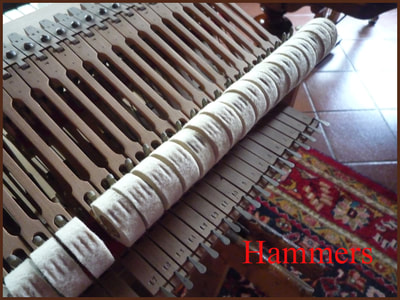
2: Bass hammers deeply grooved
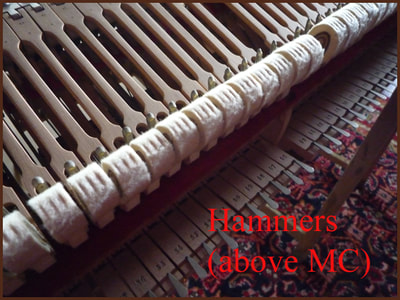
3. Treble hammers grooved and "scrubbed" - possibly caused by loose flange pins/ bushings, or rubbing against damper heads.
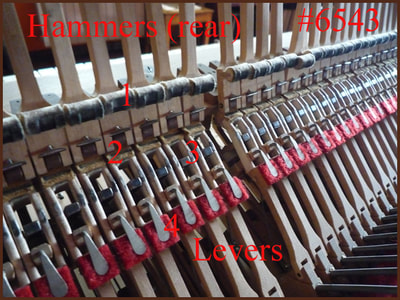
Photo 4: (1) Flattened rollers (2) Rep lever leathers deeply grooved (3) Jack alignment/ height poor (4) Rep lever felt incorrect gauge.
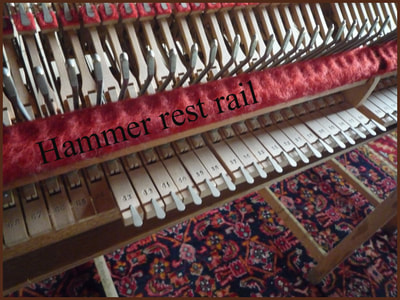
Photo 5: Hammer rest rail felt - incorrect material used.
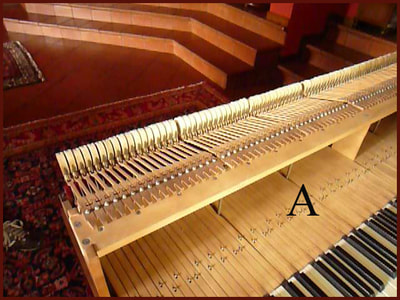
Photo 6: (A) general photo of wooden key surface with un-bushed centres/ require easing.
006 DAMPERS
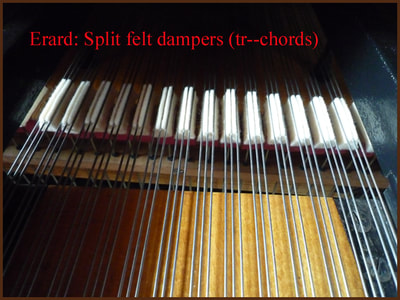
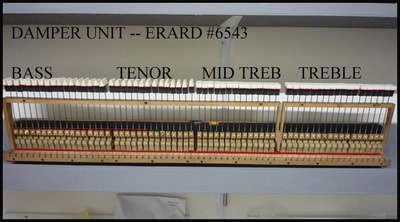
The dampers and damper unit lie underneath the strings (under-damped), and is a separate unit to the main mechanism.
Damper top felts (resting on strings) were replaced about 10 years ago, but will need to be replaced when restrung.
The damper unit cannot be removed from the piano for detailed inspection until in the workshop (assessment 2).
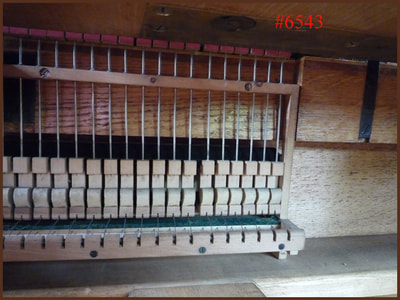
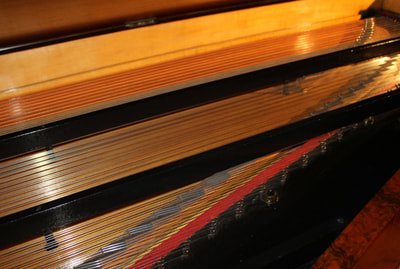
Photo 1: Bass dampers/ single bass strings (A1 bass string is about 6ft in length). Serial number #6543
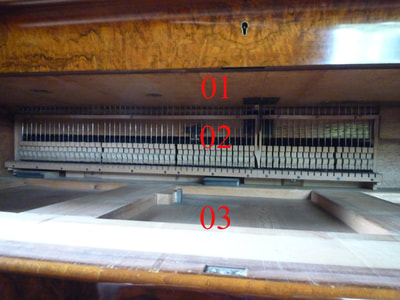
Photo 2: General view of damper unit (01) Wrest plank protection. (02) Damper unit. (03) Key bed.
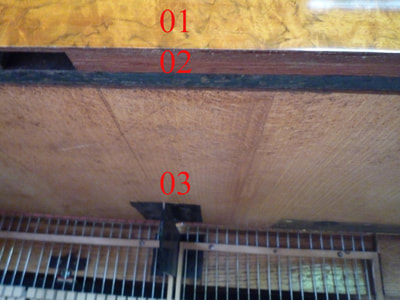
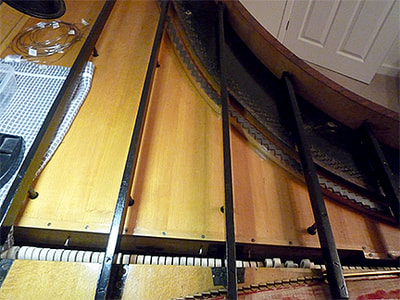
Photo 3: (01) Front of key rail - walnut. (02) Cast iron frame (black). (03) Cast iron brace bar/ underside of wrest plank cover.
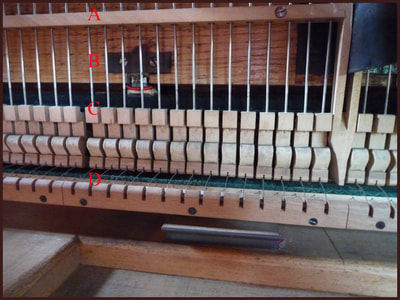
Photo 4: (A) Damper wire guide rail bushings. (B) Damper wires (push down). (C) Damper blocks & levers. (D) Springs
Photo 5: Top treble damper unit section.
Photo 6: Split wedge felts - required to stop long strings vibrating
007 GENERAL/ CABINET / SERIAL NUMBER/ PEDALS & more ......
SHIPPING & ARRIVAL OF PIANO
008 ASSESSMENT 2
During the main assessment 1 as above, certain parts of the piano could not be closely inspected or removed, and nor could parts be temporarily dismantled for inspection, as they formed an integral part of the mechanism. These parts/ sections could only be inspected and removed at a later date - known as "Assessment 2". Although the general "workings" of these parts are tested more or less blind, a full assessment cannot be made until the piano is purchased, and a restoration agreement has been made. For example, assessment 2 work is later carried out including: Damper unit, key frame (under piano keys), parts of the pedal trap mechanism, and parts of the bridge and bridge pin contacts with their strings fully tensioned to around 18 tons, pushing on the bridges and soundboard. The assessment 2 work will be unveiled at a later date, usually starting with the damper unit. Much of this work also requires a proper workshop environment with various large benches and apparatus for storage and leaning rails for dismantling.
THE GRAND ARRIVAL
009 STRIP DOWN
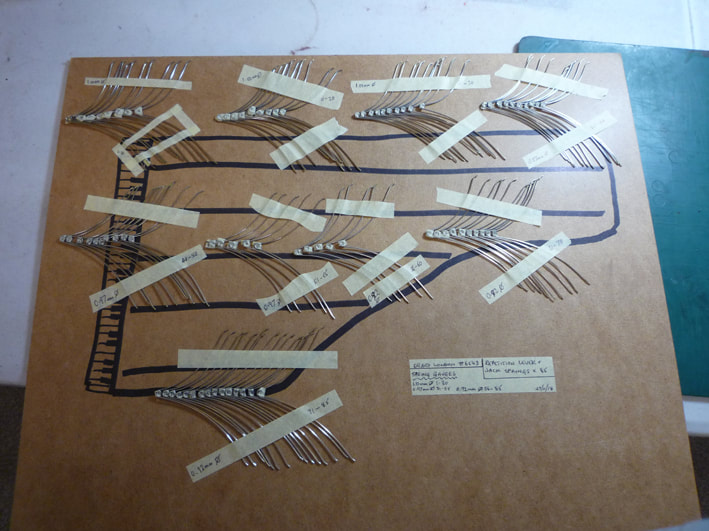
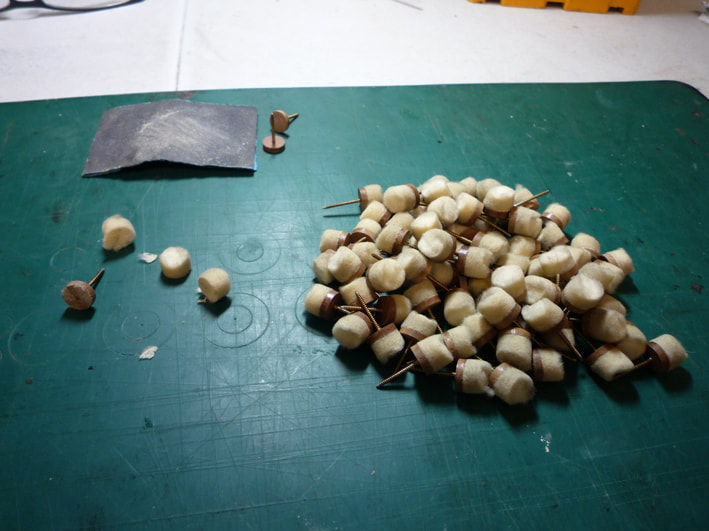
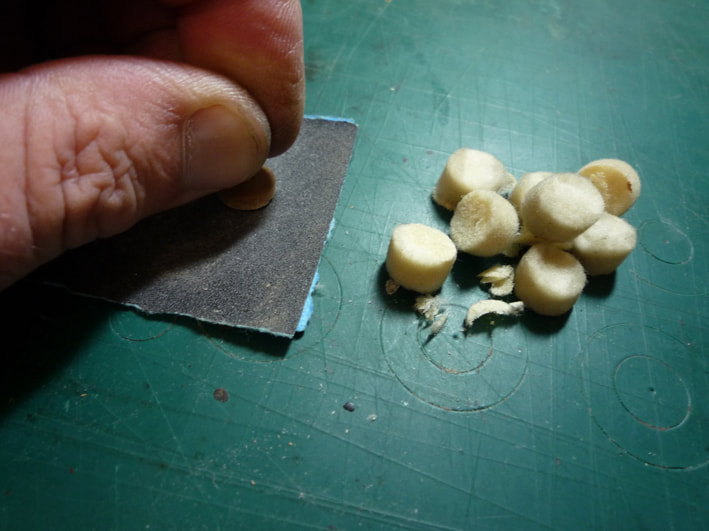
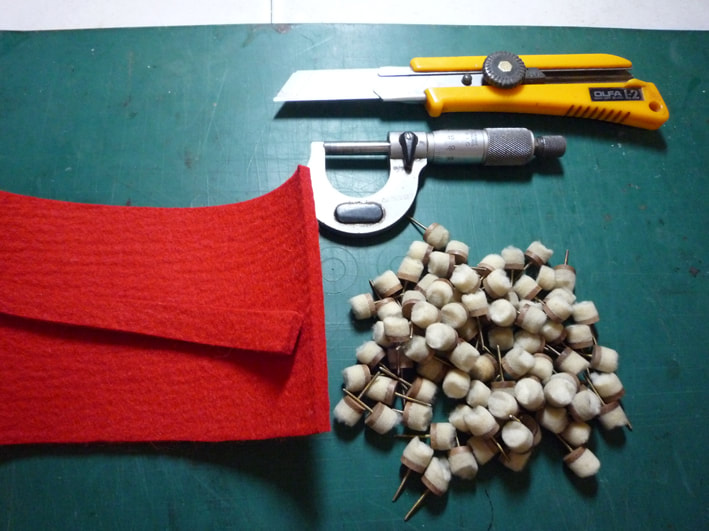
Before parts can be ordered, certain components must be dismantled first before they can be measured. Measurements include things like thickness, type of material, spring gauges, and assessing the colour and quality of materials such as box cloth, leather, bushing cloth, bearing felt and more. For stringing the piano, vast quantities of felt and cloth are required.
DAMPER SYSTEM
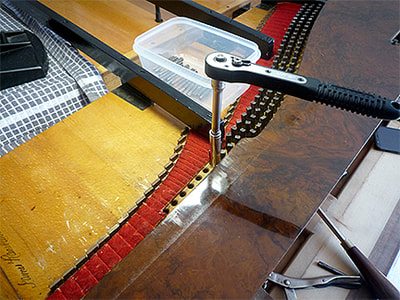
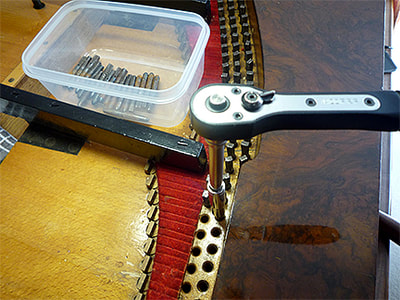
010 DE-STRINGING / BASS STRING PATTERN/ REMOVAL OF TUNING PINS
011 DE-TENSIONING THE STRINGS
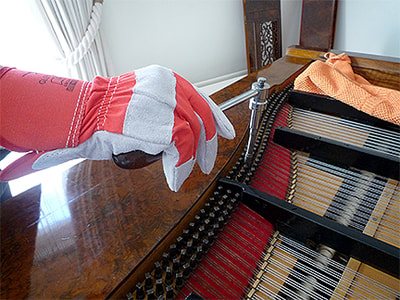
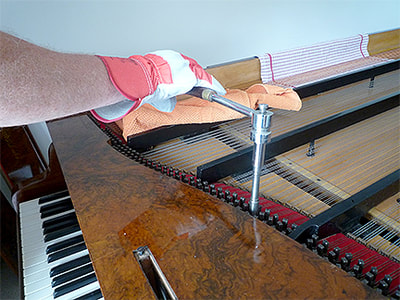
Releasing 18 - 20 tons of string tension on a piano of this age must be done very carefully.
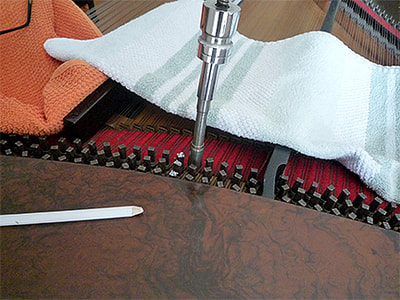
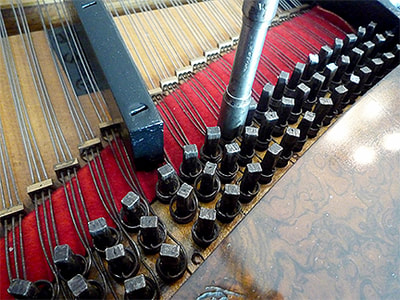
To ensure that the structural parts of the piano remain stable throughout the whole restoration process, I usually start de-tensioning on the Middle C strings, then work outwards a bit at a time. This short video is an example of bottom D bass string being unwound slowly - the whole de-tensioning process takes around 5 hours. After the strings have been released of their tension, they then undergo another stage of unwinding the coils from the wrest pins, before being cut away from the piano with wire cutters.
012 PEDAL LYRE STRIP-DOWN (re-assembly scroll down )
013 MAIN MECHANISM (Hammers & Undercarriages) // KEYS // MANUFACTURE TESTS
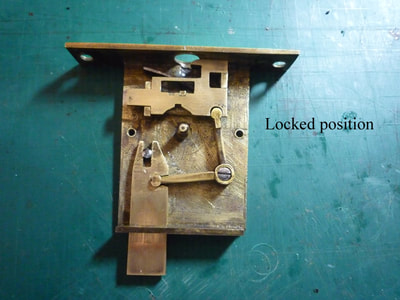
014 PIANO LID LOCK
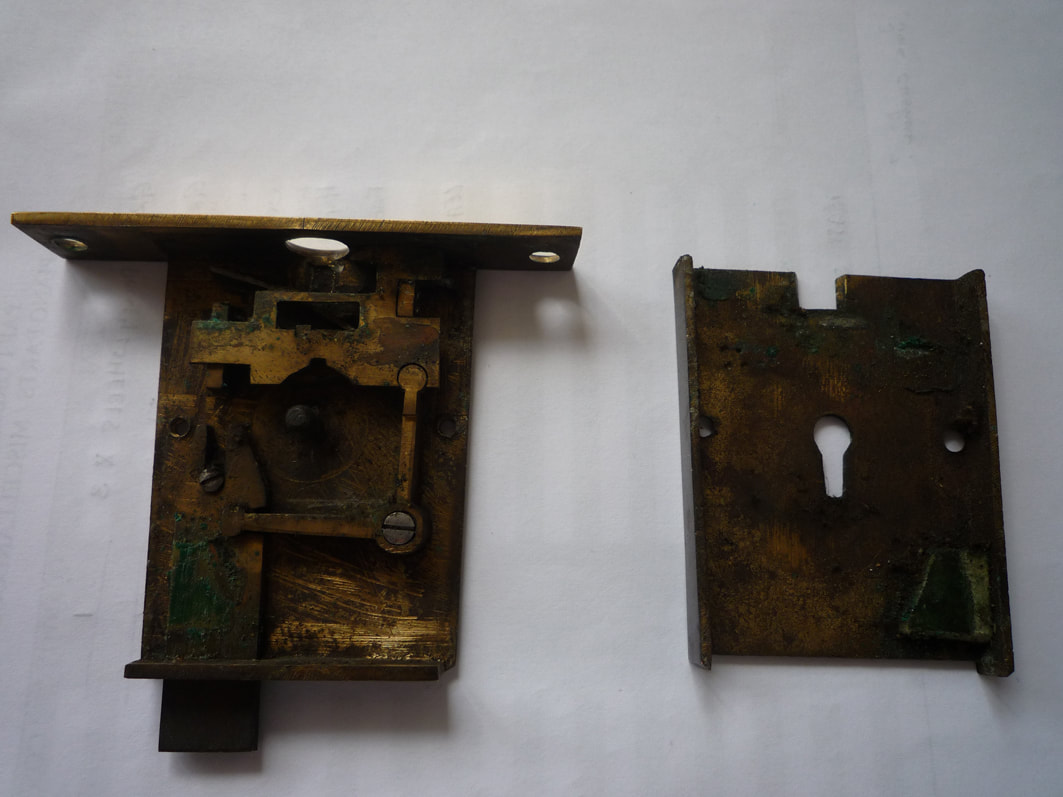
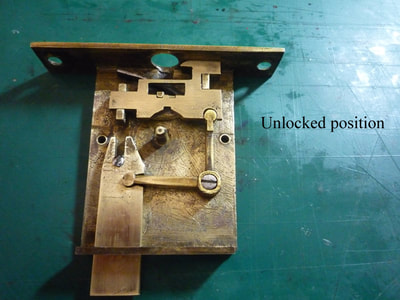
During the assessment, and until recently there was no key to lock and unlock the piano - it went missing. The lock had always remained in the "unlocked" position for many years seized up. Not normally a job I would take on myself, but after visiting a couple of local locksmiths, and contacting a friend - everyone backed away from doing the job of stripping it down, and cutting a new key.
What could go wrong? !
OK.... firstly, this is Erard don't forget.... and about 160 years old
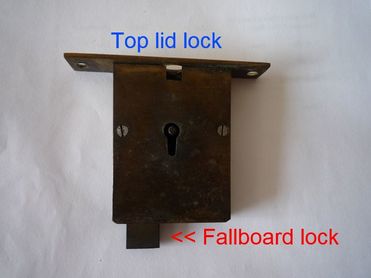
The lock does two jobs - it locks the top lid, and also locks the fallboard (lid that
covers the keys) at the same time. A plate slides across with a claw from left to right to lock the top lid, and the tab (sticking out the bottom) slides downwards to
prevent the fallboard from opening.
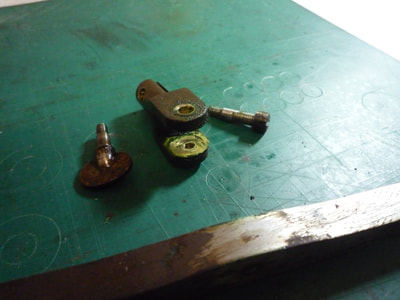
By simply removing the two slotted screws, the lock can be separated and opened up to see inside.
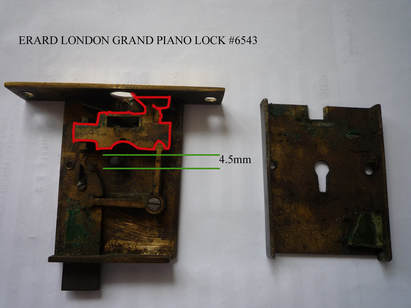
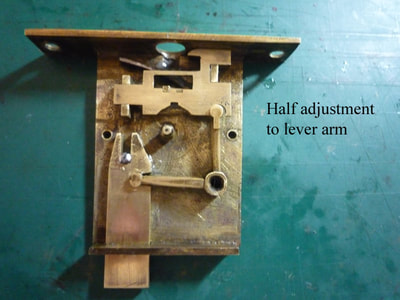
The red outline shows the main lock plate that should slide to the left, and
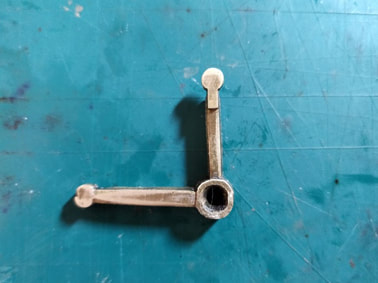
the 'L' lever move from 12 o'clock to about 11 o'clock.
In theory that is ......
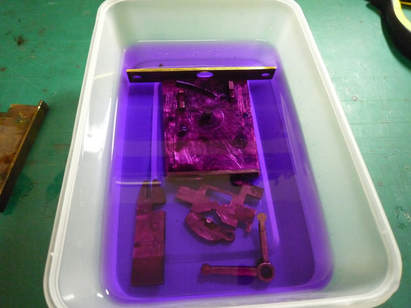
Removing decades of grime, dirt and old hardened grease by soaking all the bits in a bath of methylated spirits.
Later washed in hot soapy water.
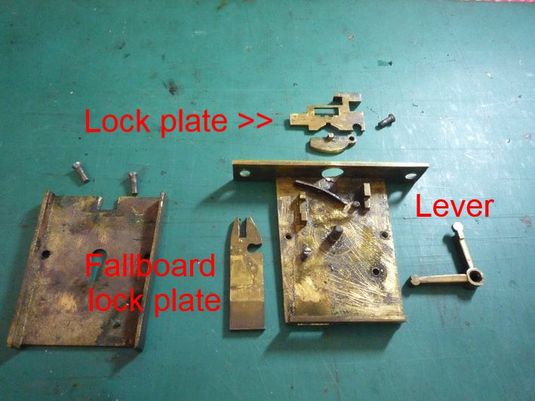
Back and front of all parts cleaned and lightly sanded using wet & dry paper. Parts polished, then greased.
During re-assembly, the lock plate and fallboard plate only moved a small amount, and still partly seized/ not returning.
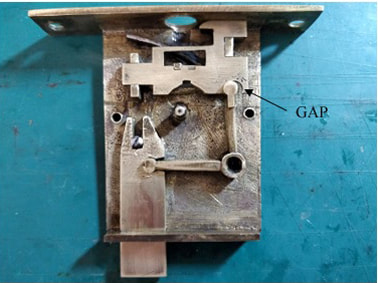
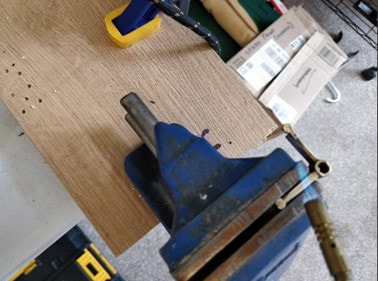
This was due to the top lever arm (facing 12 o'clock) being bent to the left (note the gap), and causing resistance against the 9 o'clock lever and plates. By gently heating the lever arm, I managed to bend the lever back into position.
Two keys have been cut and the lock works perfectly again.
On the front and back plates, the small leather pad needs to be replaced that guides the lock/ fall plates.... to be done later.
The lock will be fitted back into the piano during final installation.
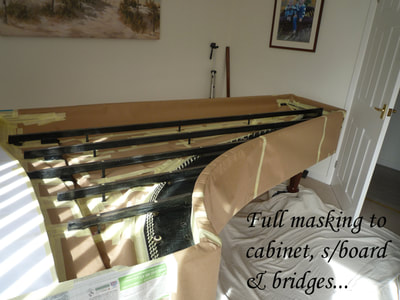
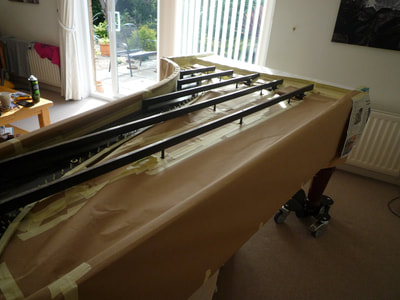
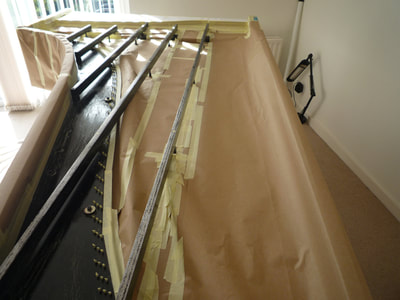
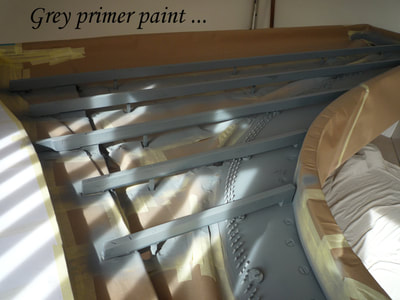
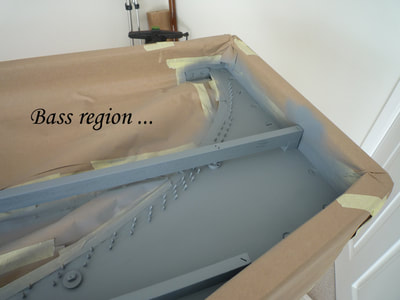
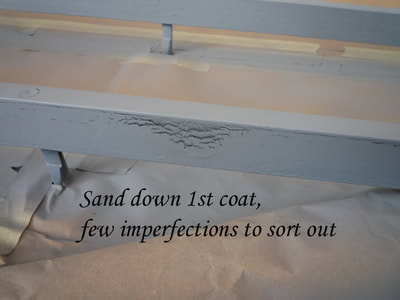
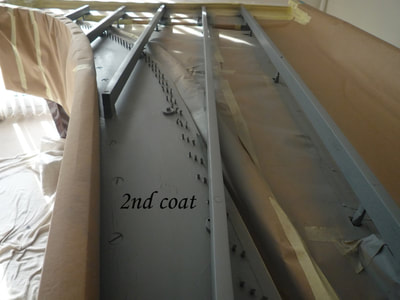
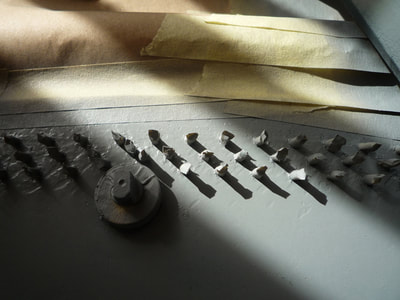
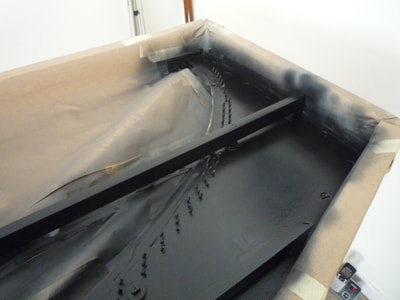
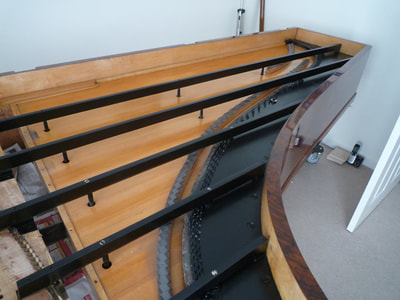
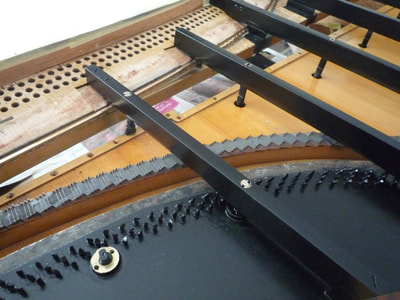
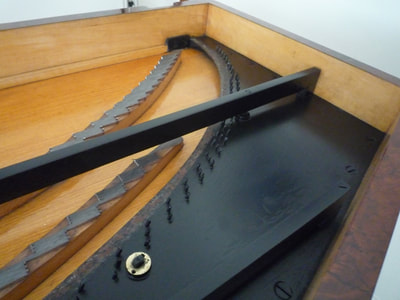
015 PREP WORK / MASKING / RESPRAY CAST FRAME
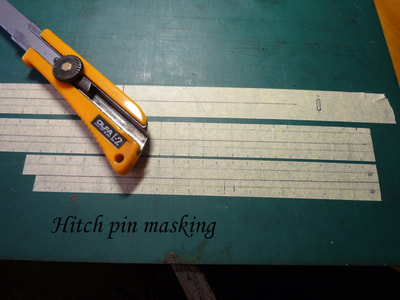
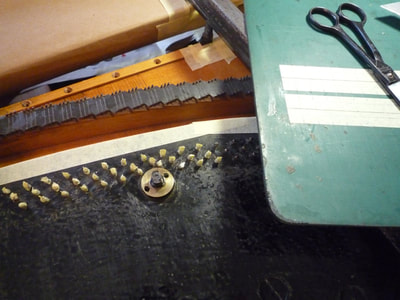
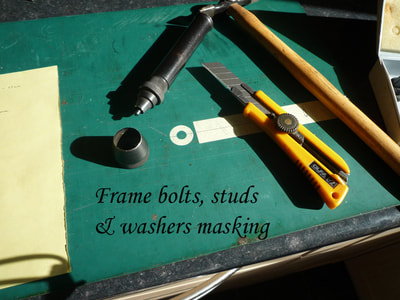
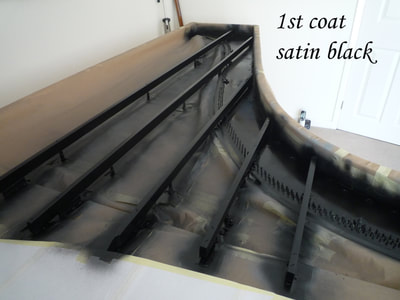
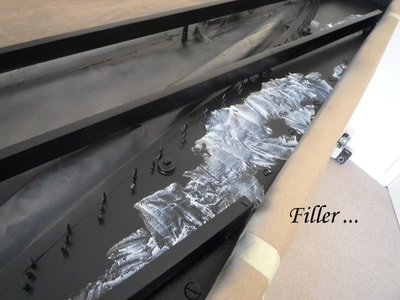
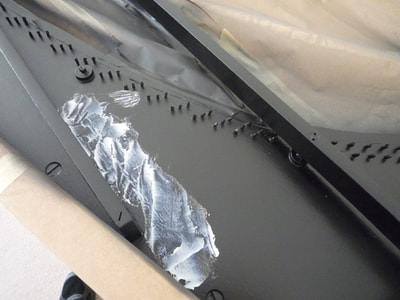
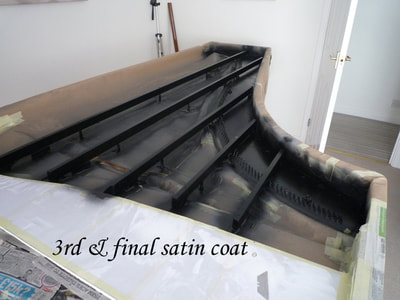
It would have been better to remove all 5 cast iron brace bars and the main 'S' frame for prep work & spraying, however due to the age of the piano, all the fixtures / washer screws & studs etc are deeply embedded into the lower wooden framework, and after some attempts were made to loosen a few off, these were completely seized solid and embedded into the wood. These fixtures are unique to Erard only, and if one broke, there are no replacements.... so for the best, I left well alone! This created more prep work and masking.... but worth it in the end.
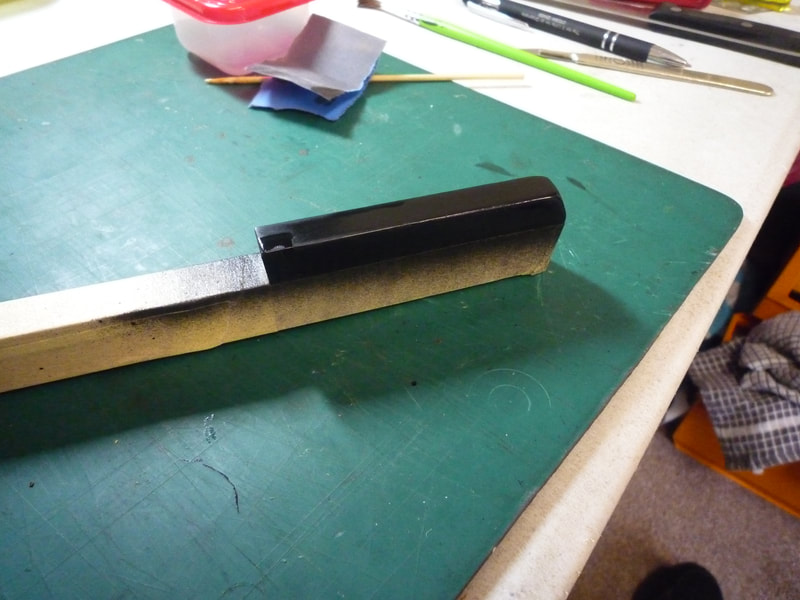
I scraped some of the old black paint off the frame, but there were no signs of any gold paint. Some of the black paint looked original, especially near the hitch pins, so I decided to stick with black. Instead of gloss (which was previously painted on with a brush), I chose a satin black spray paint. >>>
016 ERARD MECHANISM (MAIN)
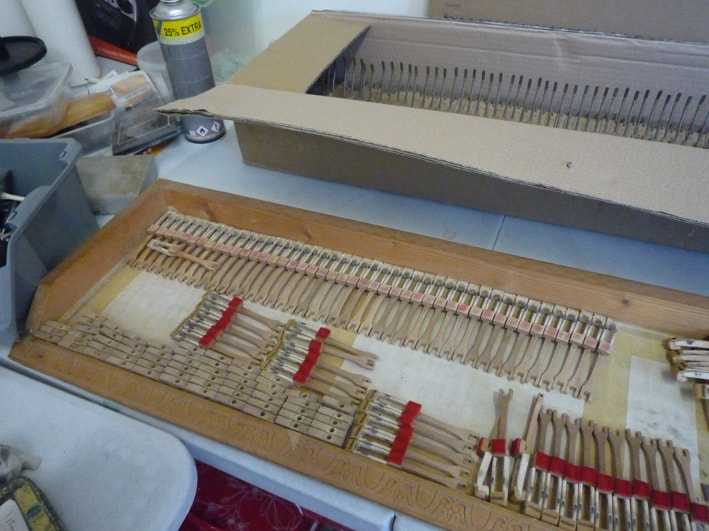
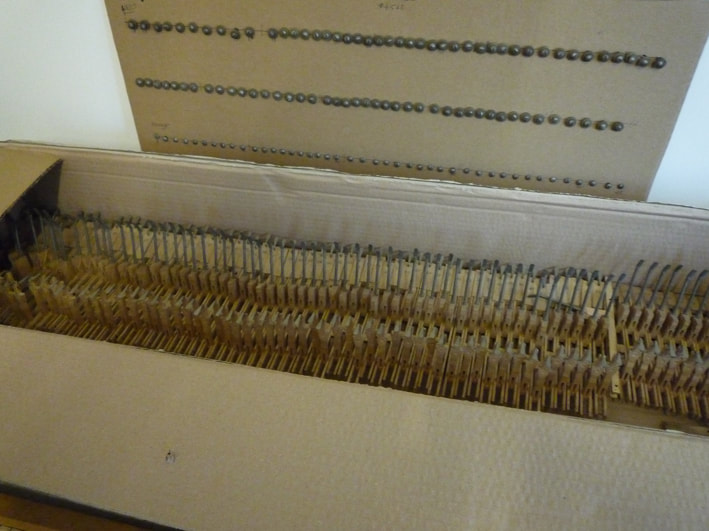
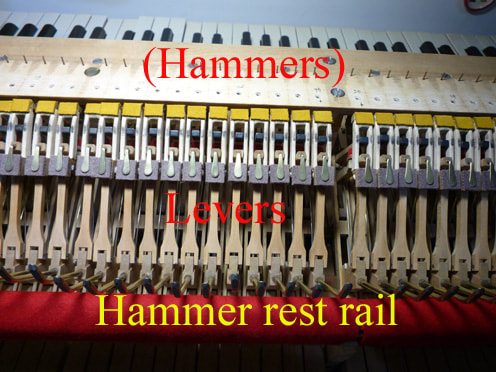
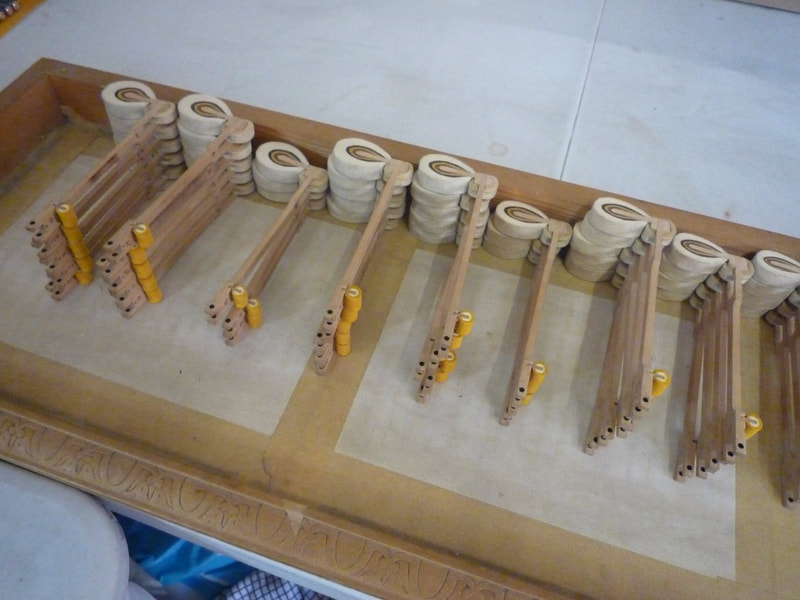
The Erard London mechanism is separate to the damper unit, and consists of the hammers and undercarriages - these parts rest on top of the keys. The mechanism also consists of various rails including the hammer rest rail and flange rails.
LEVER UNDERCARRIAGES
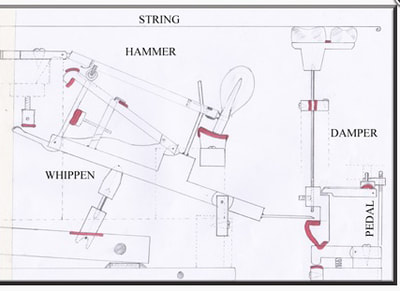
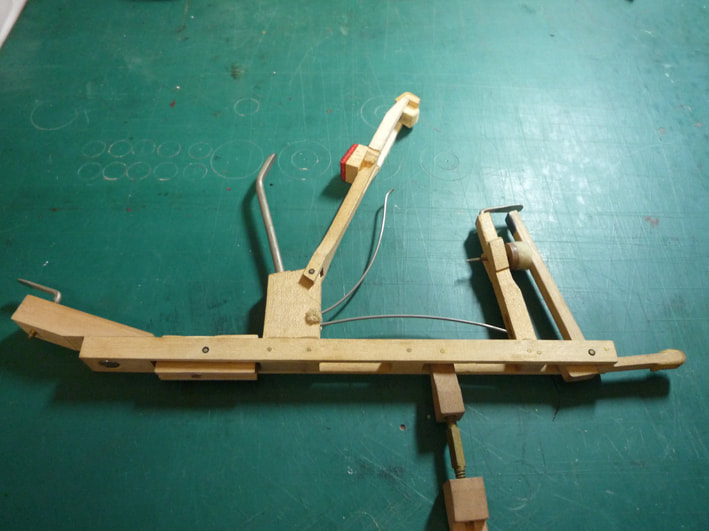
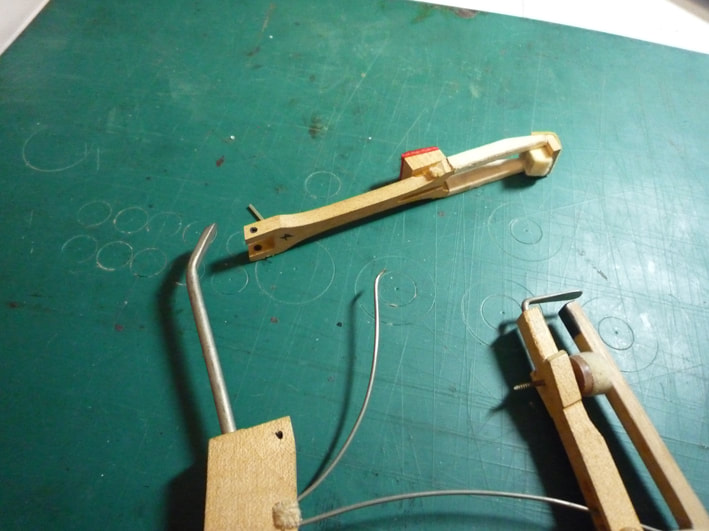
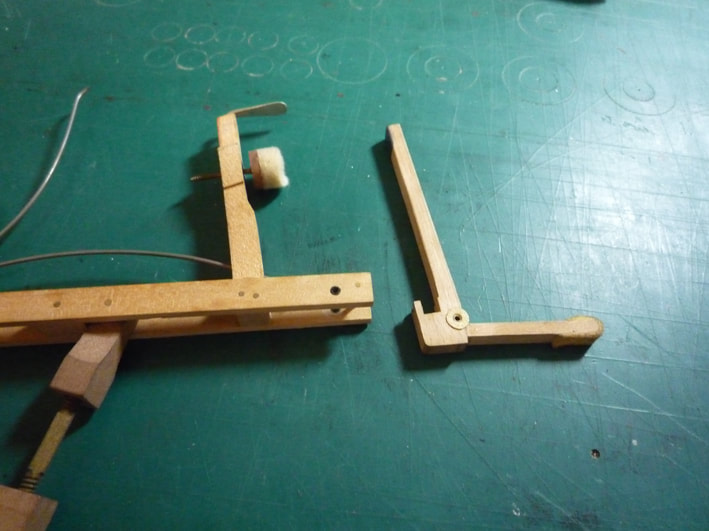
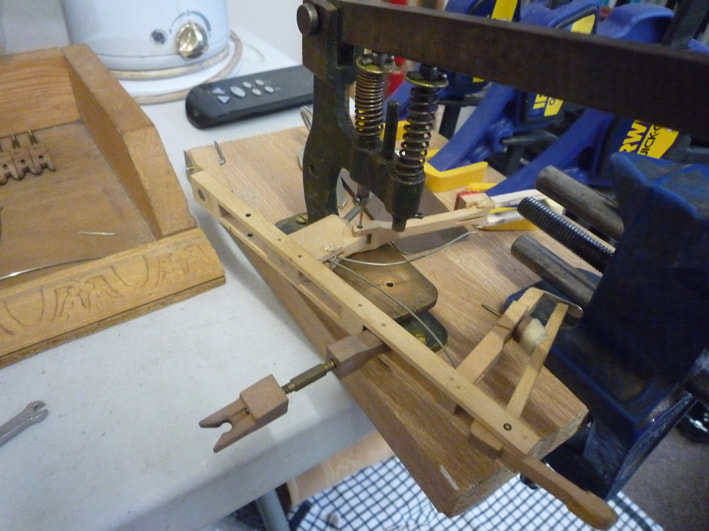
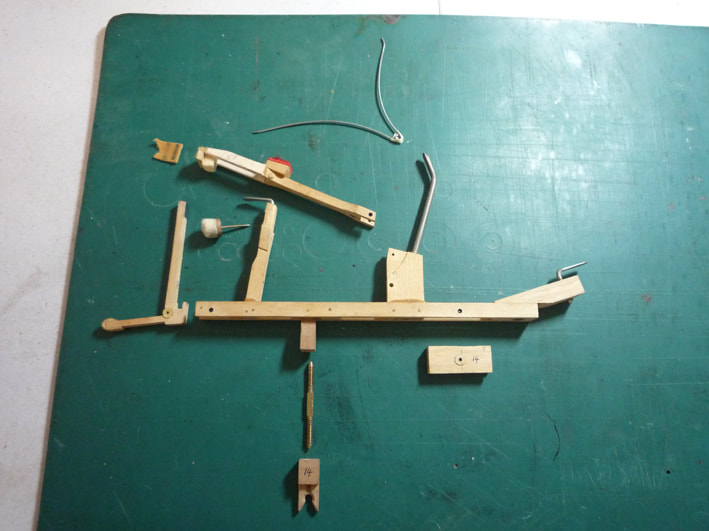
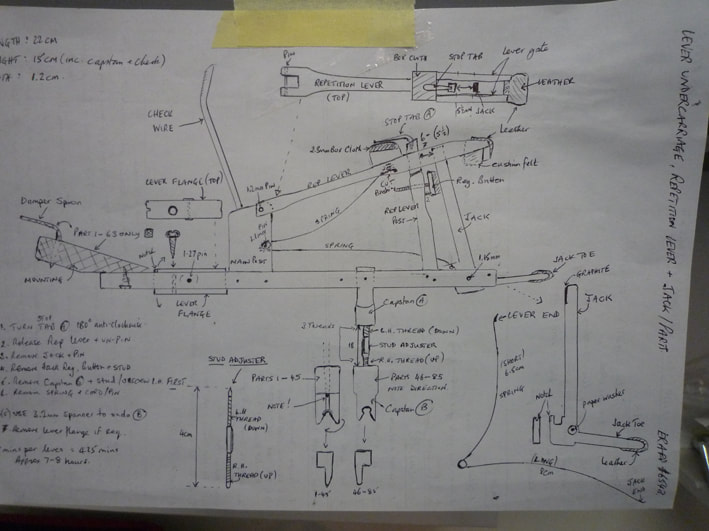
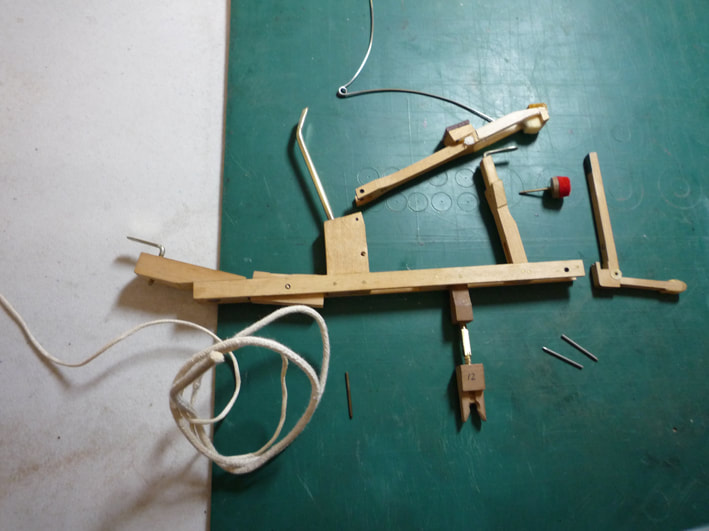
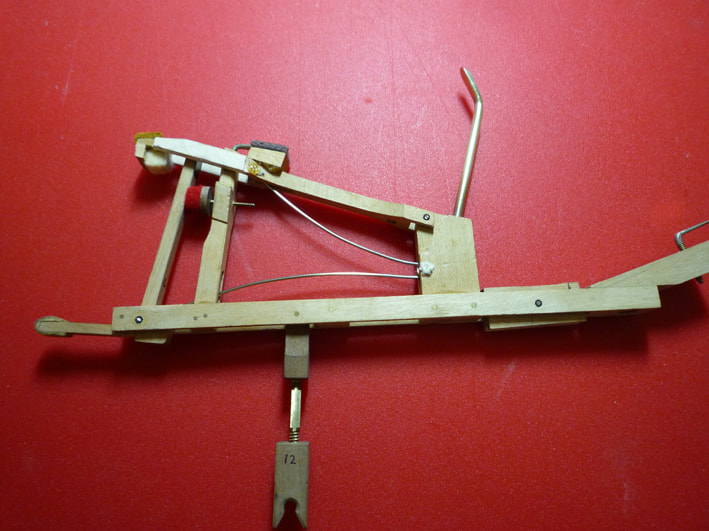
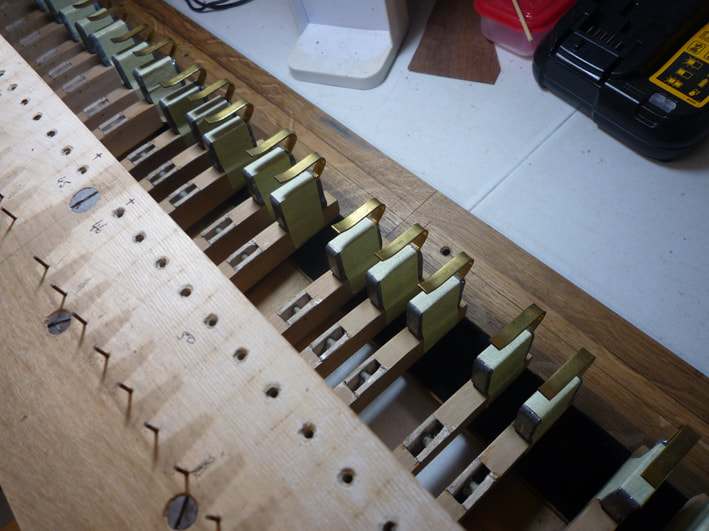
The lever undercarriage lies between the piano key and hammer. Each one is responsible for projecting the hammer to the string, lowering the damper, (on the hammer's return) - holding the hammer in "check", and aiding quick repetition by working of the repetition lever and spring. Each undercarriage consists of the following: Main undercarriage lever, damper spoon, flange, jack & toe, repetition lever, and various other components to support the parts, and bushings to aid a smooth working of the spring. Each repetition spring does two jobs at the same time; 1/ Returns the repetition lever/ holds the hammer. 2/ Returns the jack to rest.
The lever undercarriage restoration takes longer than restringing the whole piano - an estimated 150+ hours (3 weeks).... and so, each one has been fully restored back to its original, including the replacement of the drop screw leathers, and stop tab cloth sections.
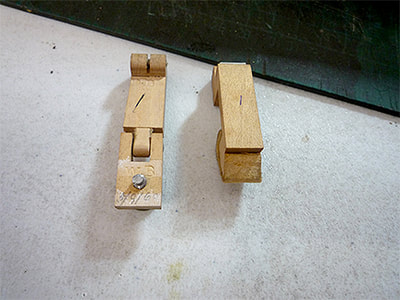
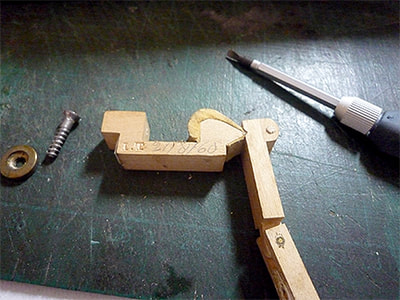
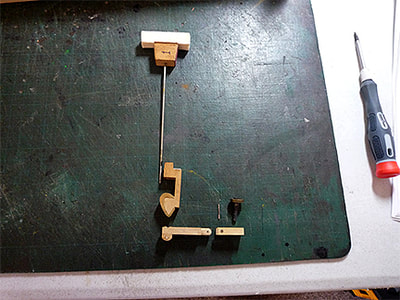
The following images show some of the procedures >>>
017 HAMMER PREP WORK
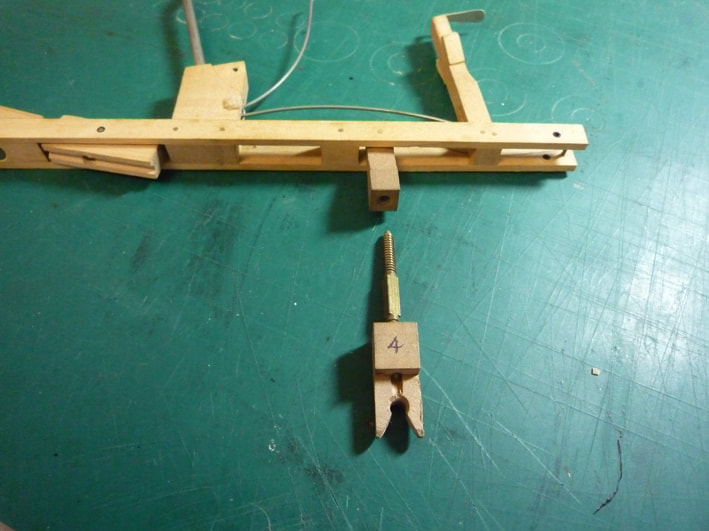
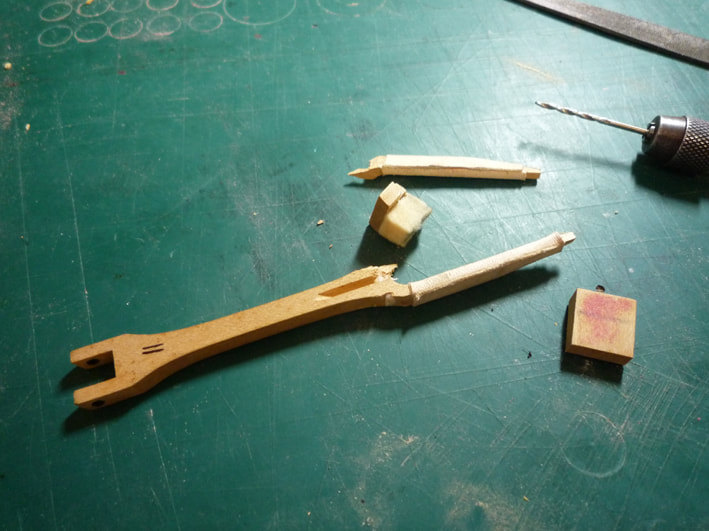
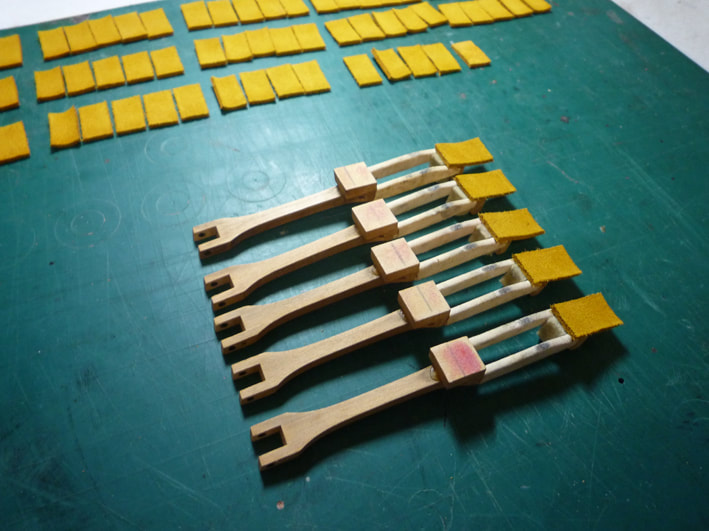
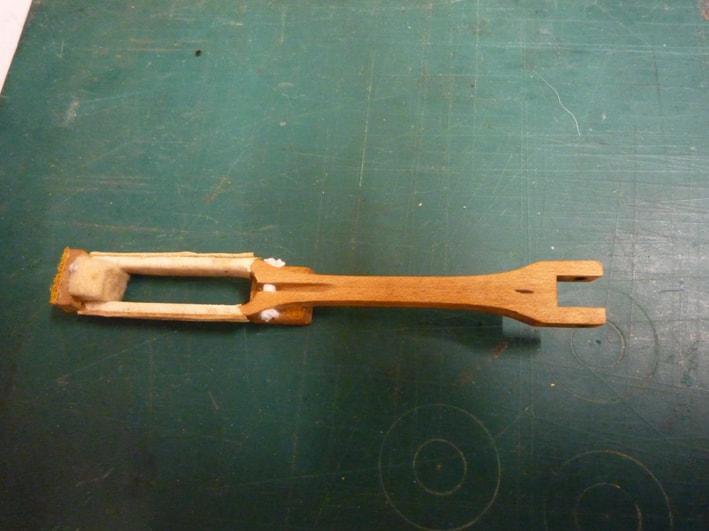
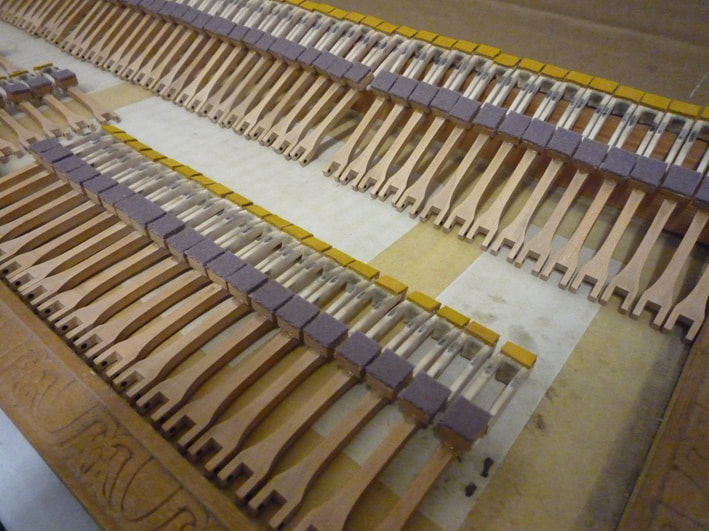
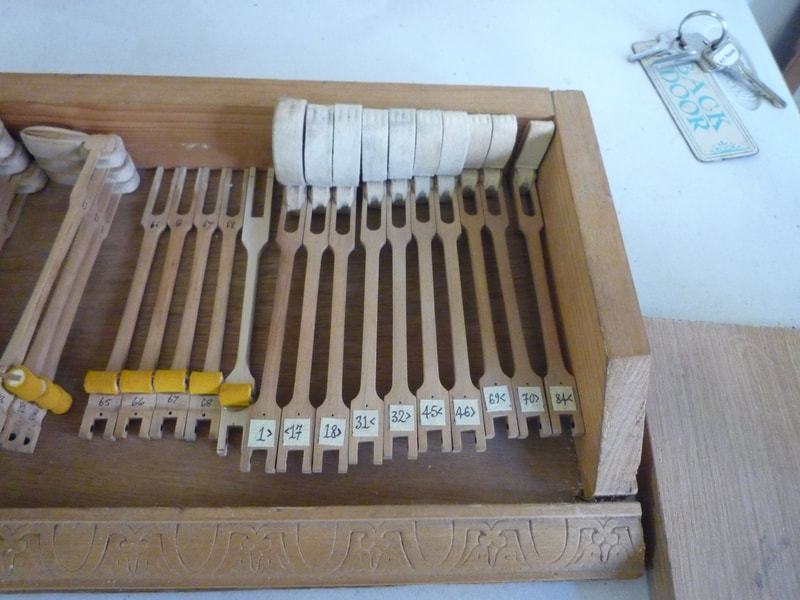
An important decision is made whether to save the old hammer shanks or not - these are the E3 design that resemble a tuning fork.
Erard hammers & shanks are unique, and not like any other grand piano. There are 3 different designs of Erard shanks & heads.
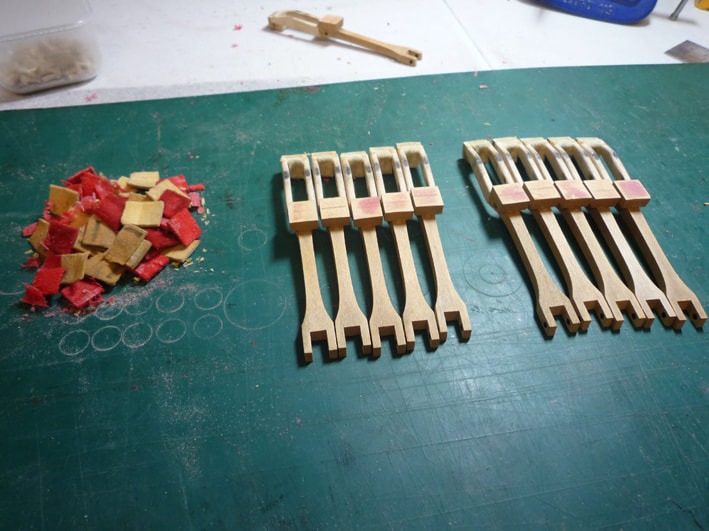
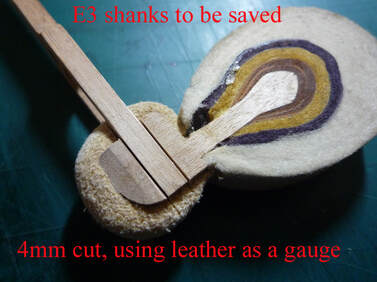
The shank end has two wooden "forks" that slot into each side of the hammer head. While the hammer heads were still on order, I decided to try and save the old shanks. New shanks are very expensive (for what they are) - priced around £40 EACH! .... X 85.... well, you can do the maths.
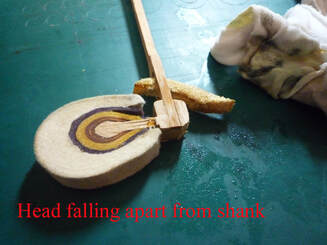
Work went ahead to remove the Erard heads from the shanks.
During separation (which is risky for a 160 year old instrument), I listen to all sorts of "crack" sounds - this is the distinctive sound made when a hammer head separates from its shank.... this is a "nice crack". However, if the crack sounds dull, it usually means the shank has been damaged and cracked elsewhere - so a new shank is required. An important decision to keep the costs down.
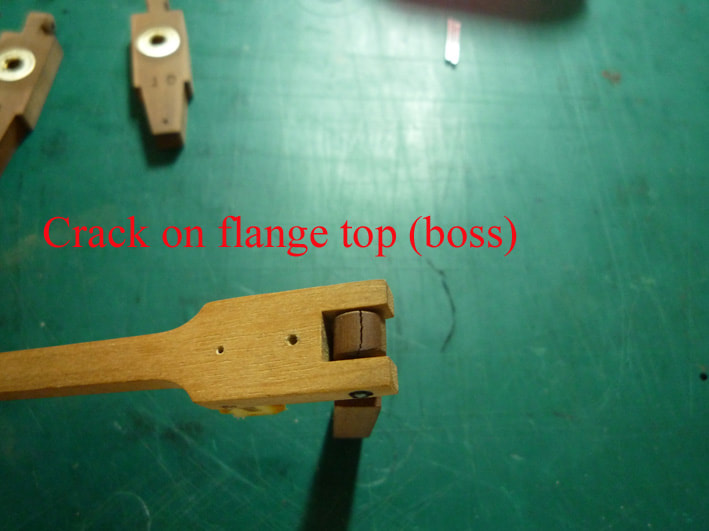
Using the old E3 shanks again also means re-using the roller slot rebates and enlarging the flange boss for a new pin.
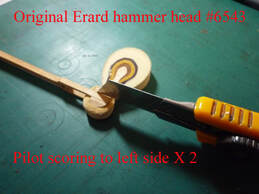
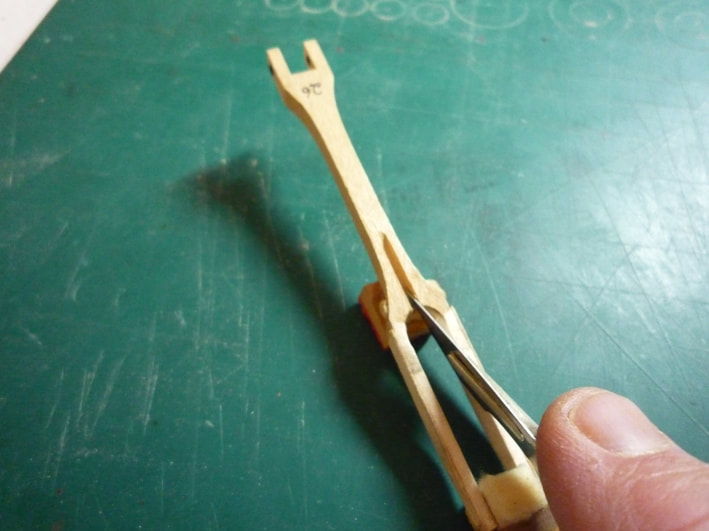
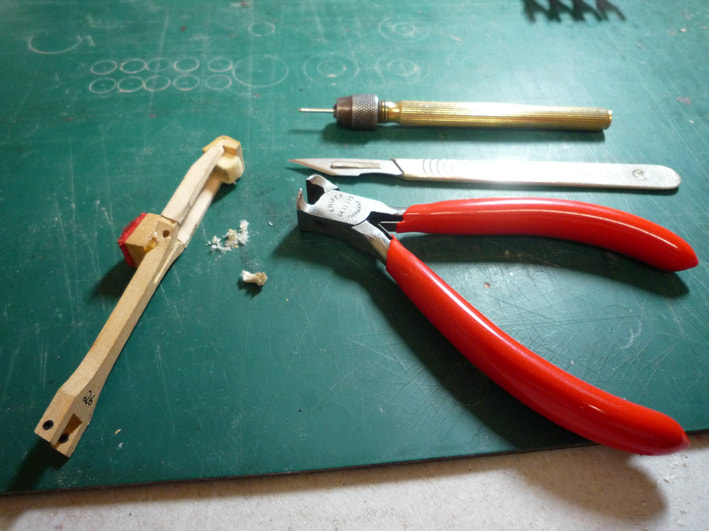
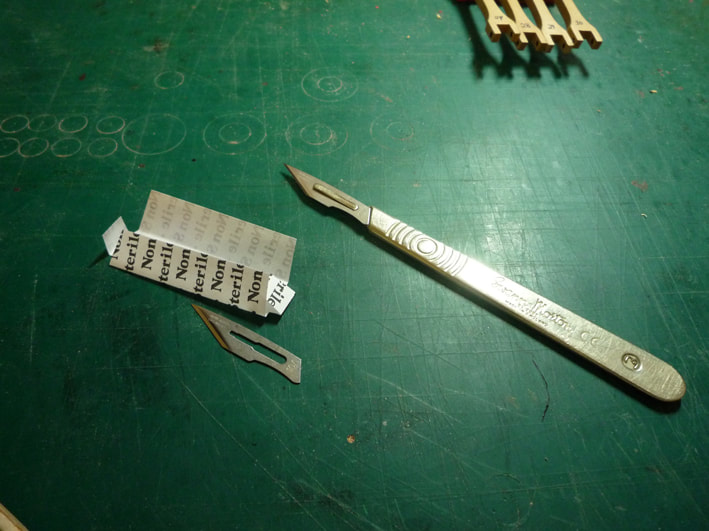
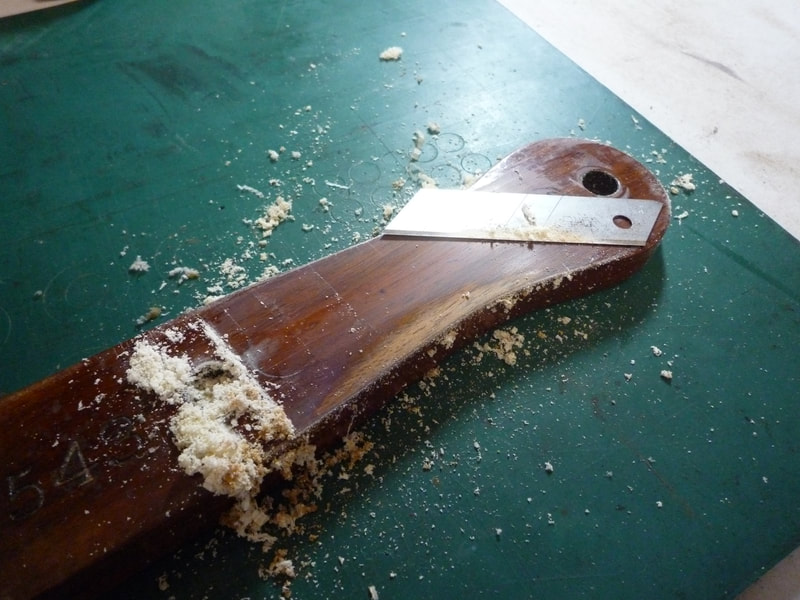
Where the shank joins the head, the side lines need to be gently scored with a craft knife, to allow a small wood saw to cut through the join. This task is carried out 4 times per hammer.... 340 times!
The score mark provides a level "key" for the saw to work along. Extreme care is taken here not to cut into the shank forks. I am trying to aim for the glue line. This is often sanded over and smooth, so I use the knife as a feeler gauge.
The score mark provides a level "key" for the saw to work along. Extreme care is taken here not to cut into the shank forks. I am trying to aim for the glue line. This is often sanded over and smooth, so I use the knife as a feeler gauge.
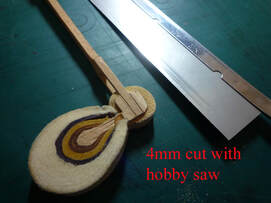
A one inch fine wood hobby saw is used to cut a groove - about 4mm deep, to the point where the fork ends - I used the check leather as a guide.
At this stage, the shank and head are still very solid - and later require separation.
At this stage, the shank and head are still very solid - and later require separation.
Good so far. I have never attempted extraction this way before, so this is purely experimental. The grooves are nice and even and parallel to each other, so what can go wrong!? The next stage is the crux of the matter, and will decide if I need new shanks or not.
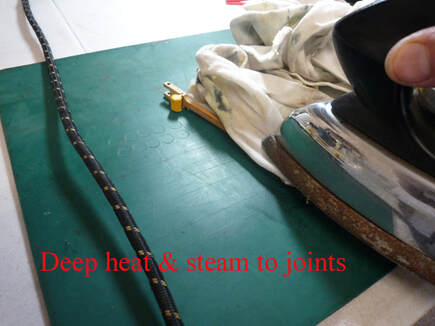
Using my Grandmother's old baker-lite Morphy Richards iron (not a steam iron), I set the heat to "Rayon Silk" - about No 2, and using a wet cloth, applied steam to the joints on both sides. My old iron has never failed me!
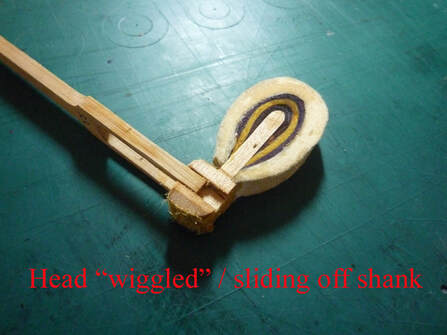
Separation has started OK.... but not there yet. The check leather and hammer head felt started to separate, so I continued steaming this area including the shank ends/ top and bottom for easier separation. The gaps started to widen a little.
"Houston, we have separation" !!
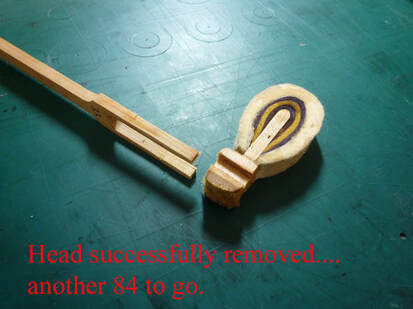
After some careful manipulation and wiggling, a faint crack was heard and all glue joints separated successfully.
The hammer below may be a different hammer to above, but in all, I now crack on and try to separate the rest - another 84 to go.
After some careful manipulation and wiggling, a faint crack was heard and all glue joints separated successfully.
The hammer below may be a different hammer to above, but in all, I now crack on and try to separate the rest - another 84 to go.
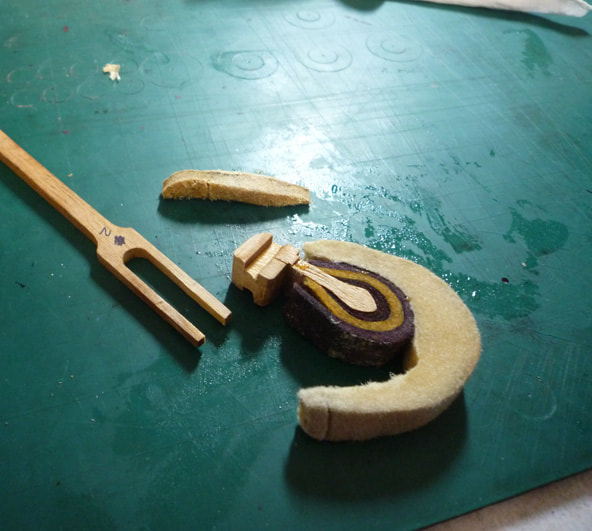
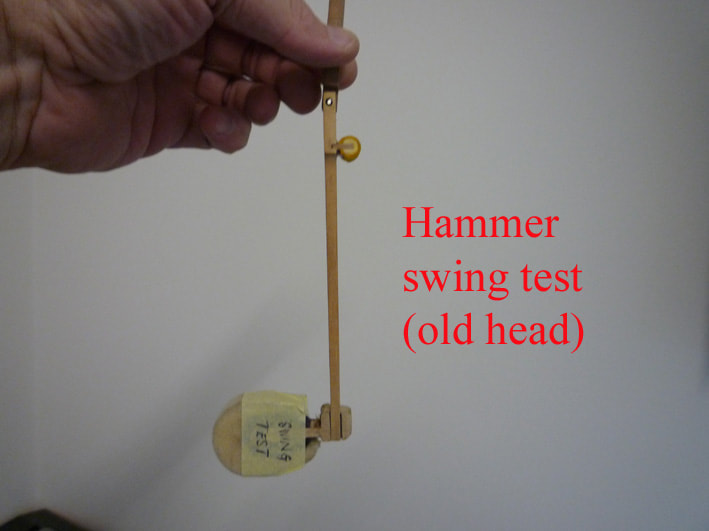
A huge amount of patience is required here, and the job cannot be rushed, especially for a 1860 piano. As the shank dries out over the next day or so, each one is checked again for any cracks or splinters. Some of the old hammer heads (with purple and yellow stripes) have been saved for prosperity - but cannot be used again as the heat & steam has turned them hard and brittle, so new heads are required at a later date.
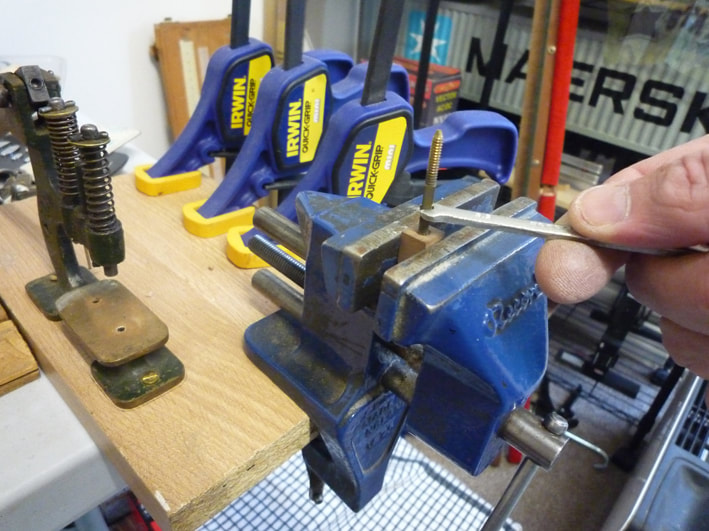
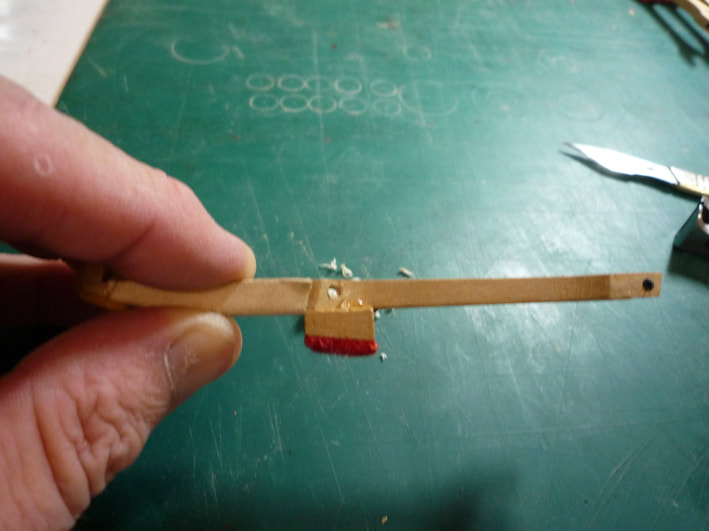
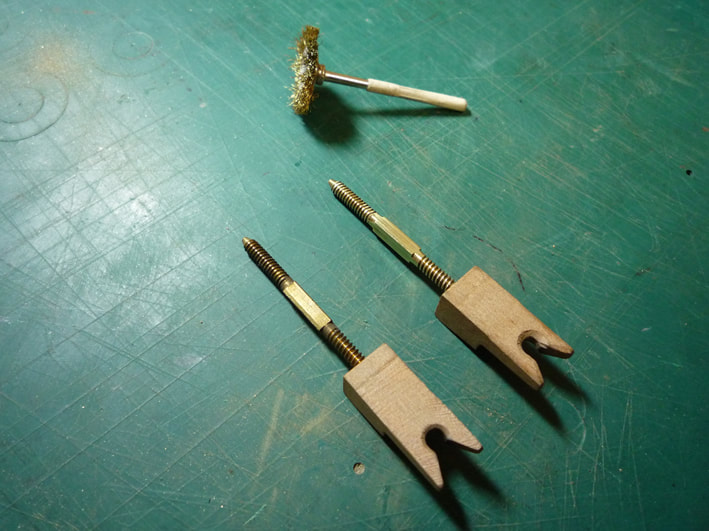
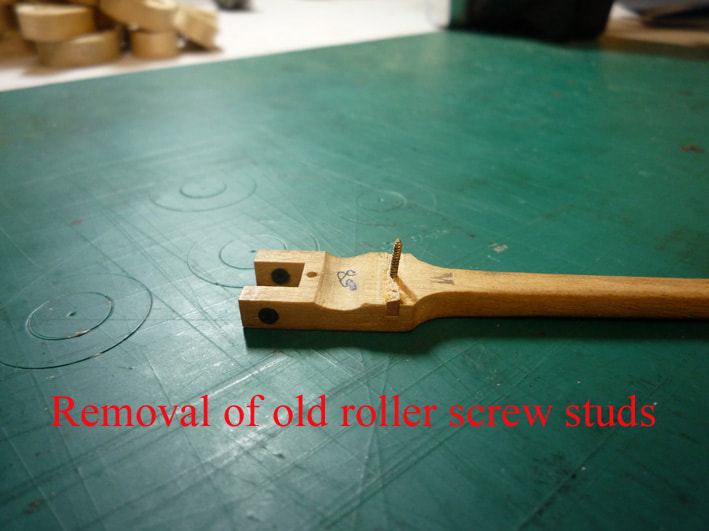
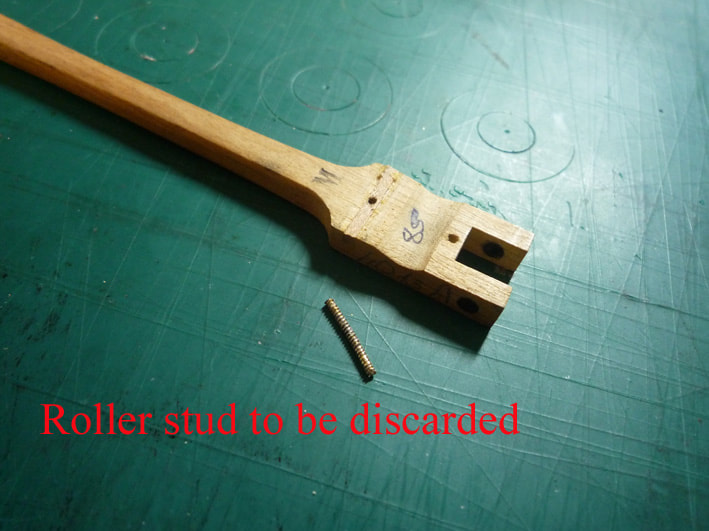
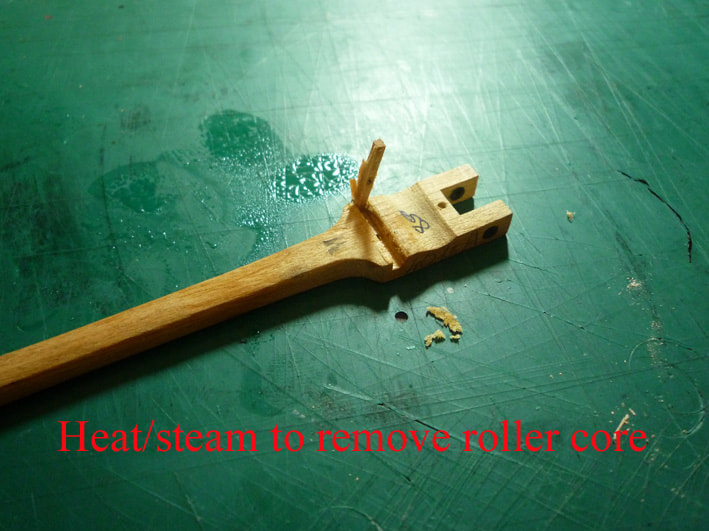
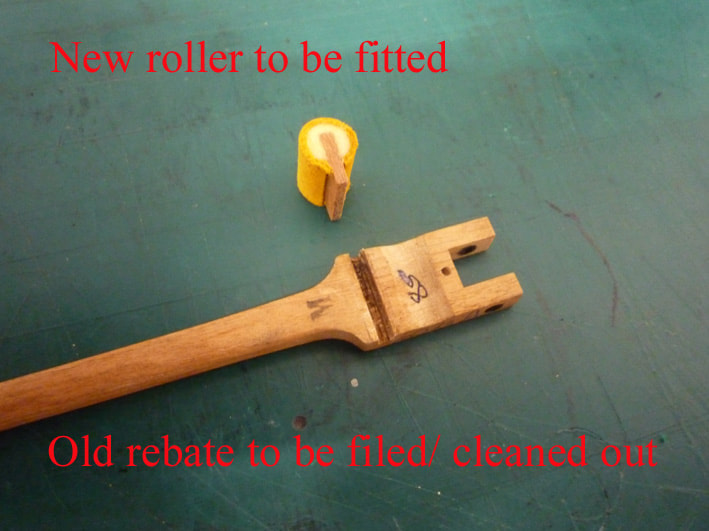
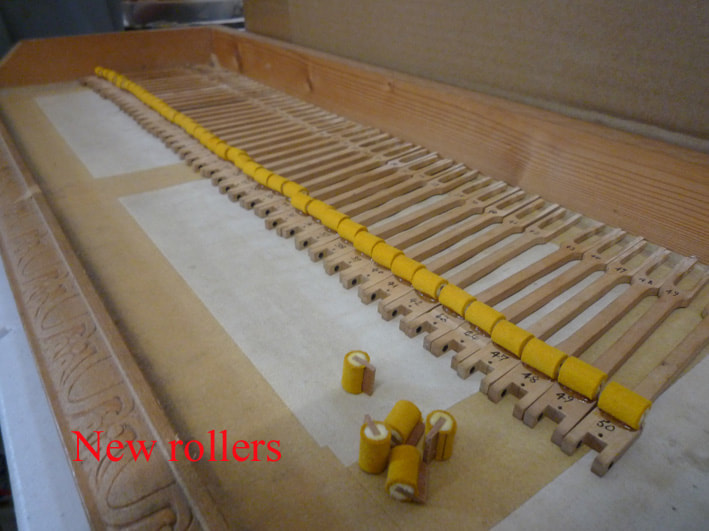
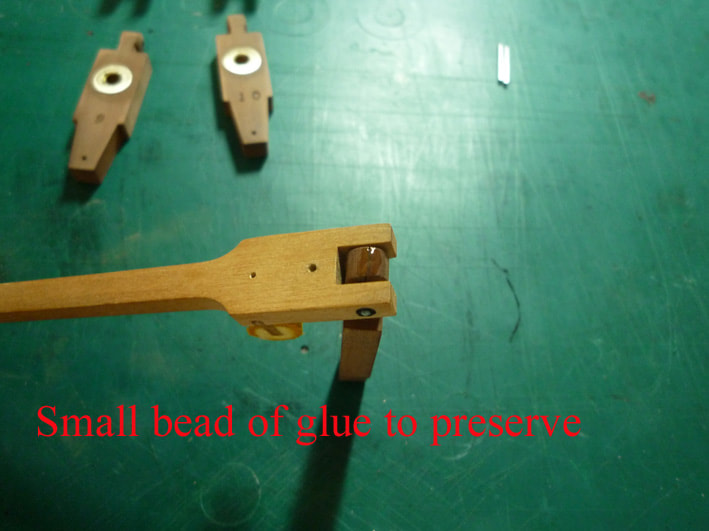
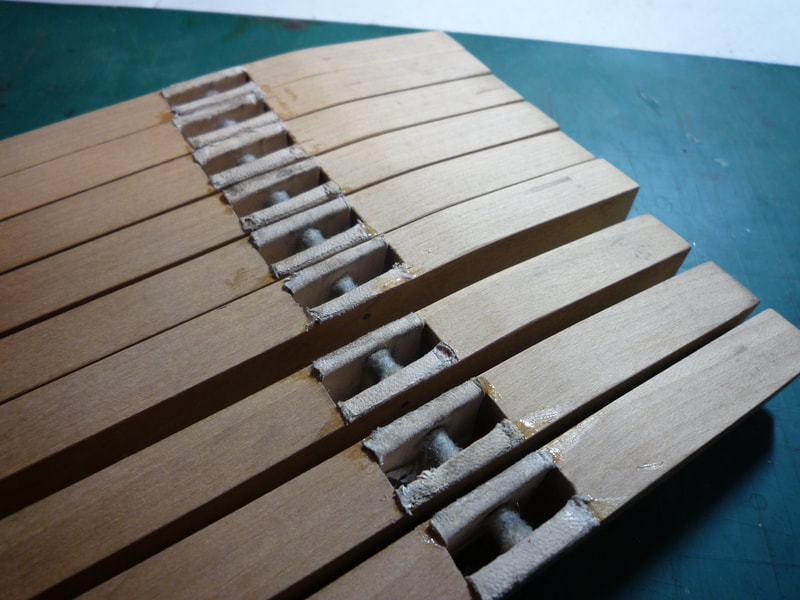
Working at the base of each hammer shank (butt), old bent roller screw studs are extracted, and removal of the original roller wooden cores / slots and rebates are cleaned and filed for new oversized rollers. Not seen roller studs before (about a 1.5mm thread), and although Erard strive to ensure roller stability (glue and screws don't usually come loose); these studs are not available, so a standard bead of glue under both sides is good enough for them to last another 100 years or more.
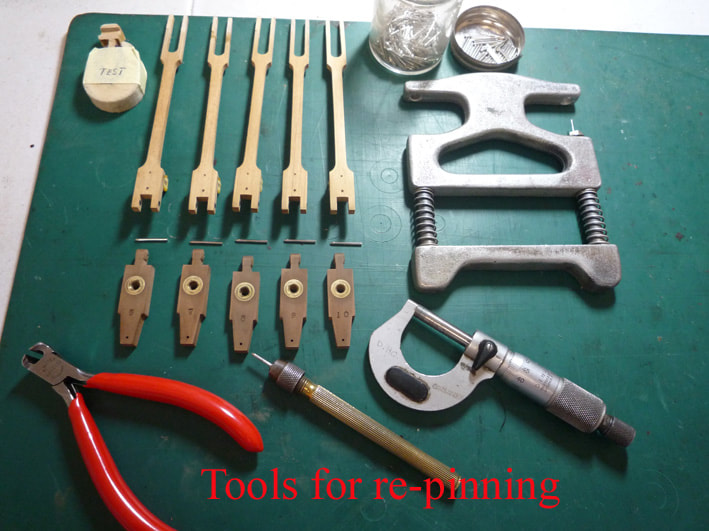
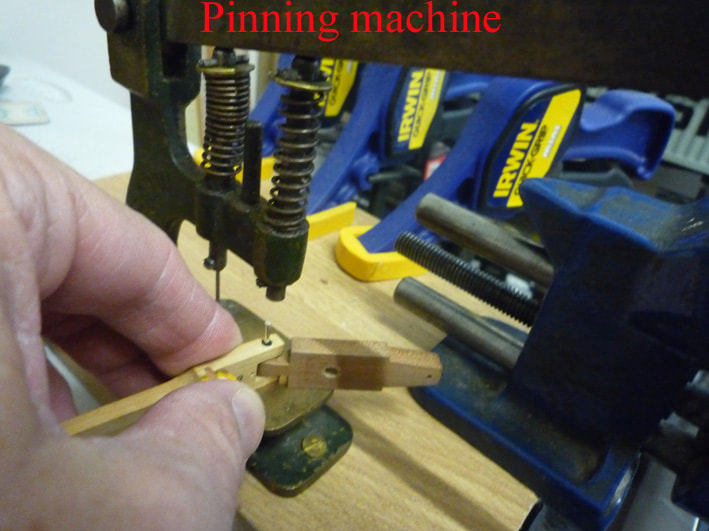
The flanges have been re-pinned before at some stage, so I had to use a large 1.55 pin for pinning the flange back onto the butt.
Should any re-pinning occur again, there is one more size (1.60mm), and after that, new flanges would be required, and the shank butt pin bushings would need to be re-bushed. As "standard", Erard use black bushing material throughout the whole mechanism - this is thinner than standard bushing material cloth. Not a problem at the moment, but some uneven bushings may need to be replaced at a later date. When the piano is eventually shipped on its side for several weeks, this work will pay tribute to the shipping. Often is the case, with action parts laid on their side can lead to adhesions of the pins leaning against the bushings (this happened to the Erard I restored in 2015) - and so some re-pinning may need to be done again in the USA.
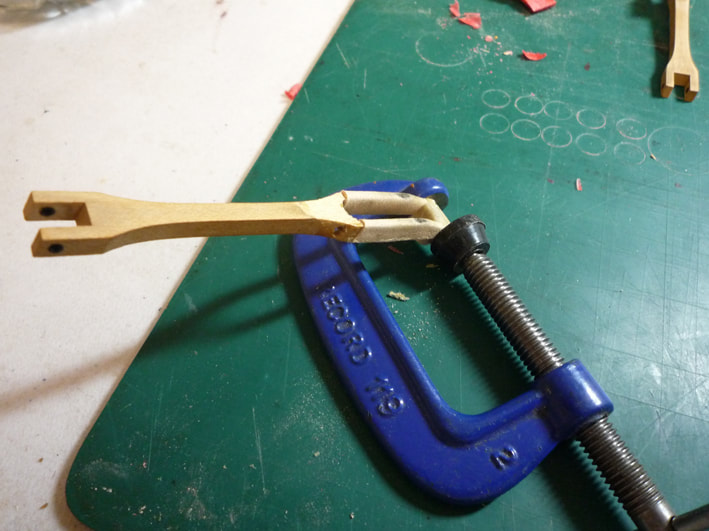
The following images show some of the next stages >>>
018 HAMMER PREP 2 / INSTALLATION
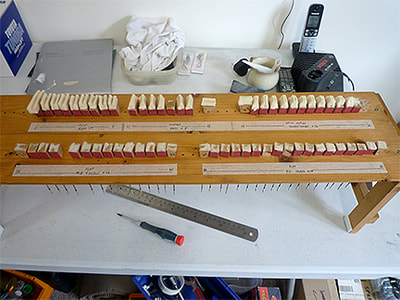
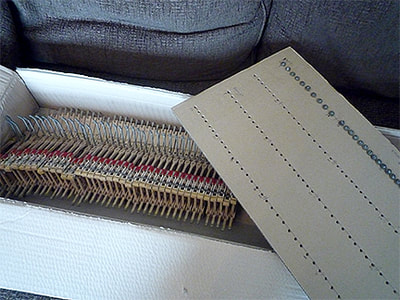
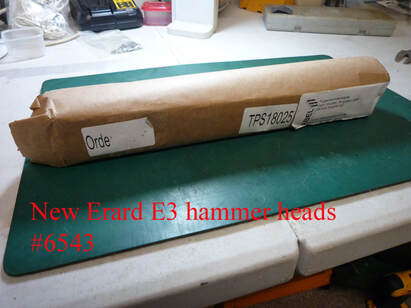
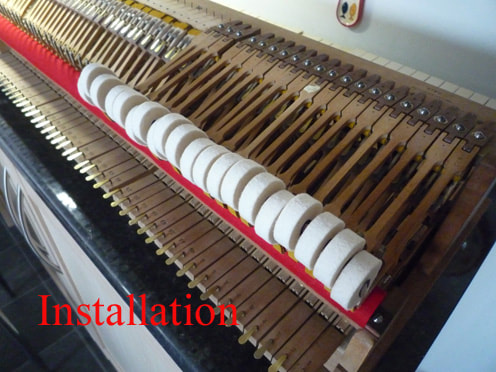
New hammers arrive packed tightly in brown paper in three layers - so nothing fancy but effective.
Each layer consists of about 30 hammers, and rolled over in the same piece of brown paper (like a Swiss roll).
Extreme care is taken to make sure the area is clean, and that the end hammers don't fall out of the packaging.
From ordering to despatch/ arrival takes around 2 months.
There are usually 90 hammers in total...... 3 rows of 30.
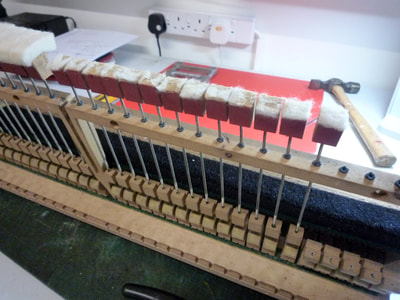
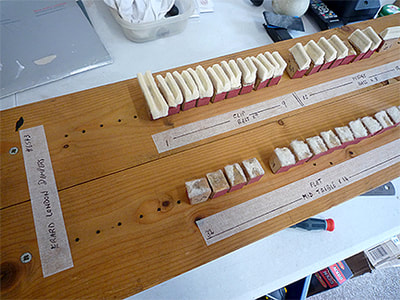
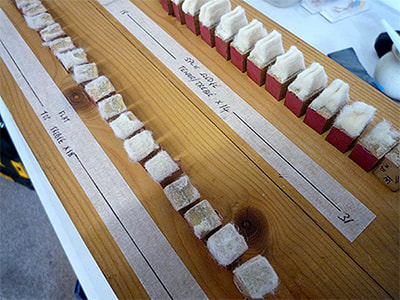
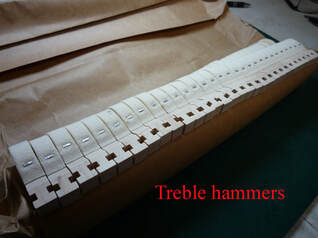
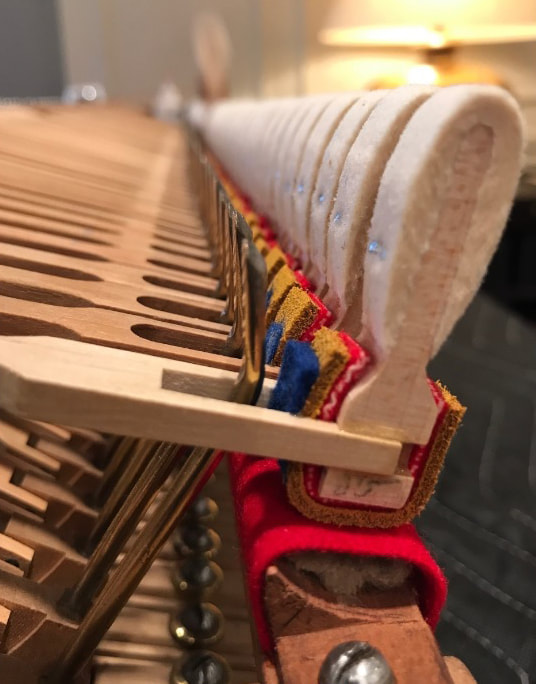
The top (extreme) treble hammers are at the top (shown below). These hammers have been bespoke machine-made for this piano only, and marked "Erard #6543 Pattern" and date stamped on the side of one hammer. These hammers would not fit any other Erard grand piano as a set, but the odd one may be modified.
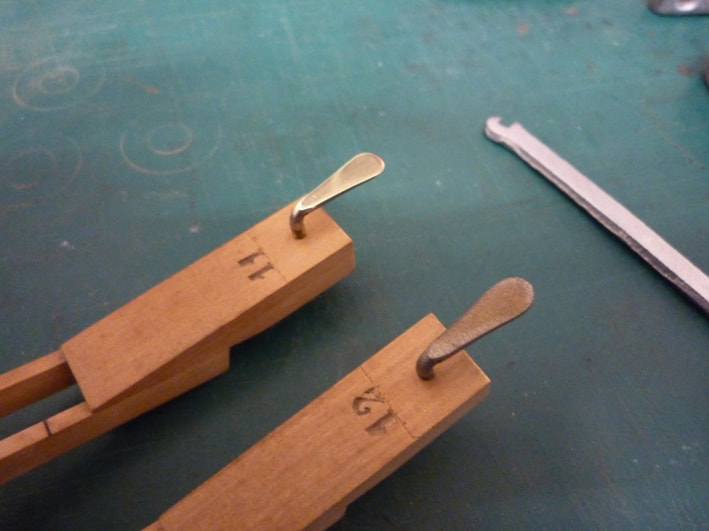
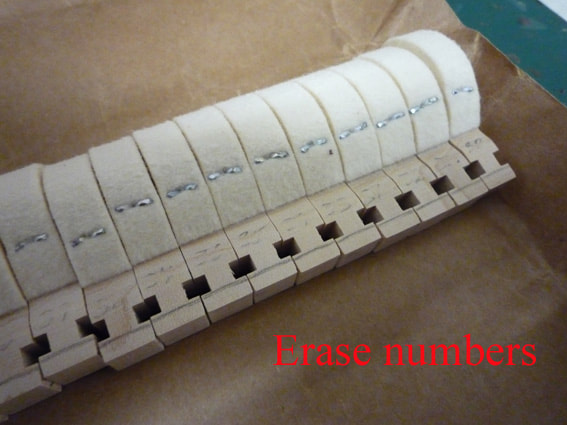
The image below shows the underside of the treble hammers, exposing the 'T' rivets - this is important for re-numbering and ensuring they are not fitted upside down!
With respect, the hammer makers are not good at numbering them in order! ...... I found various gaps between numbers, and some of the numbers were only just legible...... so as always, I rub all the pencil numbers off and start again!
The number sequence often starts several hammers in
The number sequence often starts several hammers in
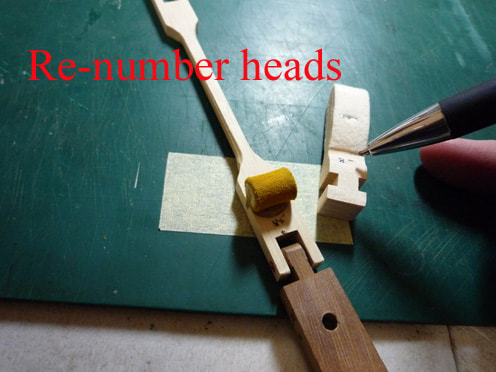
Each new hammer head is matched to its shank number (under the roller), and re-numbered.
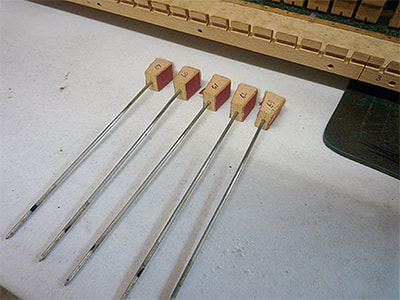
This is hammer #85 (top A) - as the hammers are packed, the remaining hammers are numbered in descending order 85 - 1.
This is hammer #85 (top A) - as the hammers are packed, the remaining hammers are numbered in descending order 85 - 1.
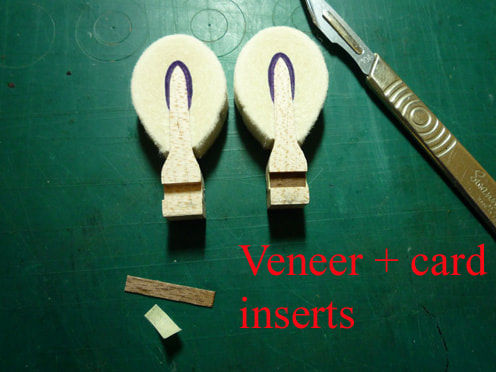
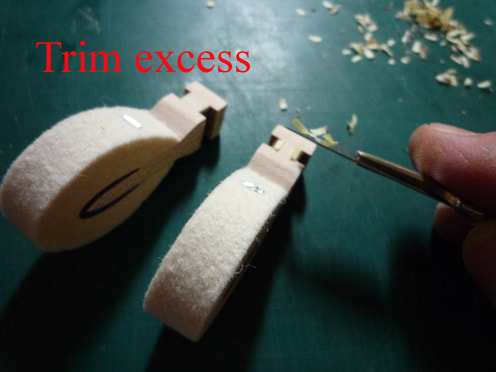
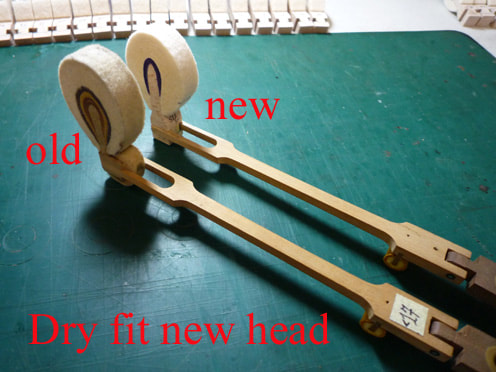
Due to the old shank fork ends being thinner/ wider than a new shank, the new heads only just hold onto the shanks.
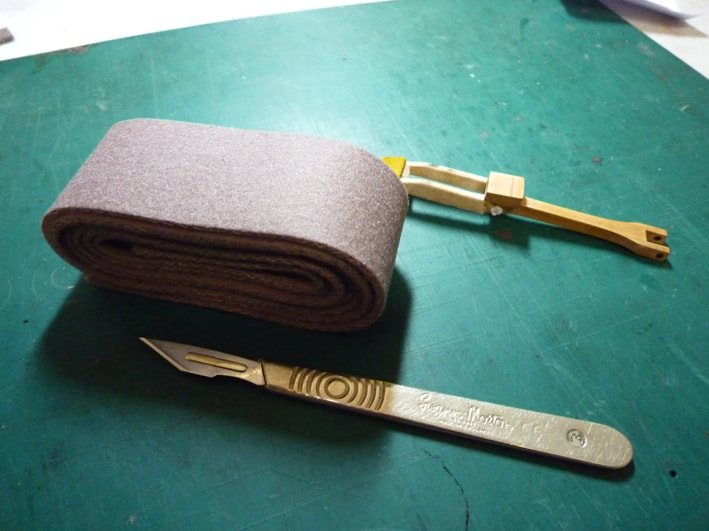
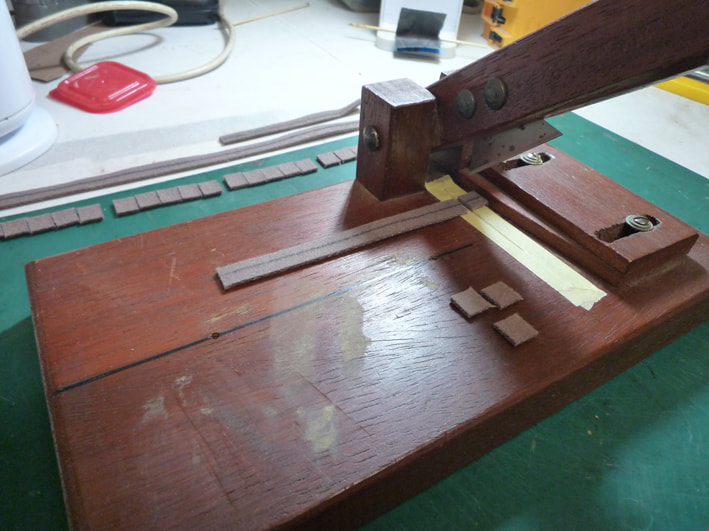
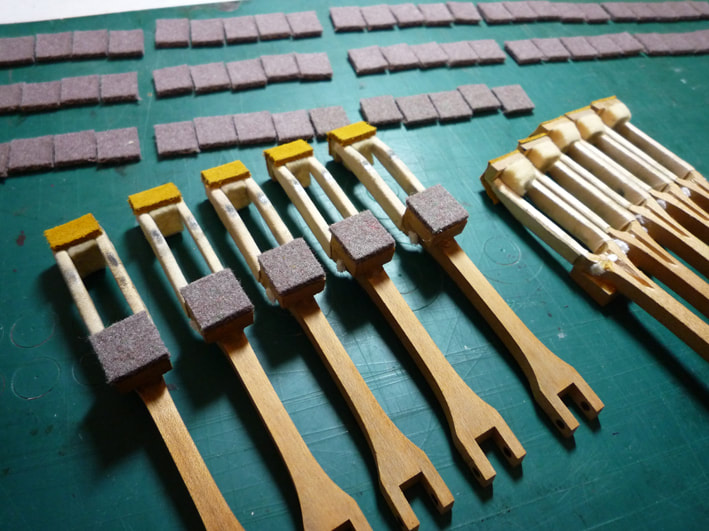
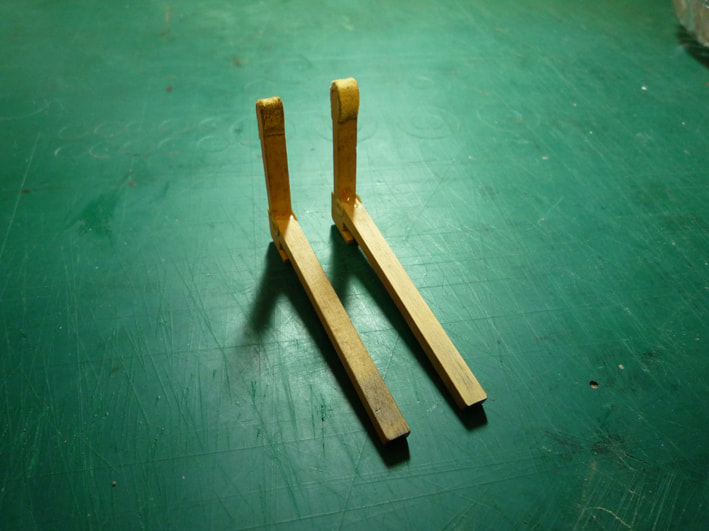
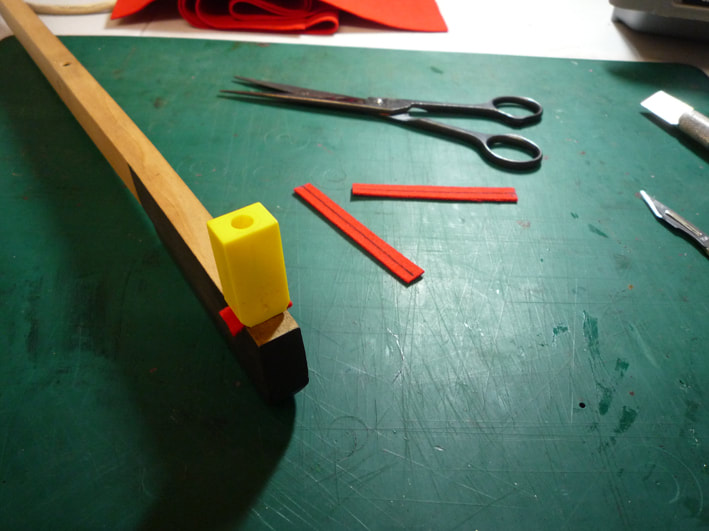
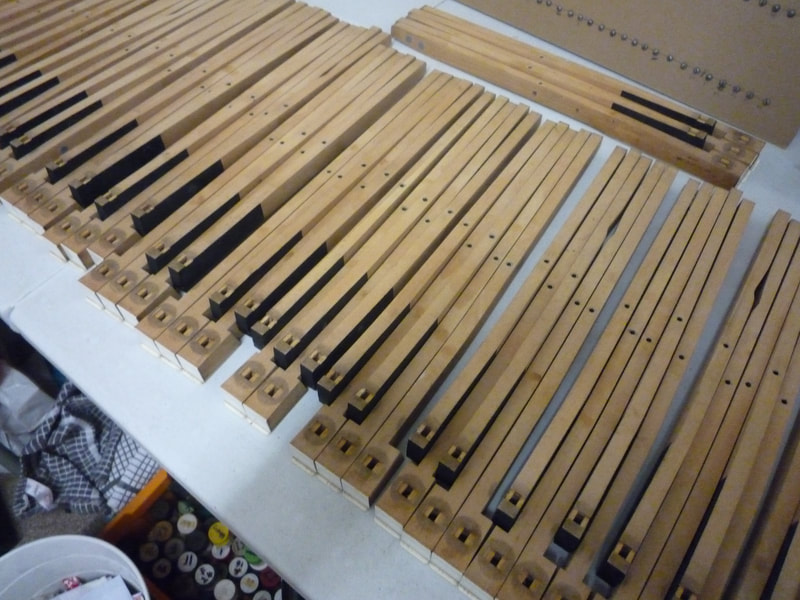
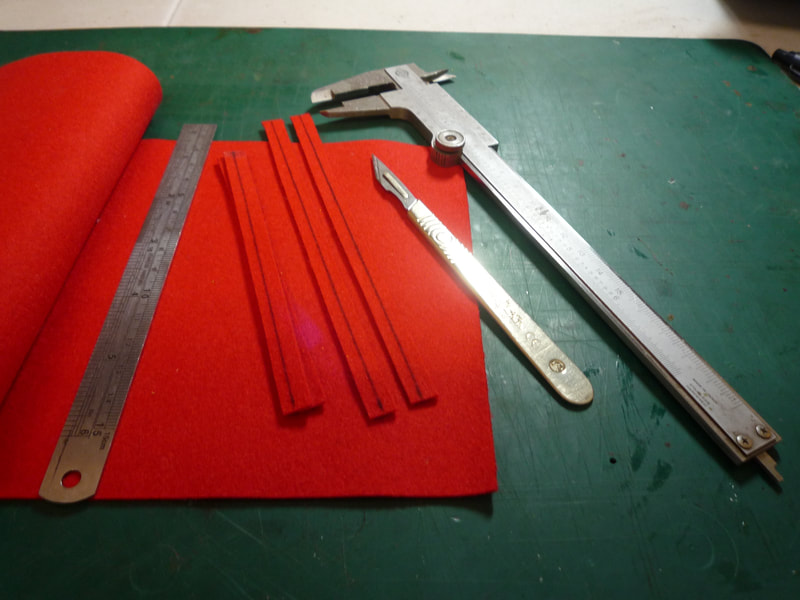
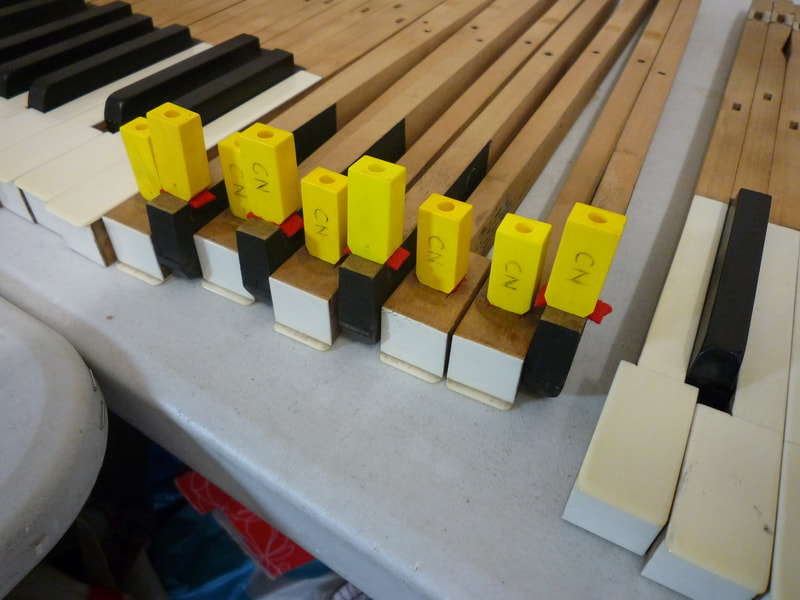
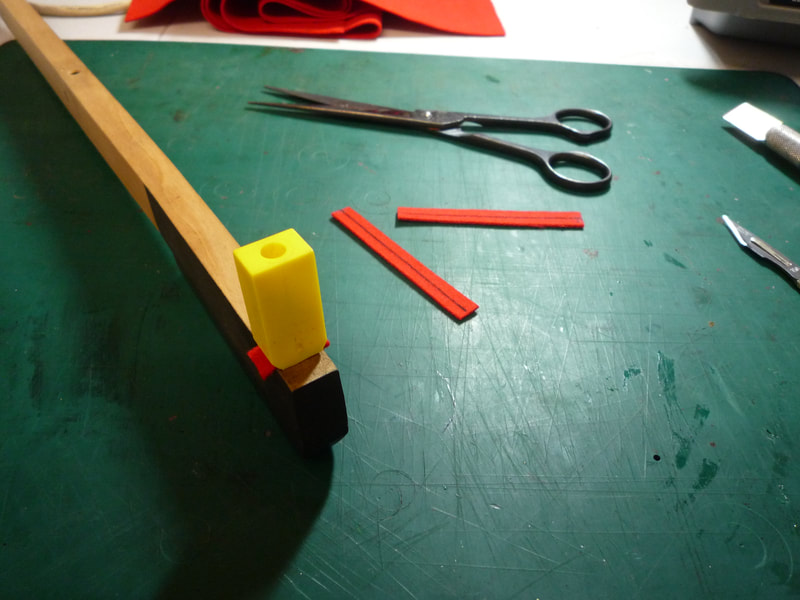
Cutting 2 strips of card and 2 strips of veneer per hammer, the depth of the grooves were just right to slot the head in.
Each piece of card and veneer have been glued into place, and the shank forks glide nicely, not too tight & not too loose.
Each hammer varied in thickness, so small paper shims were also added.
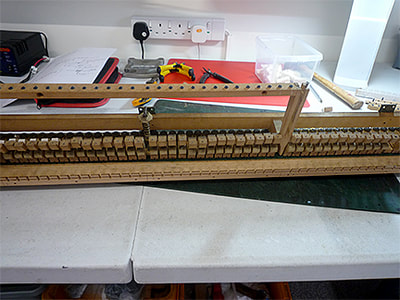
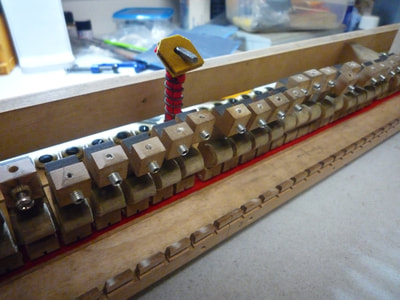
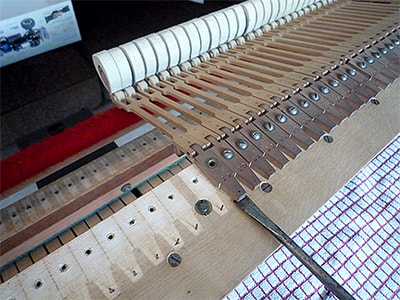
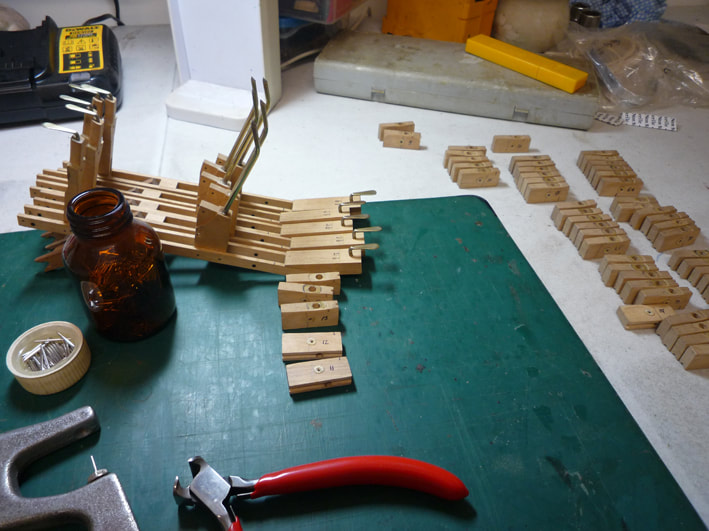
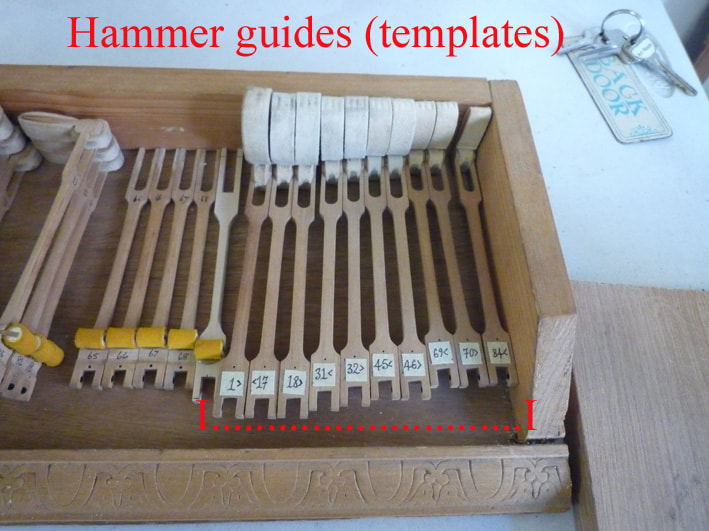
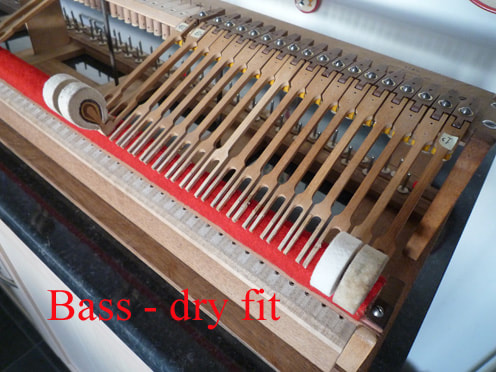
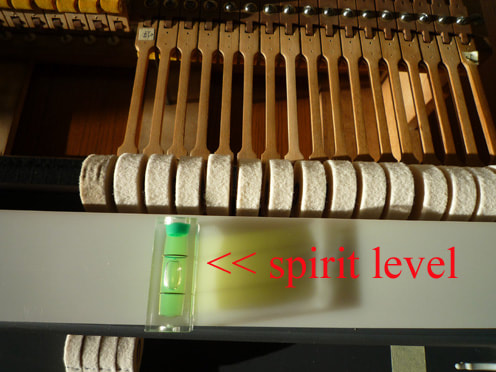
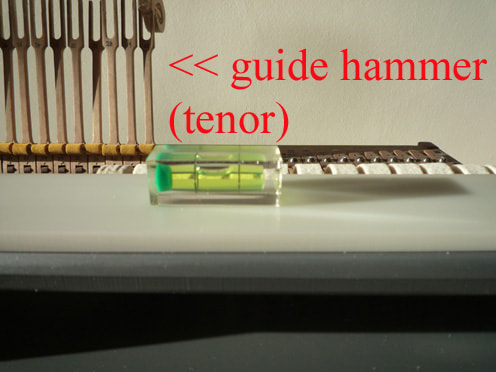
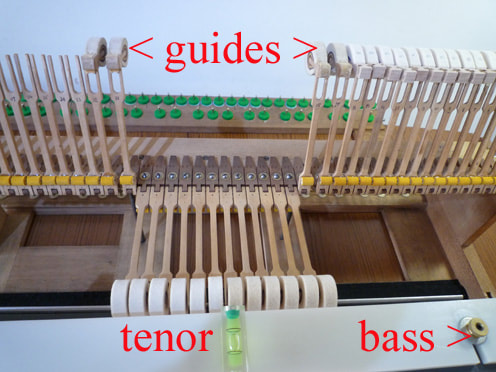
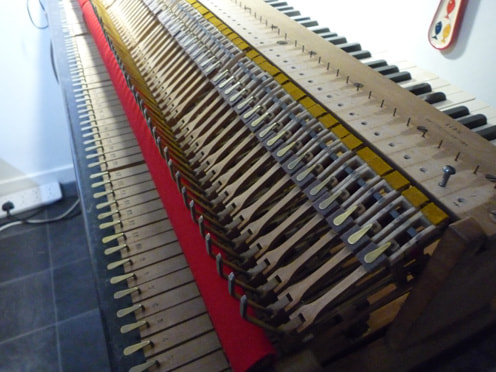
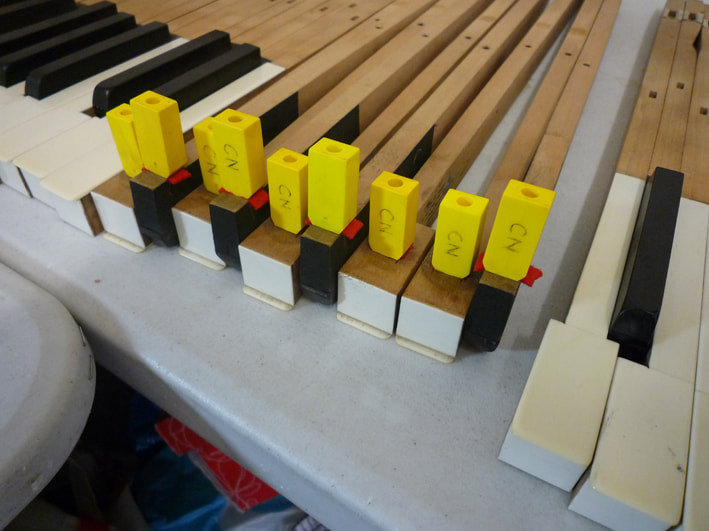
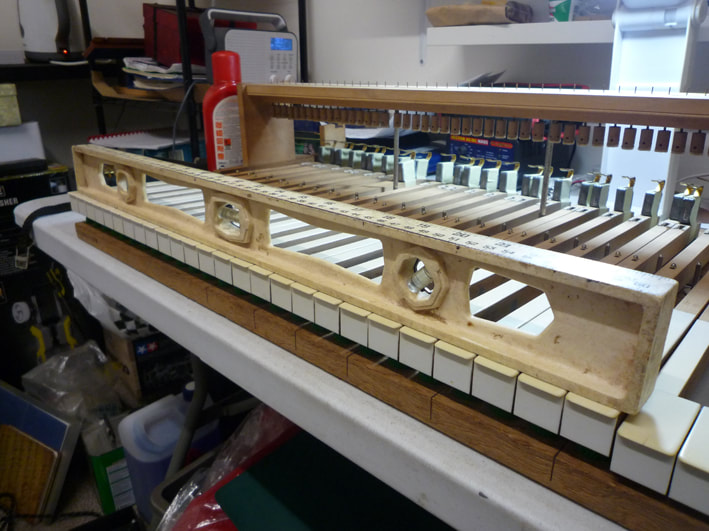
Starting from the bass end (hammers back to front), the guide hammers are installed at each end section, and the remaining shanks installed between. Each new hammer head is "dry" installed and aligned with its neighbour hammer evenly. The hammer rest rail is then removed to allow the hammer jig to be located, and the jig is set perfectly level using a spirit level. This ensures that each hammer is set at the correct angle and height.
Image 3 below (top far right) shows one of the hammer guides on the left. The old head will be removed later after the new heads have been glued in place, and all guide hammers will have their new heads on.
During various stages between, the "action" and hammer head alignment are tested dry inside the piano for string alignment.
This process is known as "hanging the hammers"
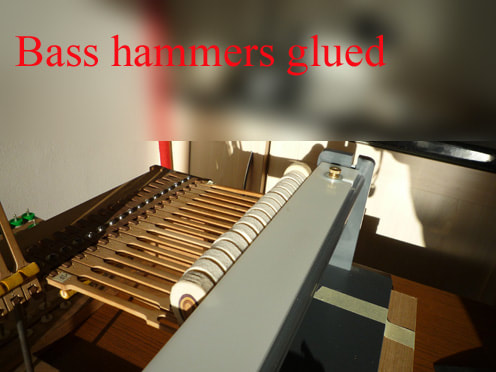
After Erard hammer installation (other pianos have different installation procedures), all the hammers are removed (all glued), the lever undercarriages are installed with the hammer rest rail. Various adjustments are made to the levers, and the height of the rest rail is checked/ adjusted ready for the new hammers to be re-installed.
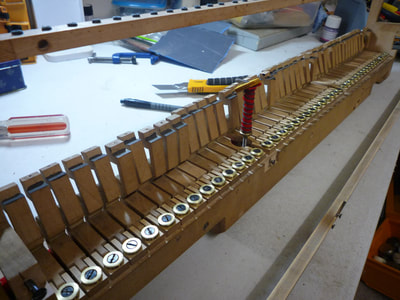
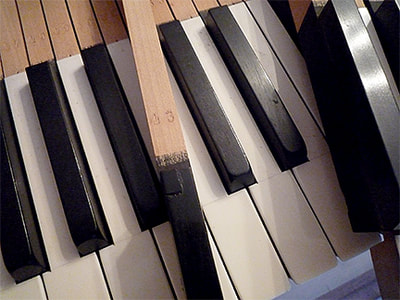
Just for your information; all the piano keys are also installed with the levers and the capstans snapped back into place. During this process the keys have been repeatedly checked (about 6 times) to ensure they don't stick down (or work slowly) with the new bushings. Should a key stick after installation (which is common), then all the hammers are lifted up in the air, the whole hammer rest rail and corresponding lever must be removed so that the key can be removed for adjustment. One day, I will make a special key easing tool to gain easy access to the key bushings. For anyone buying an old Erard grand piano, this is worth noting when you book your piano tuner.... some won't touch the mechanism, no matter how beautiful the piano looks..... so bear this in mind. It is recommended to use upright piano key easing pliers for sticking keys (Erard). Grand piano pliers will not fit the top key chasings.
Just for your information; all the piano keys are also installed with the levers and the capstans snapped back into place. During this process the keys have been repeatedly checked (about 6 times) to ensure they don't stick down (or work slowly) with the new bushings. Should a key stick after installation (which is common), then all the hammers are lifted up in the air, the whole hammer rest rail and corresponding lever must be removed so that the key can be removed for adjustment. One day, I will make a special key easing tool to gain easy access to the key bushings. For anyone buying an old Erard grand piano, this is worth noting when you book your piano tuner.... some won't touch the mechanism, no matter how beautiful the piano looks..... so bear this in mind. It is recommended to use upright piano key easing pliers for sticking keys (Erard). Grand piano pliers will not fit the top key chasings.
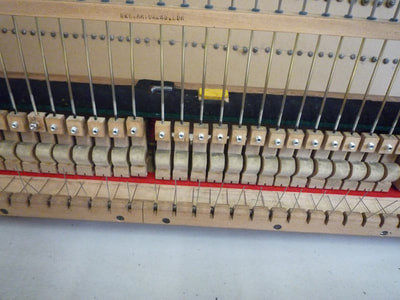
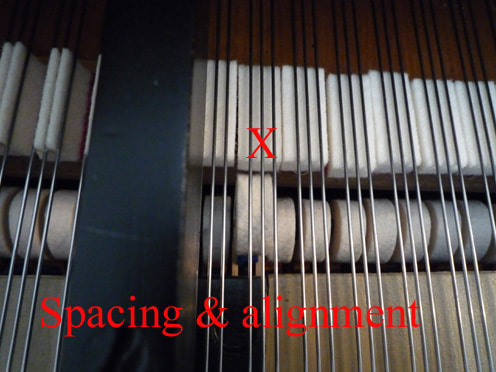
Just as a guide, I have started to install the bass hammers - but note how badly aligned they are.... this is normal. Hammer height/ alignment and spacing will be all over the place. The next job is to cut and fit the hammer check leathers/ felt to the top of the shanks. First stage alignment is done without the leathers, then once fitted, I have to start all over again.
The 2nd image below has the leathers fitted (out of view), and small adjustments are made to crank the hammer flange left or right, so that the centre of the head strikes the middle string on a tri-chord. This is critical to prevent the hammers from getting damaged.
The 2nd image below has the leathers fitted (out of view), and small adjustments are made to crank the hammer flange left or right, so that the centre of the head strikes the middle string on a tri-chord. This is critical to prevent the hammers from getting damaged.
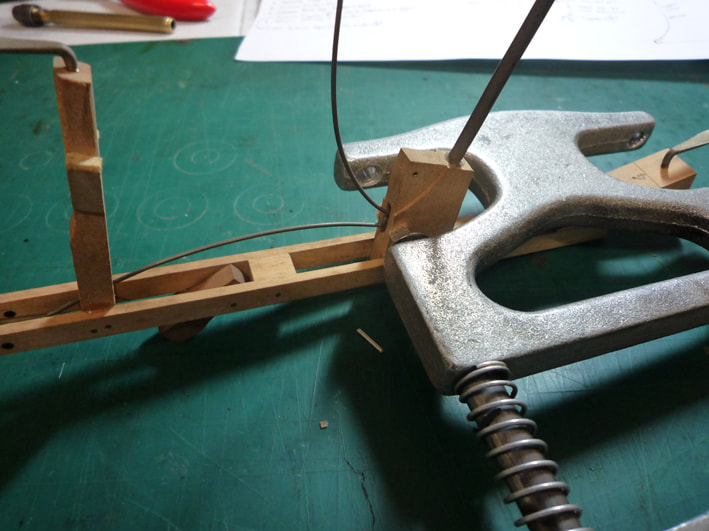
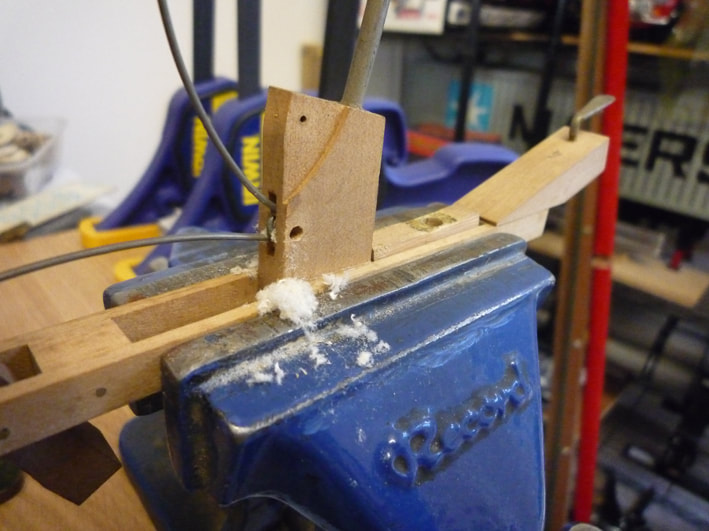
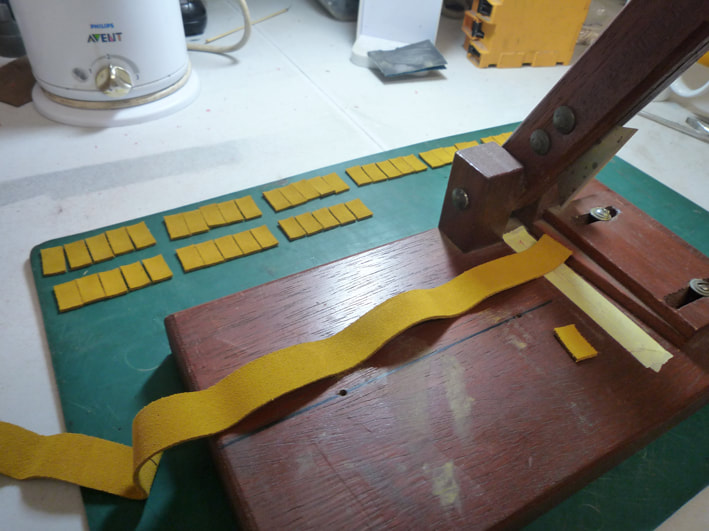
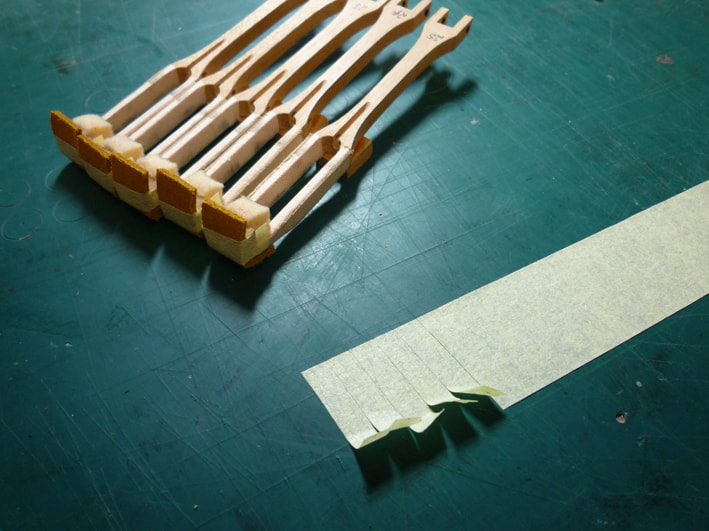
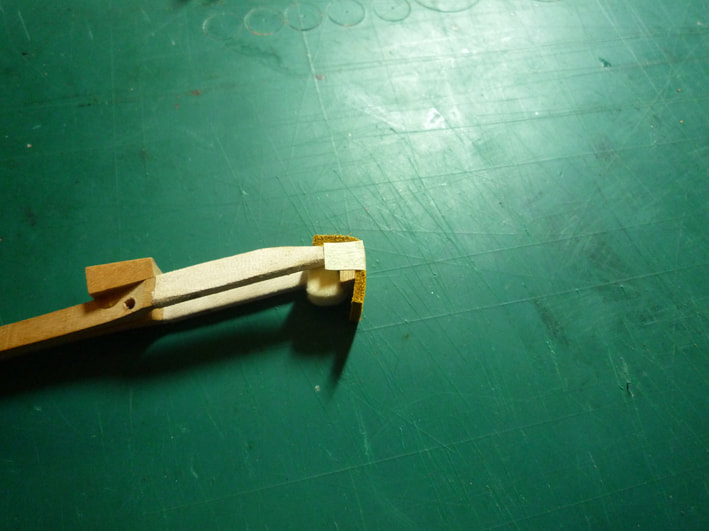
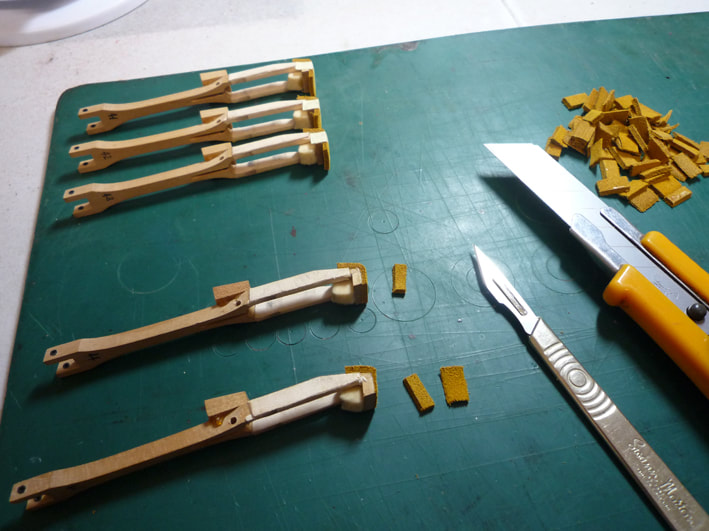
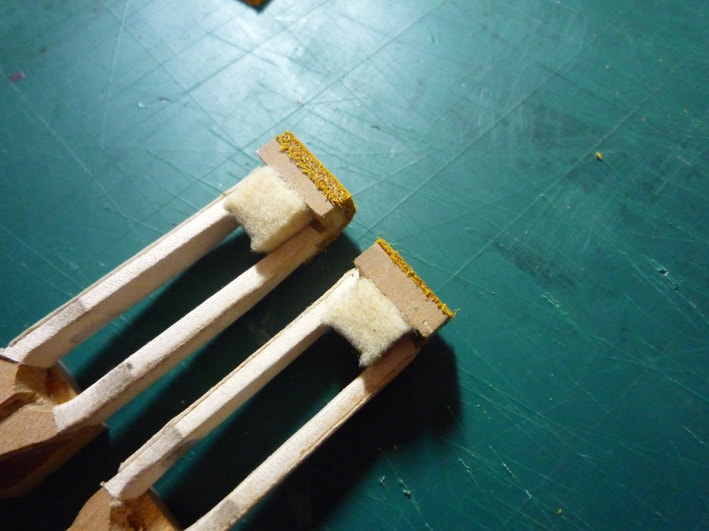
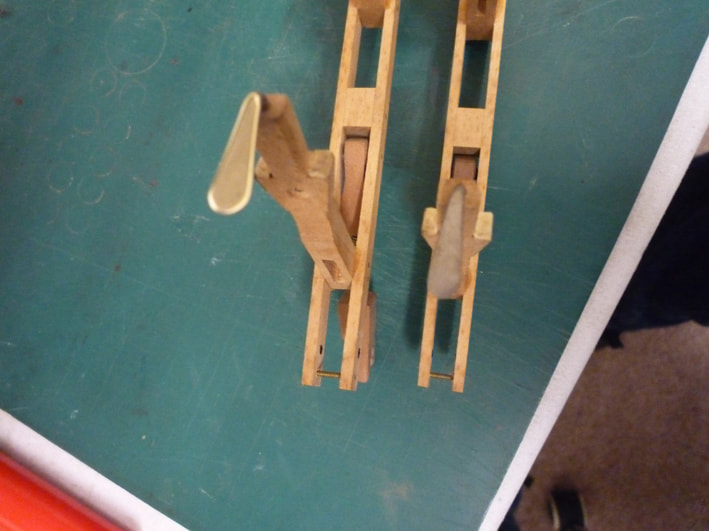
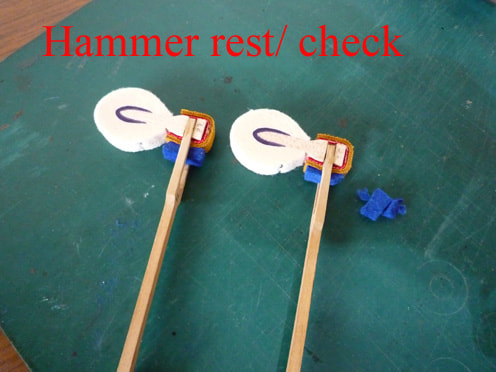
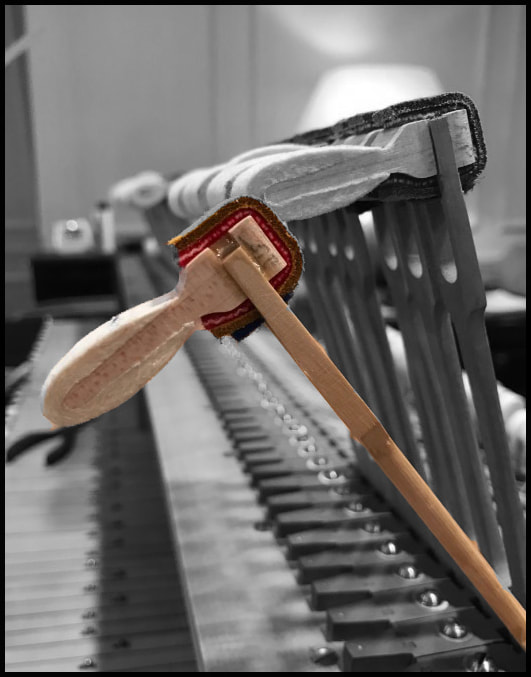
After the hammer strikes and rebounds from the string(s), it is caught by a long thick dog-leg serrated wire - the "check" (on the lever). This holds the hammer in place to prevent it from rebounding and hitting the string several more times. This action is quite common on old pianos with worn check leathers. Standard grand pianos have their checks at the back of the mechanism, attached to the piano key, however the Erard check mechanism is near the middle, and the check wire protrudes through the forks on the hammer shank. To ensure good "checking" and also add the required weight to the piano hammer (and rebound from the rest rail), thick leather (up to 4mm) is wrapped and glued around the top of the hammer head, and passes through the shank forks. This 1860 Erard had lots of problems with this mechanism movement, due to historic movement of the rails and parts, so various strips of cloth and felt were added to certain hammers to compensate for the age and curvature of the mechanism. This made other adjustments easier.
Left: Hammer check leathers & felt fitted. Middle: Adjustment of checking. Right: Rear of hammers checking spacing on rest rail.
Left: Hammer check leathers & felt fitted. Middle: Adjustment of checking. Right: Rear of hammers checking spacing on rest rail.
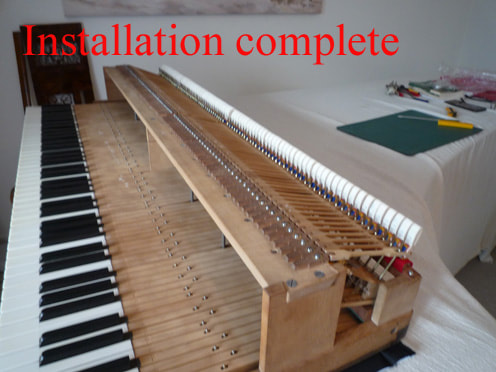
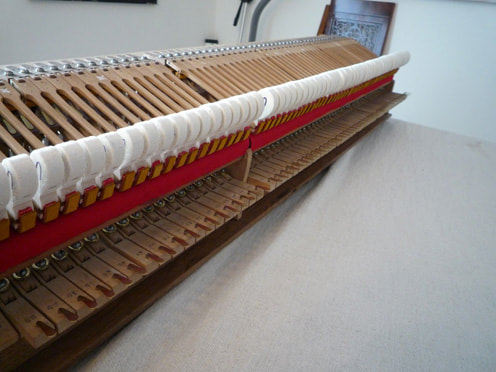
The mechanism is now complete (for now!). Over a period of about 12-18 months, various adjustments will be required such as tweaking the odd hammer height, spacing and alignment. At the moment, the hammer heads have a "medium/soft" tone, and very pleasing to the ear, especially in the bass. The client may decide at a later date to have the hammers re-toned again for a softer tone.
The hammers are best left as they are for now, and re-toning carried out after about 6 months, so as not to disturb the settings of other parts. All the piano keys, levers and hammers are now perfectly aligned.
The hammers are best left as they are for now, and re-toning carried out after about 6 months, so as not to disturb the settings of other parts. All the piano keys, levers and hammers are now perfectly aligned.
019 MUSIC TRAY
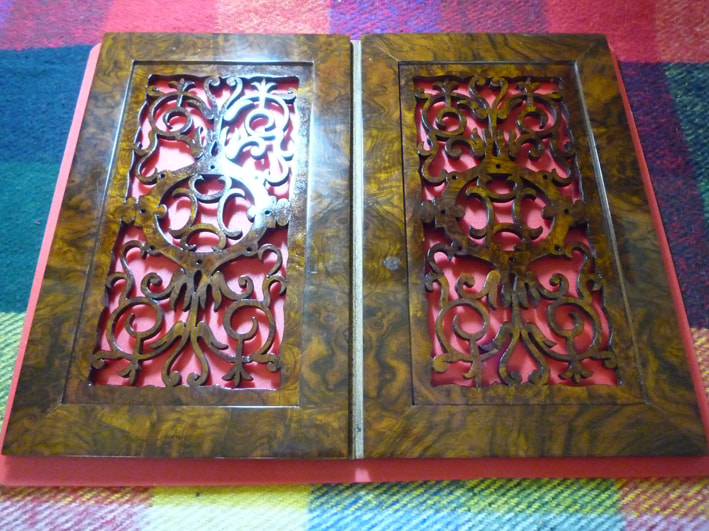
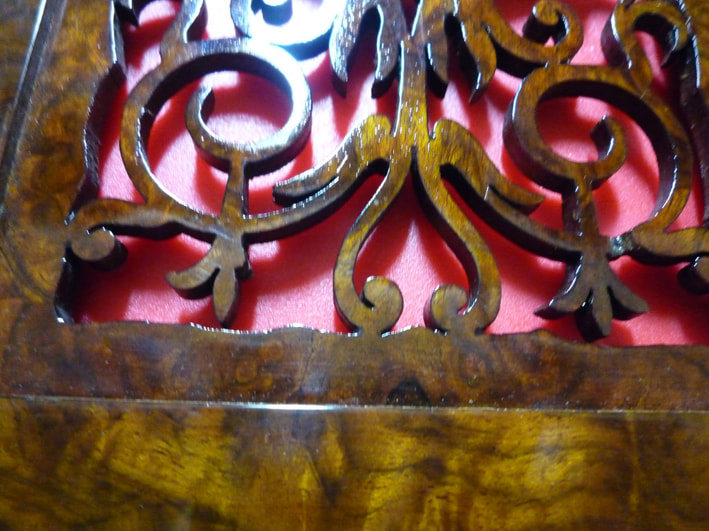
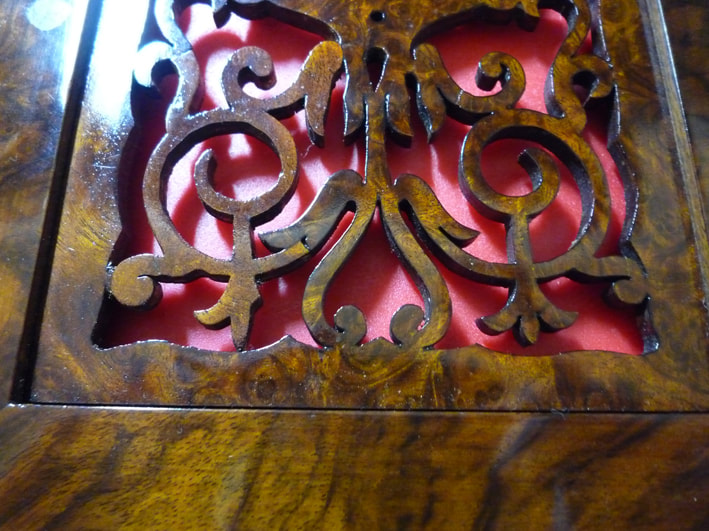
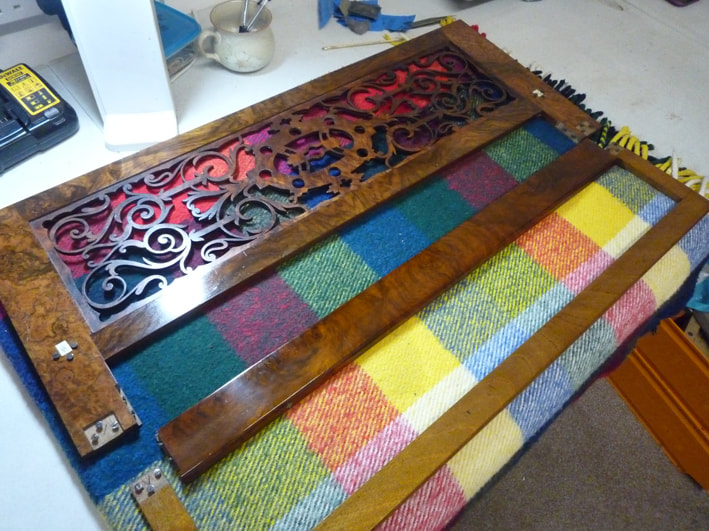
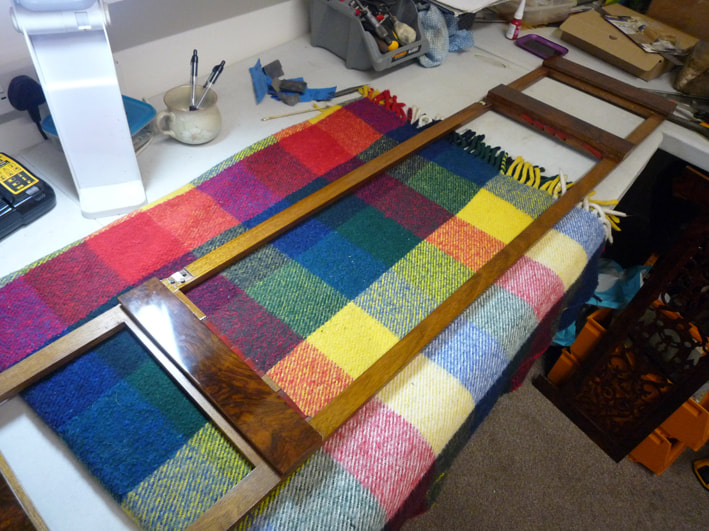
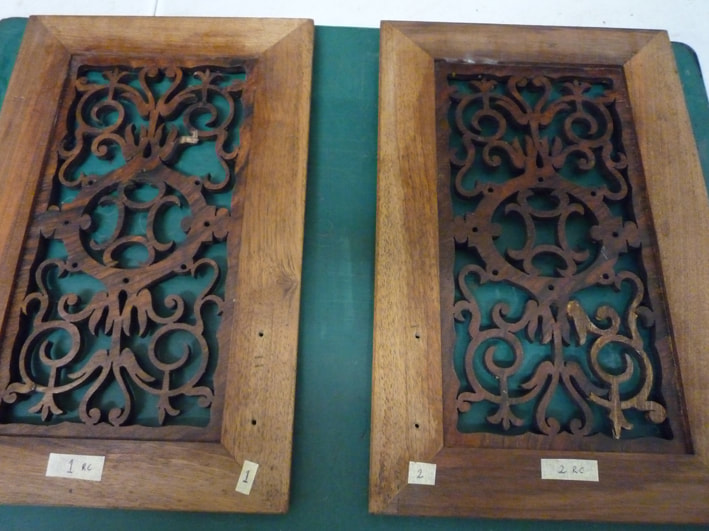
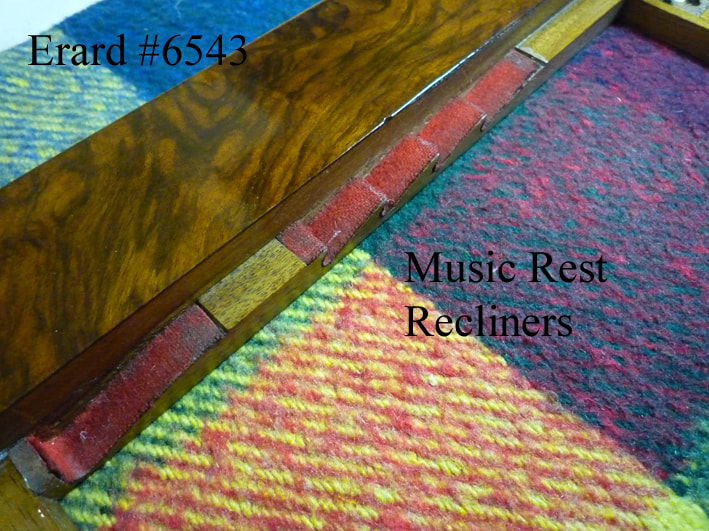
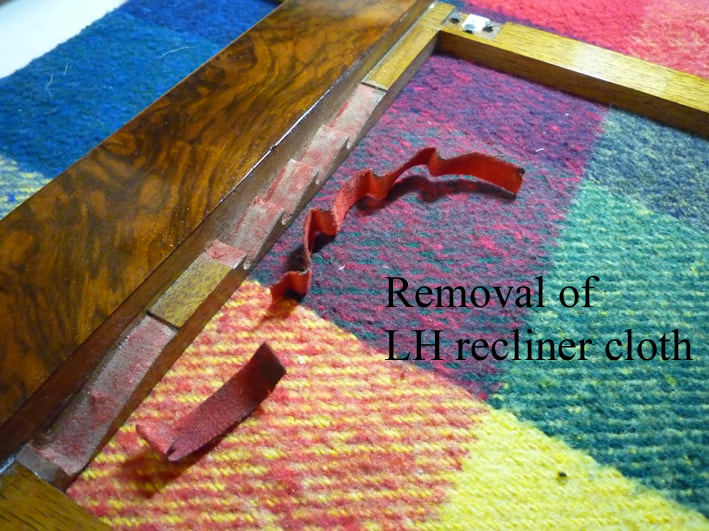
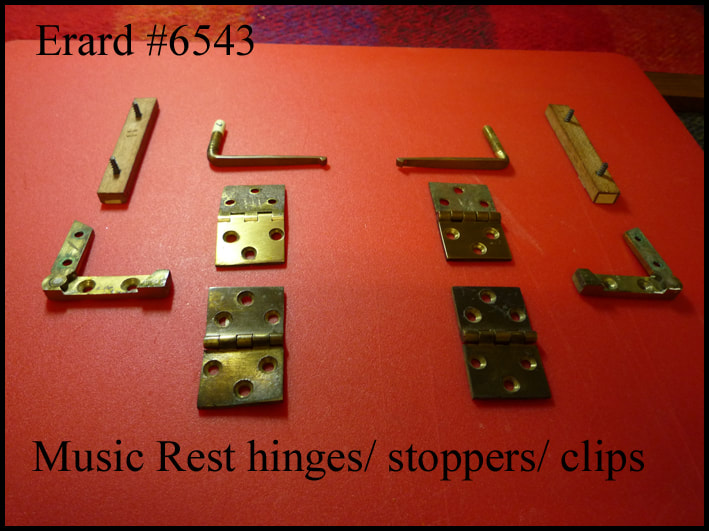
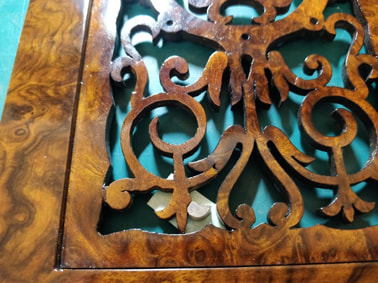
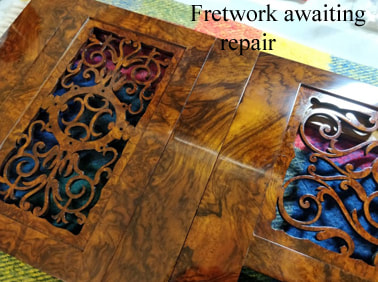
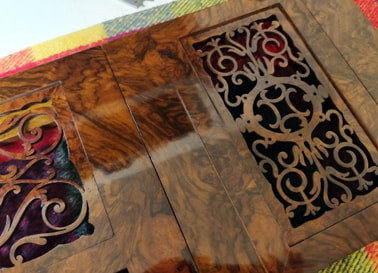
The most attractive part of the piano is the detailed music tray. This consists of the main frame, recliners, two sliding coasters, music book rest and the appropriate framework - all set in hand-carved "fleur de lis" foliage, scrolls and various carvings.
The area under the music tray was badly scratched with various dents, gouges and marks.
Some of the fret work was missing or broken, and generally the rear framework required strengthening.
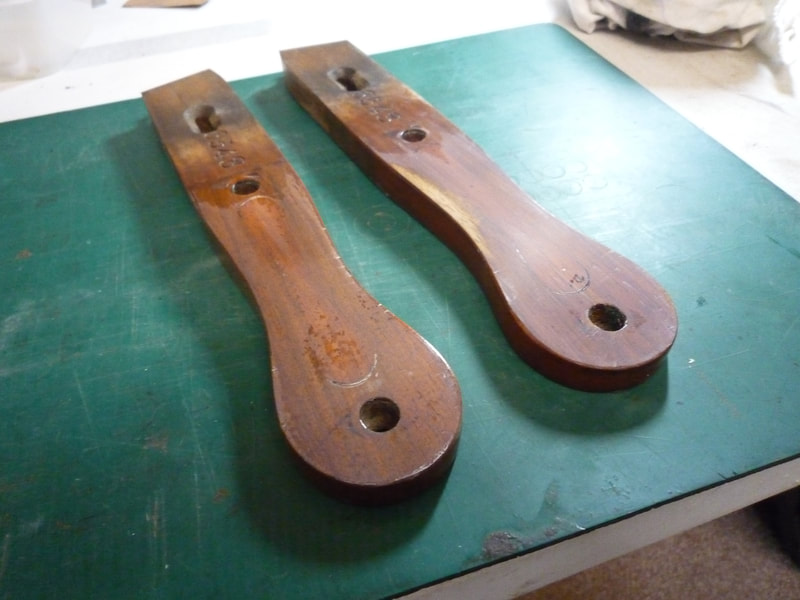
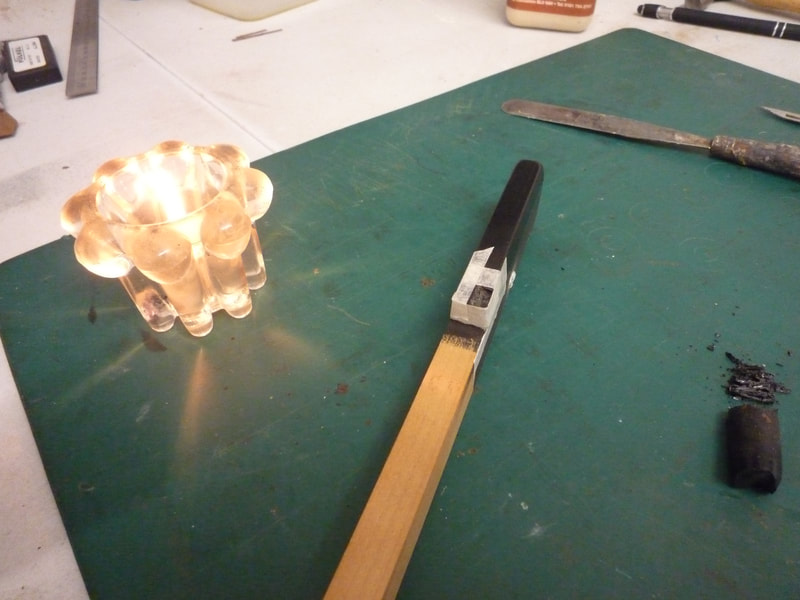
Work included hand-crafting (by eye) 2 X flower buds in maple, then topped with walnut veneer. All rear sections of the carvings were joined back together, and some shellac sticks were used for filling gaps. Lightly sanded and polished. See some of the work below >>
020 KEYBOARD - stage 2
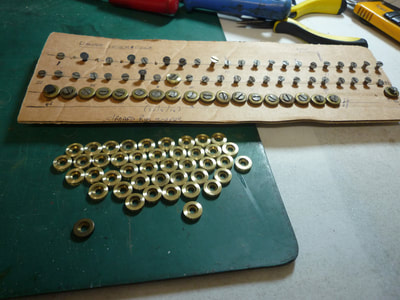
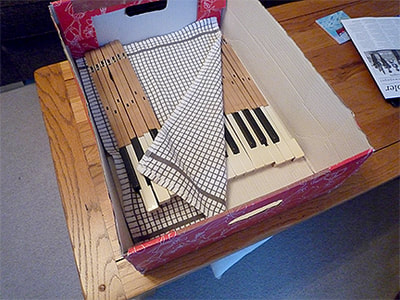
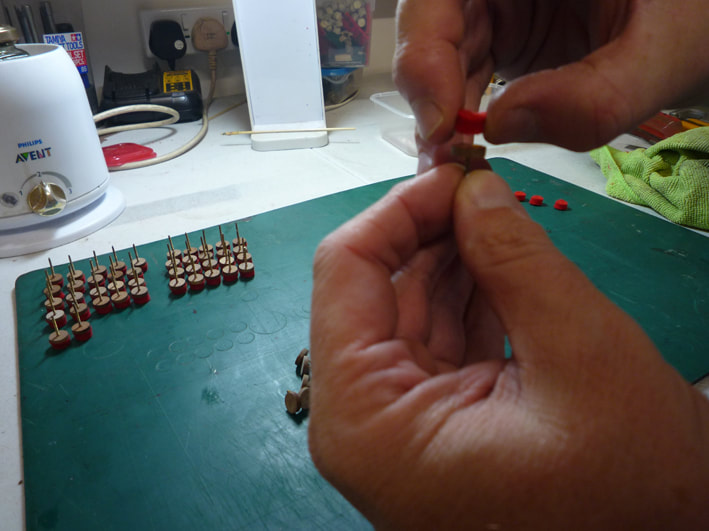
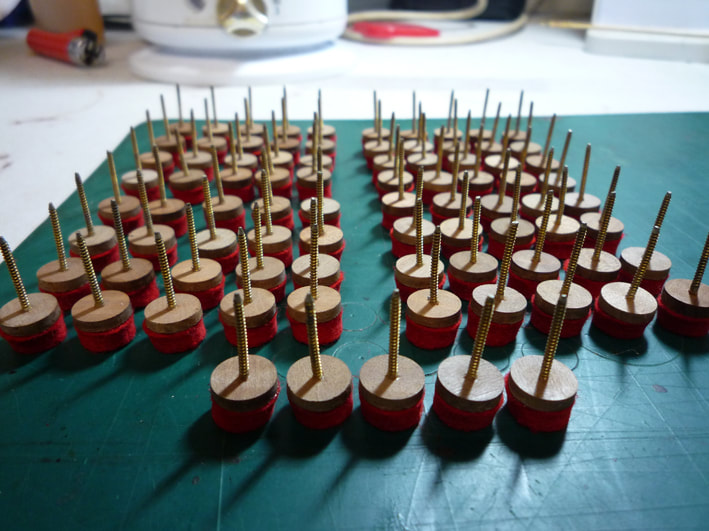
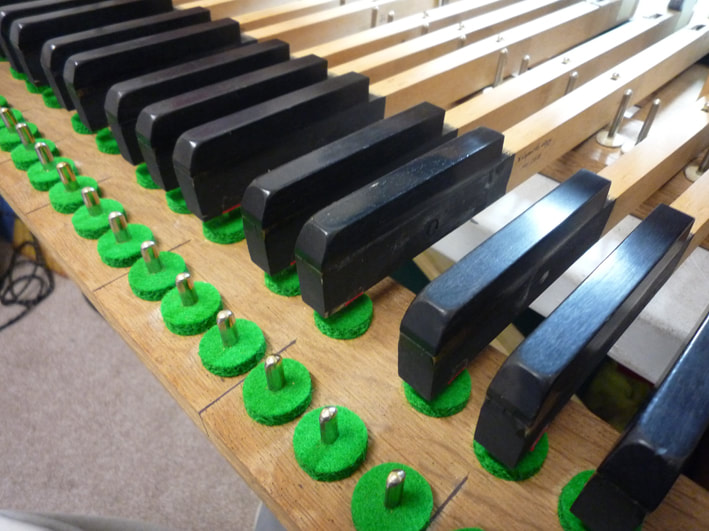
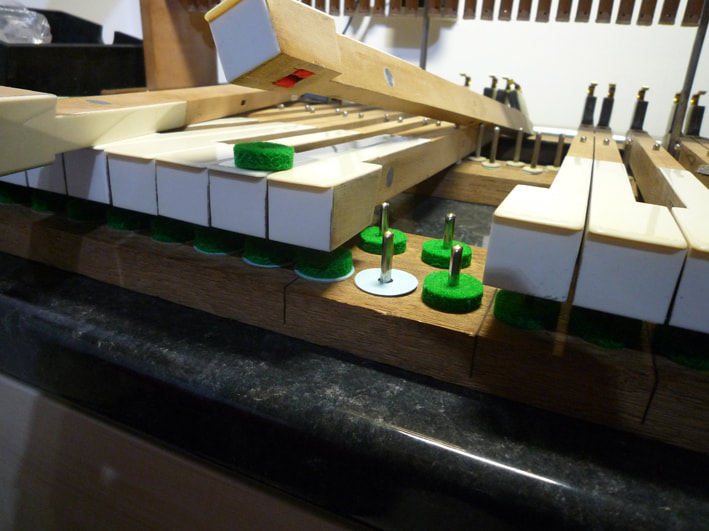
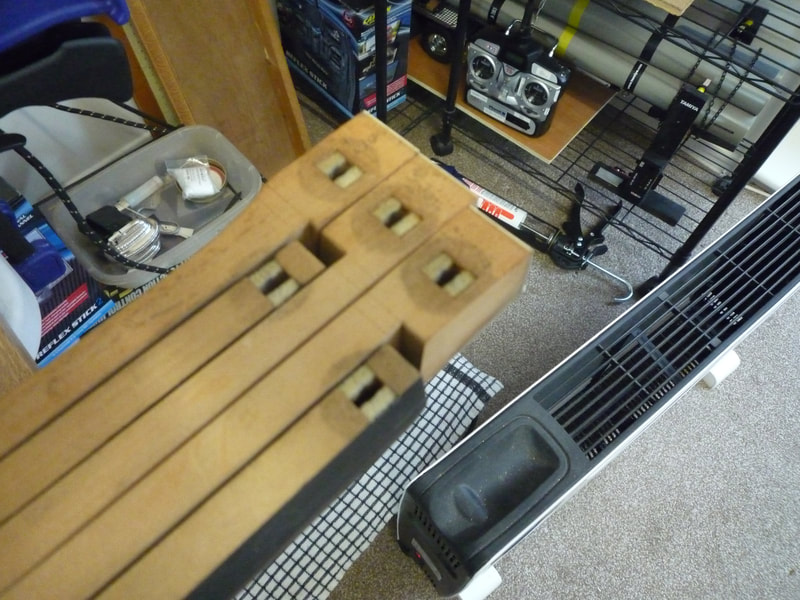
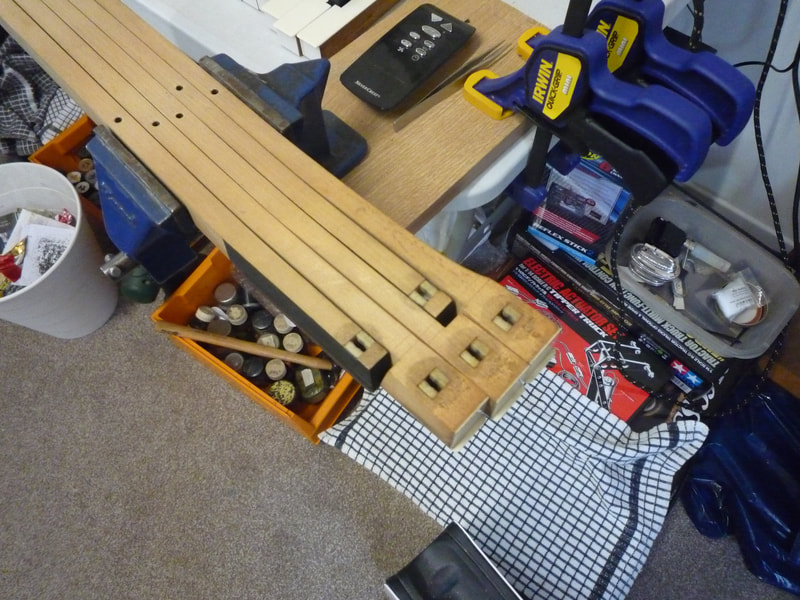
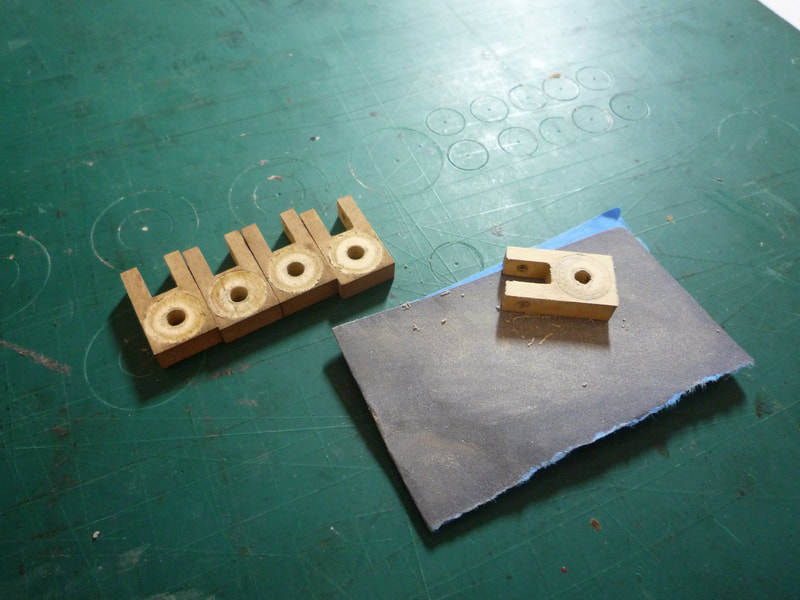
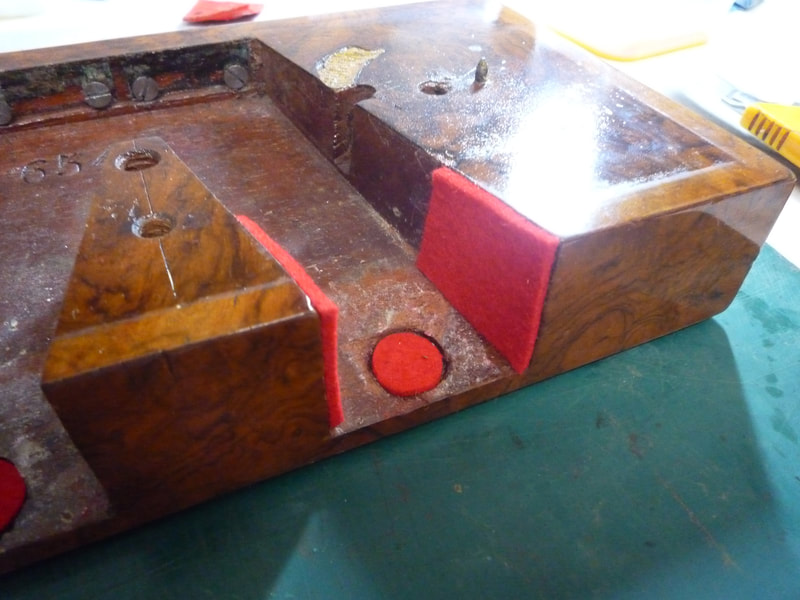
Images showing re-bushing, key levelling and new key frame baize/ card/ paper washers.
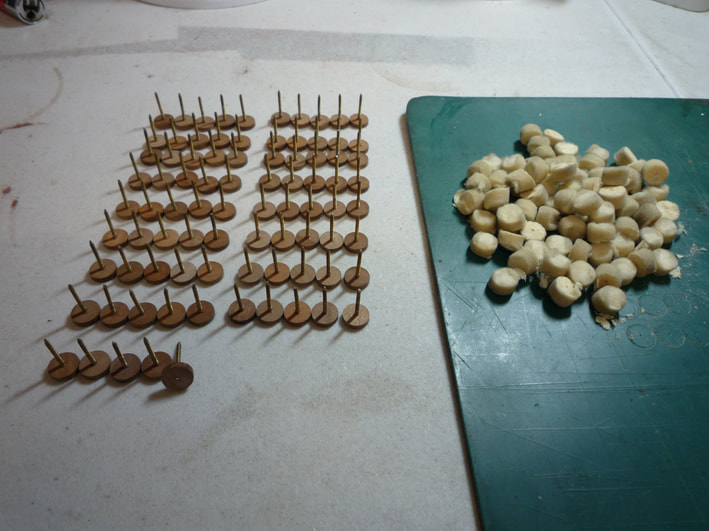
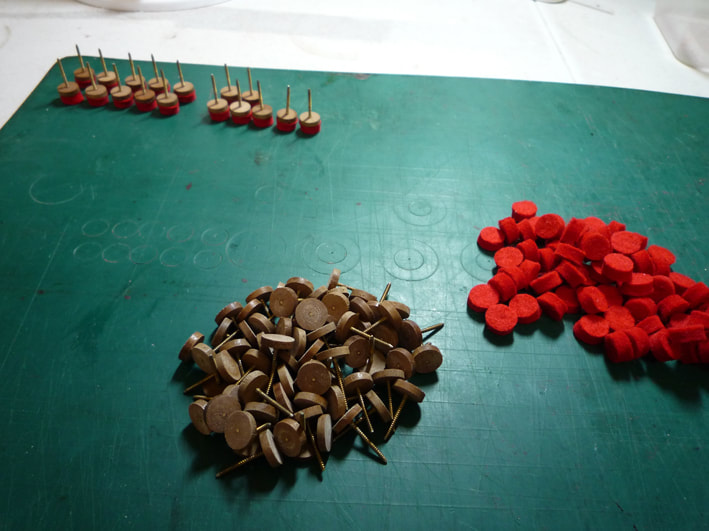
All the original washers have been kept - some are punched from old newspapers dated from the late 1800s.
Some of the card washers have various French inscriptions, and there is even an advert selling a steam engine!
**Discovered later, click here to see the archive newspaper dated 1861, which shows an original paper washer from this piano**
021 MISCELLANEOUS
A varied selection of restoration images including "in between" stages/ prep work/ cleaning/ sanding & polishing.
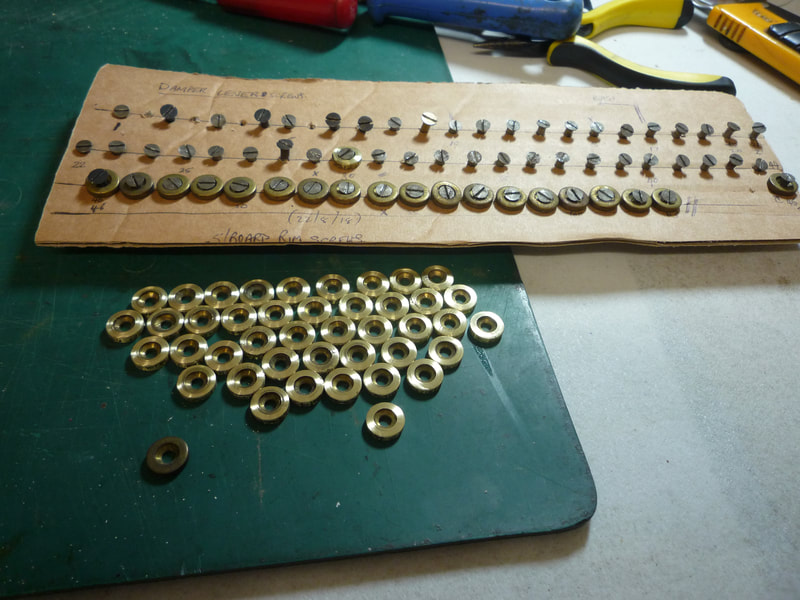
All washers, screws and fixtures are strictly kept in the correct numbered order. All these parts are machine-cleaned, burnished, polished and (where appropriate) lacquered for a life-time sealed guarantee.
022 NAMING THE PARTS (main framework/ structural)
(Click image to enlarge)
(Click image to enlarge)
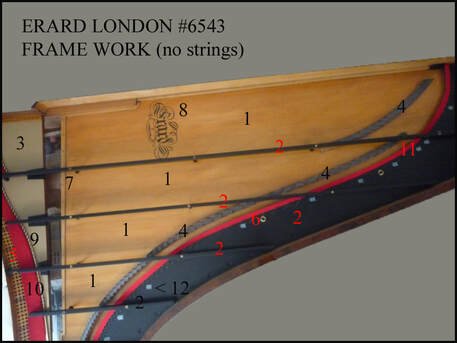
1. Soundboard (spruce)
2. Cast iron frame / brace bars
3. Wrest plank & agraffe support plank
4. Bridges & bridge pins (maple)
5. (left of 9); Wrest plank/ tuning pins area
6. Treble Iron frame stringing felt
7. Soundboard rim (supported with 22 screws)
8. New "Erard London" decal (made to order)
9. Agraffes
10 Stringing cloth (downbearing)
11.Bass iron frame stringing felt
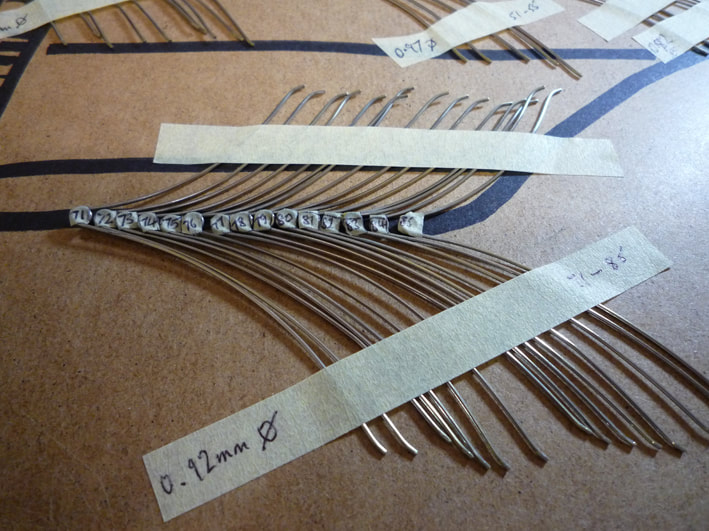
12. Labels marking string gauges
023 TUNING TEST / SOUND QUALITY CONTROL
Upon part-completion, the piano went through previous rigorous tests to check the tuning stability, touch, mechanism and sound quality.
Colin playing Beethoven's Moonlight Sonata (1st movement) in C# minor.
Please note: The leg & castor support dolly wheels are only used for restoration purposes. (May be purchased separately)
024 PACKAGING & SHIPPING/ STORAGE
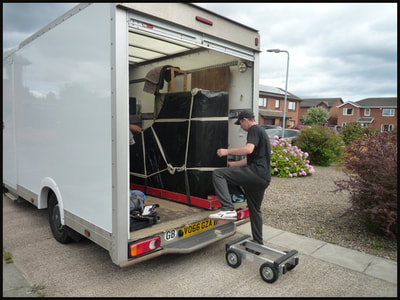
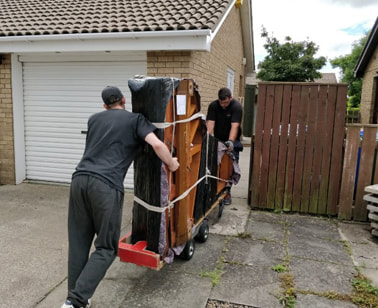
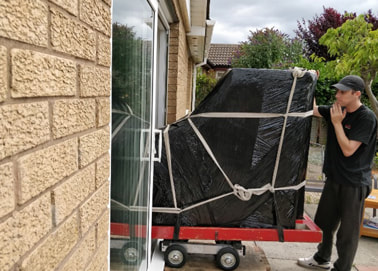
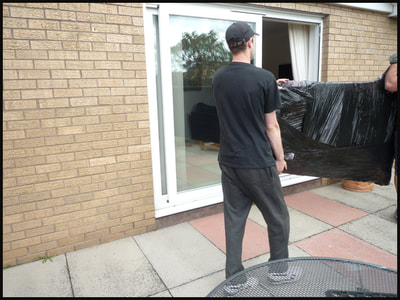
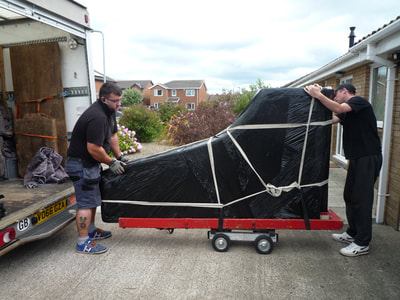
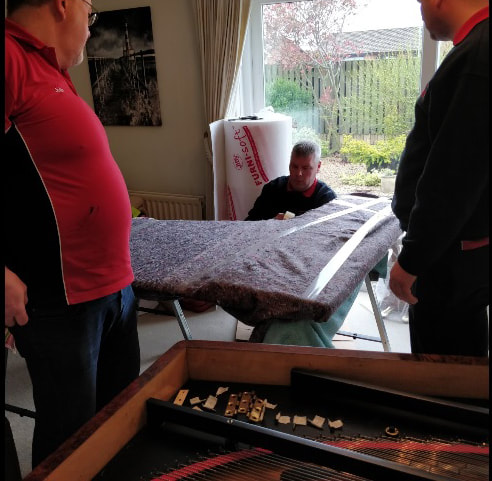
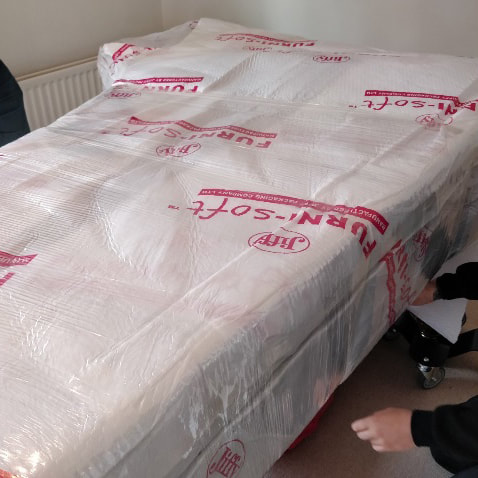
Extensive work was carried out (about 90 minutes) to ensure that the piano was wrapped properly prior to storage.
There were about four layers including wax paper, blankets, cloths, lined air plastic wrap (like bubble wrap, but lined.
Some of the layers were duplicated for added protection.
NB** If ever you pack a piano for storage/ shipping, NEVER allow "bubble wrap" to come into direct contact with the piano cabinet.
There is a protection coating (like silicon) which is difficult to remove bubble mark impression marks on French Polish.
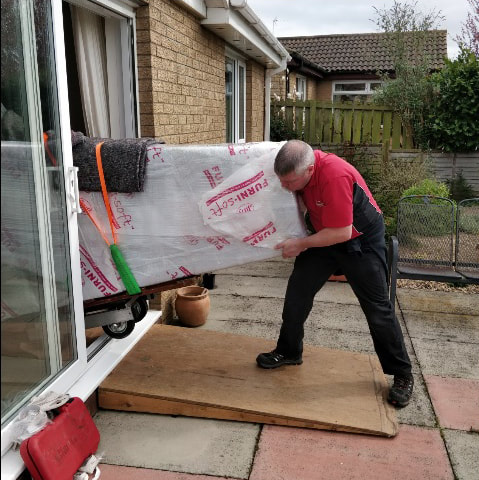
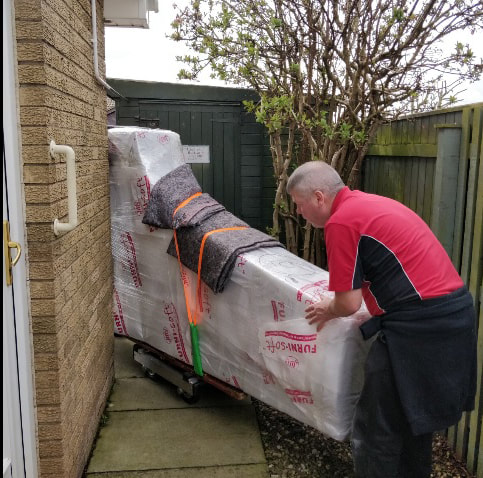
Images (left to right)
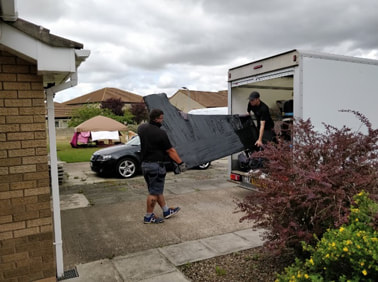
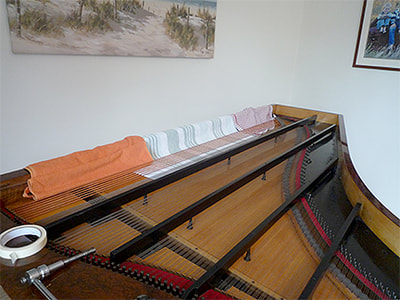
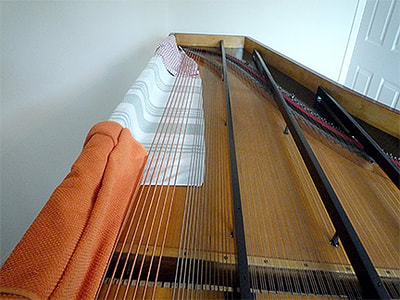
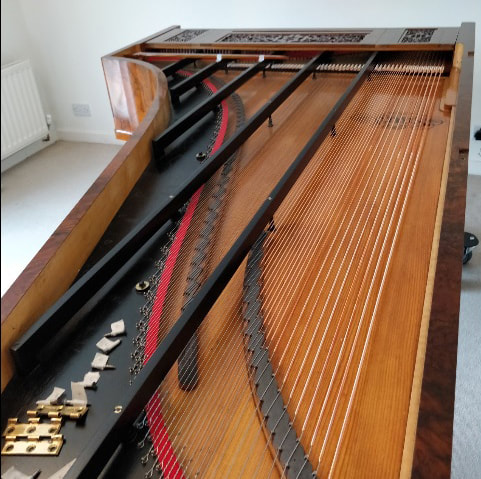
1. Top lid supported on 2 A-frame trestles/ wrapped in blankets & taped.
2. Top lid cabinet hinges, pins and screws arranged & labelled into correct order.
3. Wax paper lining (not shown), and covered in lined air wrap.
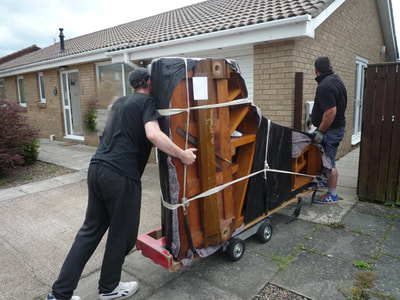
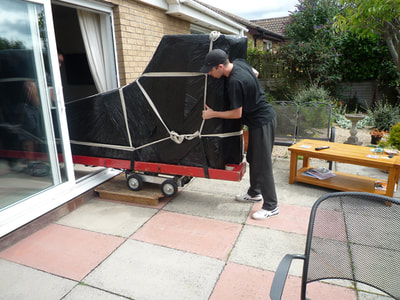
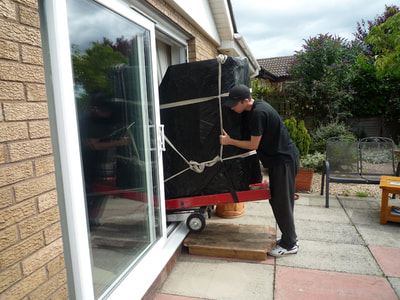
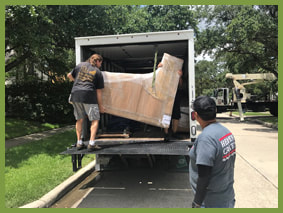
4. Piano steered out of rear doors
5. Negotiating a tight bend towards side gate
6. All hands on deck to support and balance piano on tail lift (see my Facebook page for the video)
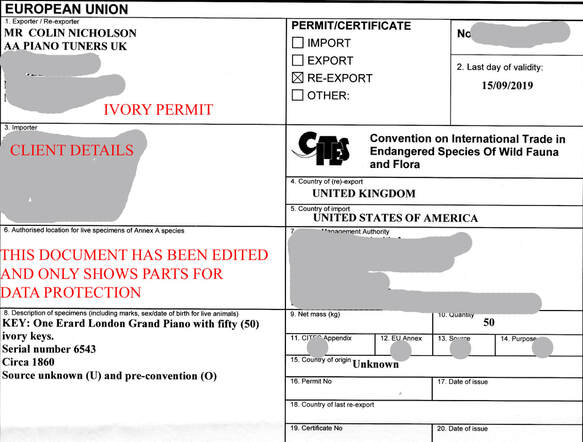
025 IVORY PERMIT (CITES) - WORD OF WARNING
As this piano is leaving Europe, and its final destination to be USA, by law, the piano MUST be accompanied with an appropriate re-export permit before it leaves the country. This is governed by CITES (not CITIES). Aswell as having a "leaving" permit (for re-export), the piano must also have an "arrival" permit - IMPORT - for when the piano arrives at customs in the USA. This applies to ALL non-European countries.... so TWO permits are required. If you get stuck, please contact me for some advise (phone only). The client (owner) of the piano needed to make their own permit arrangements before the piano reached their country (this was out of my hands) - so always seek professional help from your shipping company. Some shipping companies may arrange this for you, some don't - so always ask.
As an example, here is the top part of an Ivory permit document (heavily edited for obvious reasons).
DON'T GET CAUGHT OUT! .... if you lapse any part of this, your piano may be confiscated.
THE PIANO HAS ARRIVED !!
We were SO so excited to see the piano, safely transported.
Here are a few photos
From left to right:-
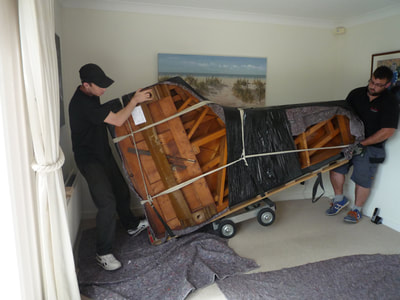
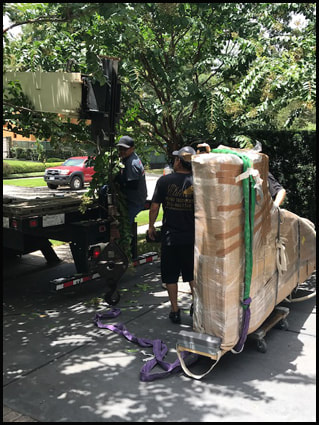
1. Removing top lid from van. (See the crane ready on the right)
2. Preparing piano to be winched 3 floors up - I like the green chains
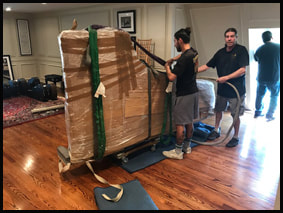
3. Top lid successfully winched into the apartment.
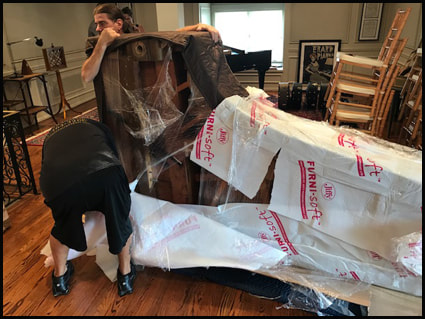
4. Unpacking the piano. Notice the brown quilted cover - this was specially commissioned and bespoke made for this piano only.
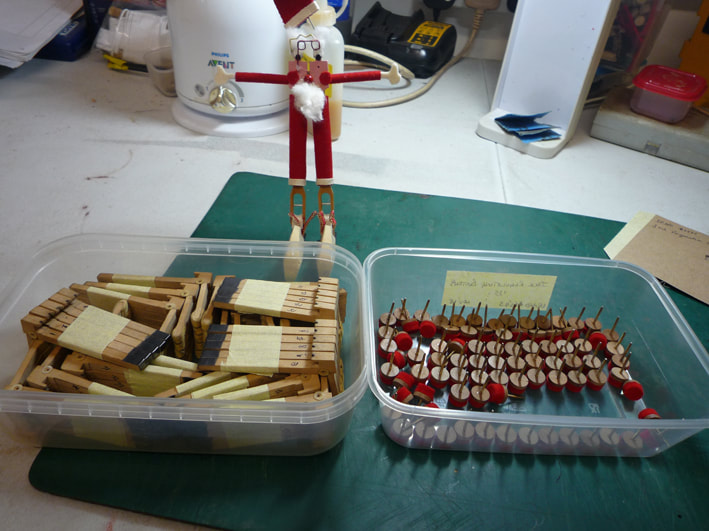
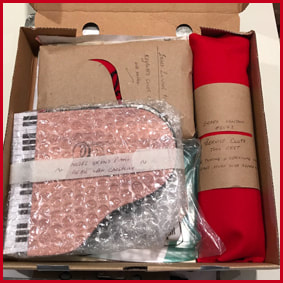
5. "Goody" box (1 of 2) showing scarlet service & tuning cloth / key covering cloth, and miniature model of an Erard (my Mum made)!
Other items include the lid hinges & screws, washers & spacers from the mid 1800s, top lid lock etc.
The other goody bag includes the original keyboard spacer washers, made from a 1861 newspaper article.... read more
6. Removing the wax protector and revealing the power of Erard with all its new strings, and restored frame.
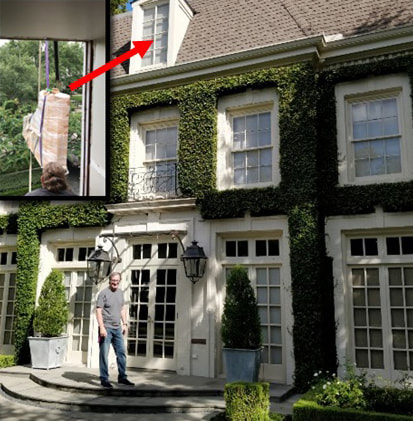
7. Piano being winched to the window terrace opening.
Next plans?
I am awaiting a visit to the USA (via New York) to meet the client around end of September.
The piano will be finally assembled (top lid, humidifiers etc.) and tuned/ checked over by myself.
I just want to express my sincere thanks to everyone involved in this project, especially my client who has been wonderful to work with from start to finish. A few delays here and there, but well worth the wait!!
Oh yeh.... we are also planning a visit to NASA Space City (you couldn't make this up)
>>Click here to view original archive information from just a newspaper washer in this piano <<
HOUSTON, TEXAS. UNITED STATES OF AMERICA TRIP
Flight arrangements were made for the 5,000 mile journey.(British Airways)
Newcastle Airport >> Heathrow, London >> George Bush Intercontinental Airport, Houston, Texas, USA.
Approx. 12 hours journey time, clocks back 6 hours.
Flight arrangements were made for the 5,000 mile journey.(British Airways)
Newcastle Airport >> Heathrow, London >> George Bush Intercontinental Airport, Houston, Texas, USA.
Approx. 12 hours journey time, clocks back 6 hours.
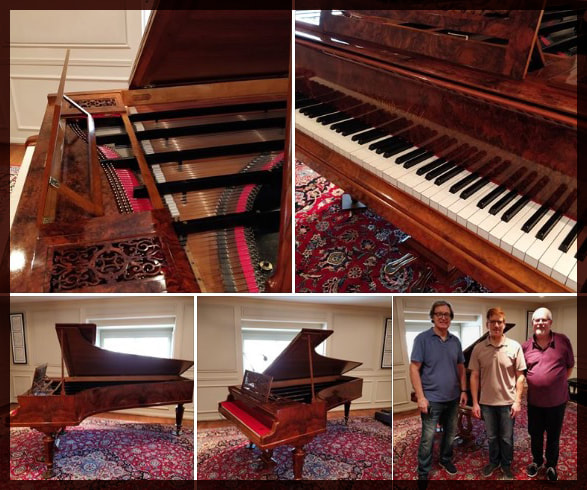
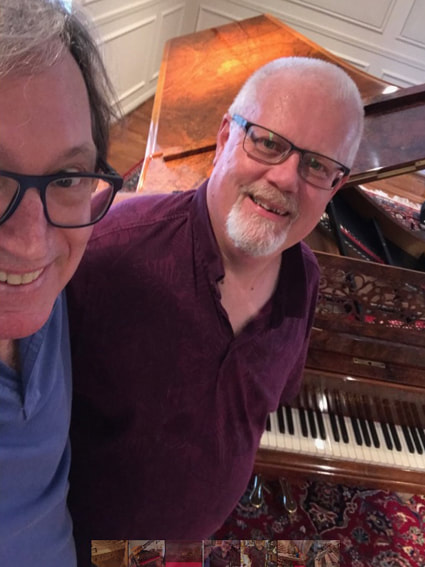
Final preparation to the piano including installation of pedal lyre, top lid, adjustments and tuning/ working with my client (left), and
a local Steinway technician (middle) over a two day period. The piano was also carefully moved to its final position, using dolly wheels for each leg, provided by the client.
a local Steinway technician (middle) over a two day period. The piano was also carefully moved to its final position, using dolly wheels for each leg, provided by the client.
NASA trip (see my Face Book page for more)
Here are some more images taken during my visit. Click on any image for full view.
Click below to be redirected to the page you would like ....
<< Archive footage about this piano's newspaper washers from 1861
<< Erard Paris 2015 restoration
<< Bechstein Upright Piano Restoration
<<Home

