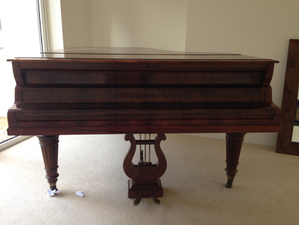
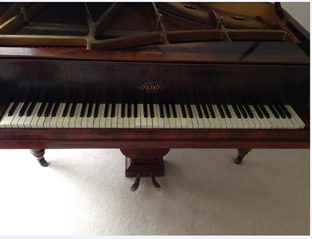
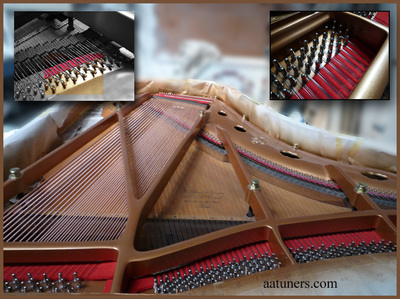
eRARD Paris grand pianoforte restoration ~ 2015
[CLICK ON ANY IMAGE TO ZOOM IN]
click on first image here for full length video
<1> ASSESSMENT OF PIANO
SPECIFICATIONS: Serial No. #86865 // Year: 1904 // Length: 6ft. 88 note keyboard // Rosewood cabinet
Mechanism: Model A: Roller hammer action with centre catcher wires. Under-damped dampers. Wooden (fixed) action frame.
Generally a very solid and structurally sound piano - no damage to soundboard, rims, wrest plank or bridges, and everything in its original condition. Piano is currently around 1/4 tone flat in pitch, and due to the condition of the strings, it was previously unable to be tuned or pitch raised. Due to many worn parts inside the mechanism and under the keys, these areas need a full refurbishment.
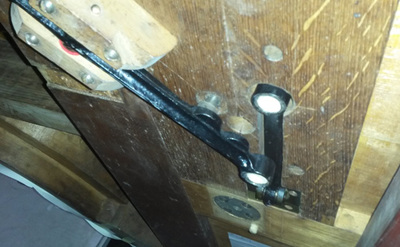
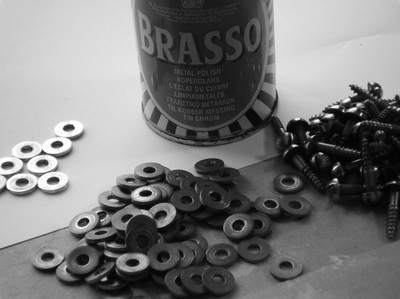
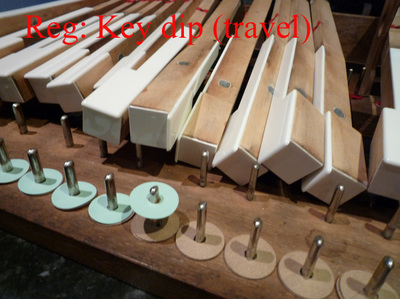
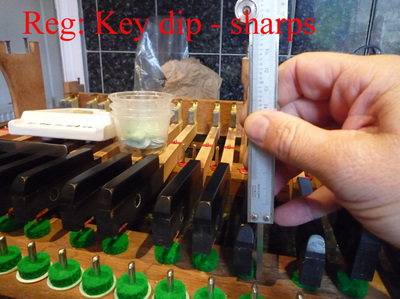
The original white key coverings will need to be replaced due to many cracked and chipped keys // some of the notes in the middle have been DIY repaired - not matching, and will need to go. Key dip is very shallow resulting in the hammers rebounding several times from the strings, and not going into "check". A few screw fixtures / butterfly screws are missing from the pedal lyre stay bracket.
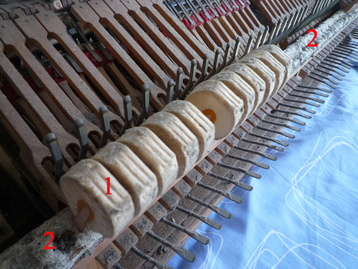
(Above) No 1: Hammer heads in the mid region (around Middle C) are badly worn and flattened, with deep grooves caused by the strings. We contacted a company in Germany - who were able to recover the heads with new felt, replace the back stop leathers, a few hammer shanks & heads, and replacement of the leather rollers (knuckles).
We have been advised that recovering the old hammer heads (with old shanks attached) is risky due to brittle conditions, so we hope that this process is successful when we send the hammers away. The mechanism has presently three broken hammers, and an odd hammer head replacement, which will be replaced and properly repaired.
No 2. Hammer rest rail felt - completed disintegrated.
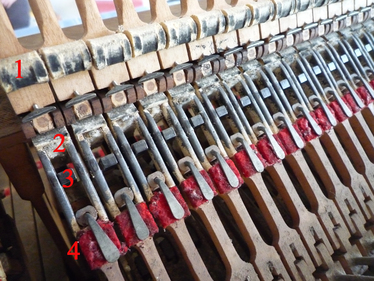
Above image showing a section of the underside of the hammers (1) - rollers worn & internal baize perished.
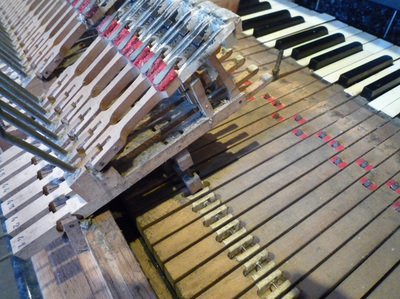
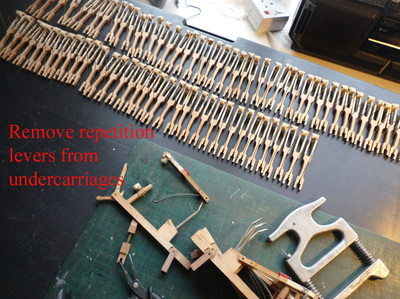
Undercarriage (whippen) repetition levers - badly worn jack cushion felts (2) // jacks misaligned and incorrectly adjusted
(3) // red cushion felts worn - to stop the rep levers overriding (4)
Top leathers perished and many seized parts - will require a complete strip-down and rebuild.
Undercarriage (whippen) repetition levers - badly worn jack cushion felts (2) // jacks misaligned and incorrectly adjusted
(3) // red cushion felts worn - to stop the rep levers overriding (4)
Top leathers perished and many seized parts - will require a complete strip-down and rebuild.
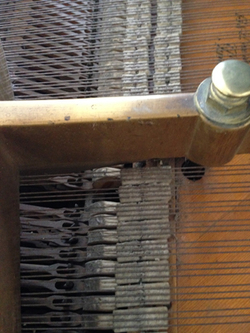
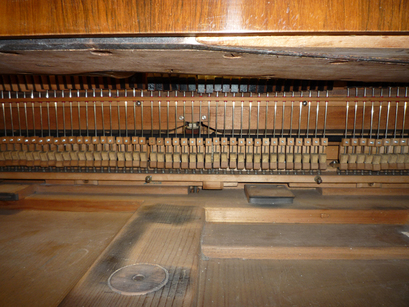
The customer kindly provided us with some photos prior to the assessment, so we could assess the general condition and design type of the damper system.
Erard grands have an 'under-damped' mechanism, so the dampers work from under the strings (instead of over damped, like conventional grand pianos).... and rely on a 'jack' spring to apply pressure to the strings to mute the sound.
The damper felts (shown here) are still aligned, everything there, but some are badly worn - possibly insect damaged. We will soon be removing the damper unit to examine it more closely in the workshop. The piano is also to be completely re-strung with new steel piano wire (treble) and a new set of bass strings. All the treble strings are hitched separately, requiring 192 'eyes & coils' to be wrapped and hand-twisted.... a long job!
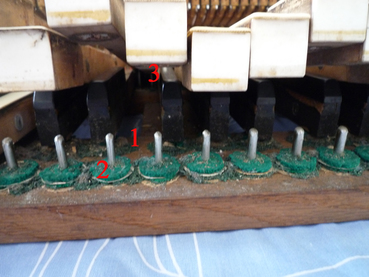
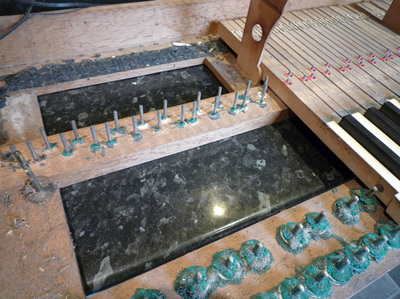
During the assessment, we spent a considerable length of time examining the key frame under the keys themselves. For most keyboard restorations the front baize washers (green) can be cleaned up, inverted/ replenished and used again (even 100 years on).... however, we were not so lucky here. Due to the washers being excessively worn and "wiped out" - these will need to be replaced.
No 1: Sharp keys baize washers - nothing left. No 2: Front washers incorrectly adding more washers & card spacers.
No 3: Underside key bushings worn down to the wood, and will need to be replaced X 176.
The key fronts are celluloid plastic, and still in good condition - these will be burnished and polished.
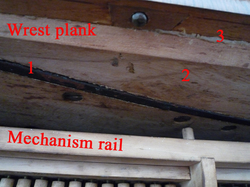
To some piano enthusiasts, this image may be insignificant and possibly alien, but to us, this image forms the back-bone of the piano and main structural unit - the wrest plank.
Viewed from underneath the cast iron frame, (mechanism removed), we were able to examine the wrest plank in great detail for any possible cracks or defects. This section of the wood has all 229 tuning pins deeply driven into it from above - and pulling about 18 TONS of pressure and down-bearing caused by the strings. (Section 9 assessment) -- this has passed so far and seems in good condition for re-stringing.
No 1: Cast iron strengthening bars. No 2: Maple wrest plank - no cracks. No 3: Glue joints to cross member in good condition.
Assessment stage 1: Random tuning / torque of pins - passed. Stage 2: (See No 2 above) - passed.
Stage 3: Removal of strings and tuning pins - pending.
Stage 4: Driving in larger over-sized tuning pins X 229 (with new strings) - pending
Stage 5: Hauling up the tension on strings / chipping up / pre-tuning - pending.
<2> BASS STRING PATTERN
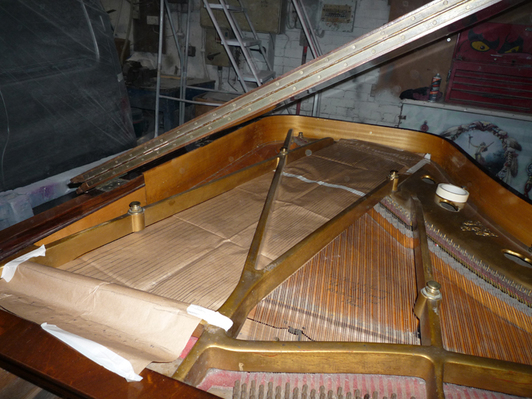
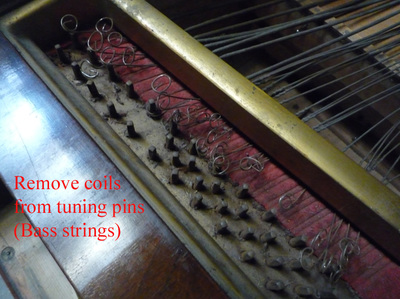
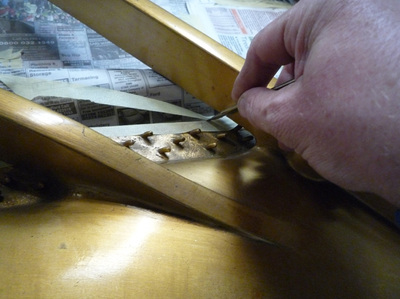
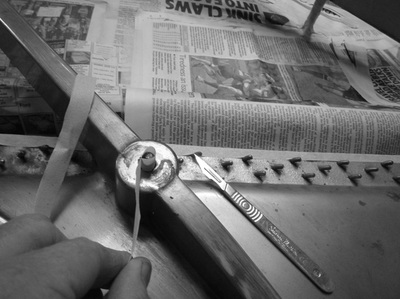
Brown paper is stretched tightly over the entire bass strings, tuning pins, bridge & hitch pins, then a "rubbing" is taken with a crayon to show the string makers the pattern. Several outer bass strings are removed, coiled up and sent with the pattern to have new bass strings made. There are 11 single strings + 13 bi-chord strings...... a total of 37 strings to be made.
<3> MECHANISM DISMANTLING
Images showing the removal of the dampers, hammers, keys & undercarriages >>>
Images showing the removal of the dampers, hammers, keys & undercarriages >>>
<4> KEY FRAME -- BACK TOUCH FELT
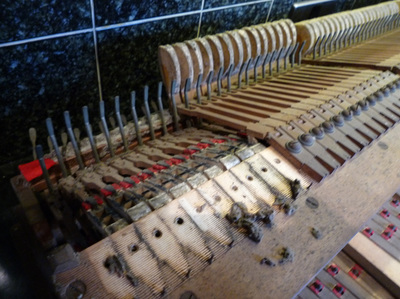
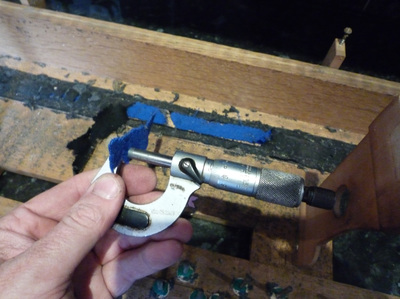
When the keys are removed, it reveals all the cloth, felt and baize washers located onto their respective polished steel pin. At the back of the key frame, the back touch felt enables each key to return to its rest position quietly.... however, on this occasion, the triple layer of felt has been damaged. We were able to save a small section in slightly better condition for measuring the thickness of each strip of felt. This will all be replaced at a later stage >>
When the keys are removed, it reveals all the cloth, felt and baize washers located onto their respective polished steel pin. At the back of the key frame, the back touch felt enables each key to return to its rest position quietly.... however, on this occasion, the triple layer of felt has been damaged. We were able to save a small section in slightly better condition for measuring the thickness of each strip of felt. This will all be replaced at a later stage >>
As you would prepare ravioli.... the "filling" consists of a double layer of unglued blue felt, then wrapped and cushioned in black felt.... only the edges of the black felt are glued, allowing a cushion of air between each layer of felt to enable the materials to "bounce back" to shape.... a bit like puff pastry!. The layer method of the back touch materials is unique to some pianos (like Erard), and must be reproduced to the exact specifications as when the instrument was new. This material will all be hidden once the keys go back onto the key frame. The colour of the felts is not important (as black felt is tricky to get hold of), but the thickness is critical.
<5> ERARD DAMPER MECHANISM
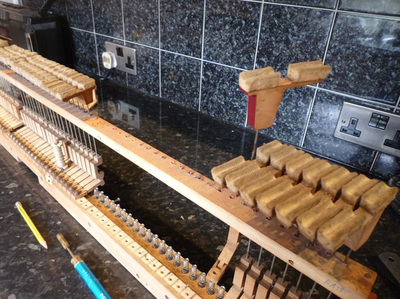
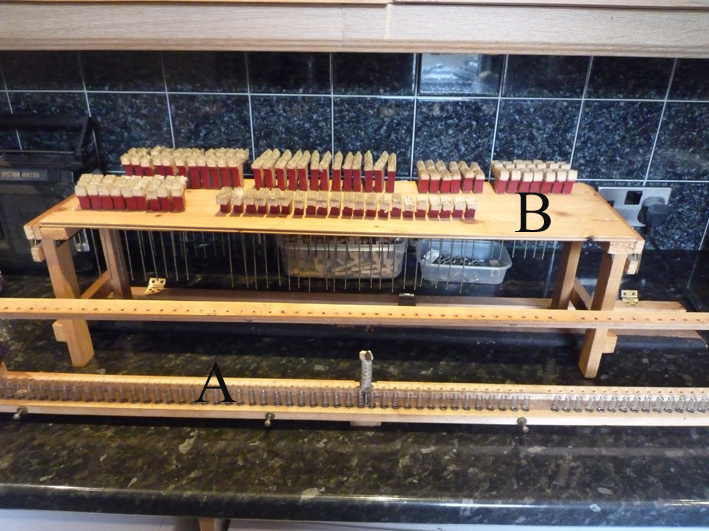
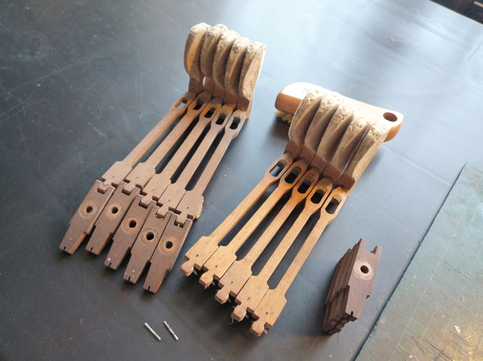
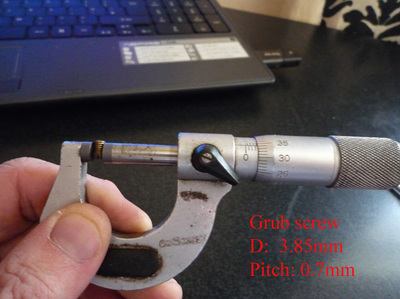
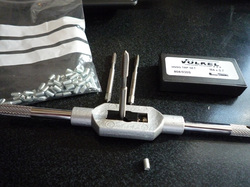
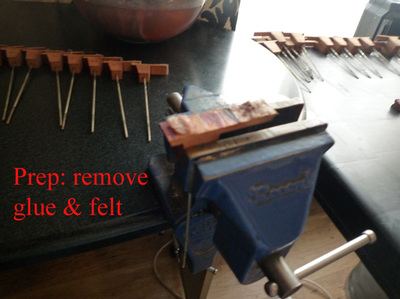
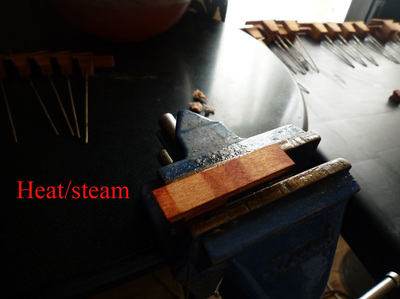
The damper mechanism consists of many fragile parts - the whole unit only weighing 2.5 kg. There are 67 dampers in total, each one connected to a lift wire - 1.8mm in diameter. At the base of each wire, they are finely threaded (except 2 of them, which are attached by a 4mm grub screw). Each wire is threaded and wound to a damper block, which then forms the lever - the front lever consists of 67 articulated leather straps, then secured with a small flange and screw. Dismantling this unit took around 7 hours, enabling us to make careful measurements. The damper mechanism must be modified later so that each lift wire eventually "slide fits" into its corresponding block, so we need to manufacture 65 tiny grub screws, and drill out/ ream further holes in the blocks.
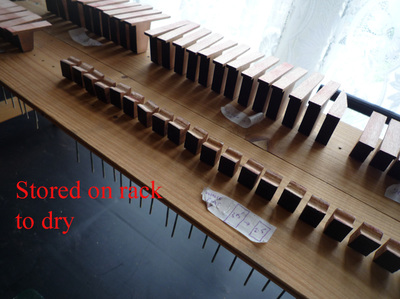
Image A: damper framework (skeleton) with guide rail & springs. B: Storage rack for damper heads & wires >>>
(AA Tuners made this useful 'picnic table' .... specially for grand dampers so the wires do not get damaged......)
HAMMER PREP - SENDING TO GERMANY
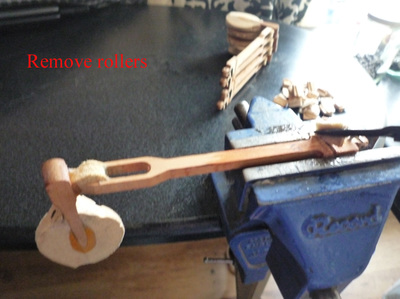
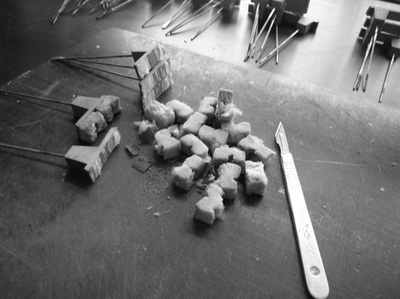
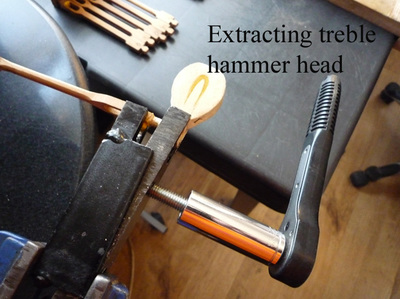
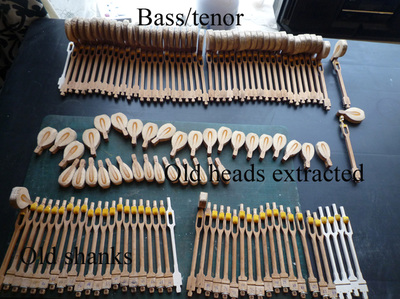
Just like a surgeon would clean and disinfect an area to be 'operated' on.... before we can send the hammers to Germany for new hammer heads & back stop leathers, prior to them handling the hammers, they must be thoroughly cleaned and partly stripped down. Stage 1: removal of hammer flanges & centre pins. Stage 2: Removal of rollers & wooden cores. Stage 3: Rescue the drop screws from the broken parts. Stage 4: Lightly sand and clean each shank/ brush down old hammer heads to remove debris.... then they can be boxed ready for dispatch. Left - before prep Right - after
Just like a surgeon would clean and disinfect an area to be 'operated' on.... before we can send the hammers to Germany for new hammer heads & back stop leathers, prior to them handling the hammers, they must be thoroughly cleaned and partly stripped down. Stage 1: removal of hammer flanges & centre pins. Stage 2: Removal of rollers & wooden cores. Stage 3: Rescue the drop screws from the broken parts. Stage 4: Lightly sand and clean each shank/ brush down old hammer heads to remove debris.... then they can be boxed ready for dispatch. Left - before prep Right - after
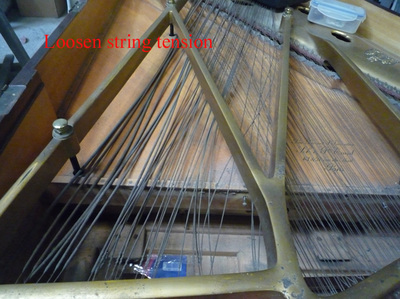
NEXT STAGES: De-string all bass & treble strings - done. // Send off bass string order - done //
Prep main order for parts // order 01 - done.
Prep main order for parts // order 01 - done.
Images 1 + 2: Assessing grub screws for damper modification.
Image 3: Final hammer prep before sending off - removal of rollers
Images 4 + 5: De-stringing. Removed around 100 tuning pins (some bent & thread bare)
Stage 3 assessment is successful so far; but cannot be passed yet until all 229 pins are removed & checked.
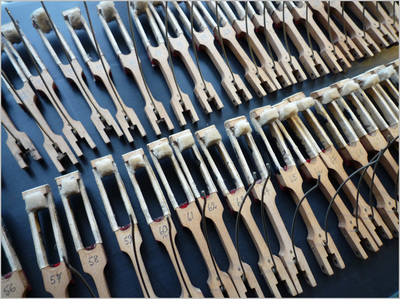
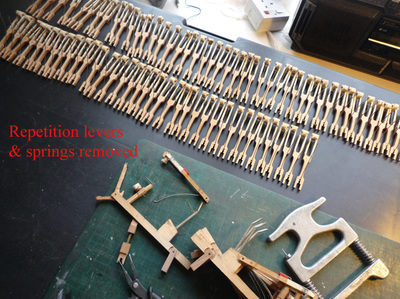
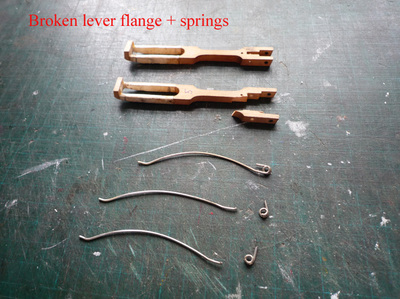
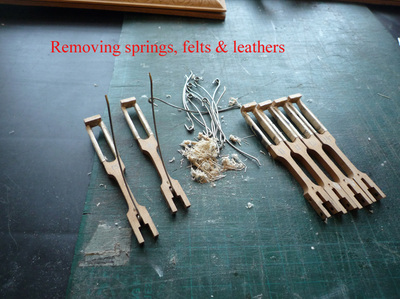
Images 6-8: Stripping down undercarriages, jacks, repetition levers to remove damaged felts, leathers & box cloth
(Image 8) : Undercarriage lever A1 (first bass note) date stamped 1904.
ERARD DAMPER MECHANISM RESTORATION
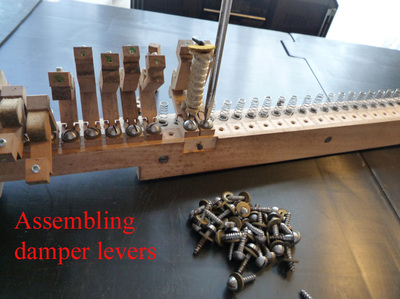
The damper levers had to be modified with an addition of 65 grub screws tapped/ threaded.
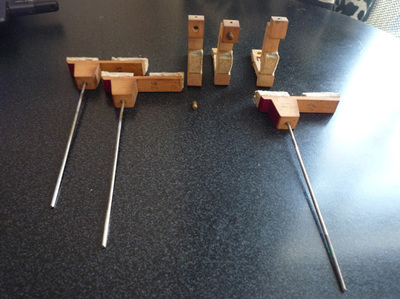
In the early 1900s, Erard would rely on a factory "regulating rack" template to simulate the strings position prior to installation, as each damper wire (except 2) was tightly threaded into each damper lever block by means of cloth bushings. Due to the angle and very close spacing between each damper head, this would be impossible to adjust the correct damper felt height. See image 1 above, left & middle blocks fitted with old grub screws - to allow some clearance for adjustment and installation. Right lever not fitted with grub screw.
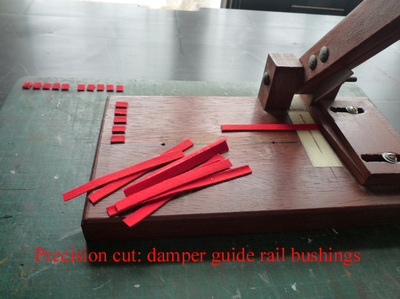
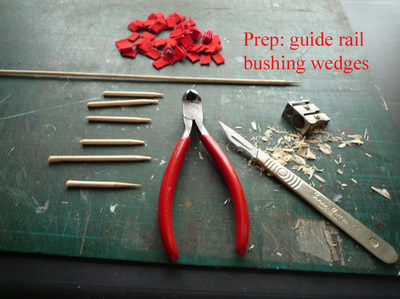
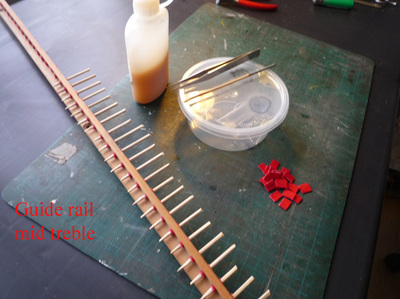
DAMPER WIRE GUIDE RAIL BUSHINGS
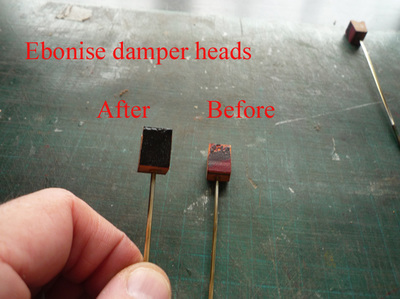
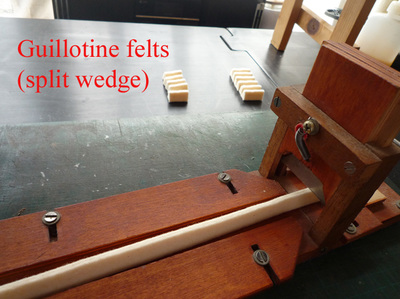
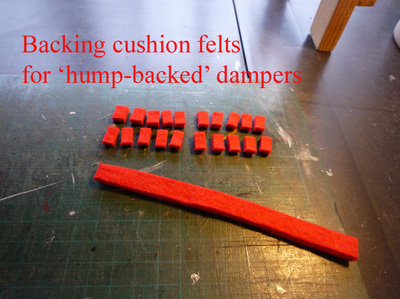
DAMPER HEADS // DAMPER FELTS + BACKING CLOTH
DAMPER PEDAL RAIL DRY LUBRICANT
When the sustain pedal is pressed, a clothed wooden rail (black bearing felt) is activated and pushes down on all the damper levers simultaneously - requiring a lot of force and friction against the parts. Previous signs show some marks on the wood. Due to this somewhat primitive mechanism, we have upgraded the damper levers to reduce friction between the wood & cloth. Liquid graphite (liquid pencil lead) is brushed onto each damper lever block, then buffed up; this also eliminates "pedal squeak" and will preserve this mechanism area for another 100 years >>
When the sustain pedal is pressed, a clothed wooden rail (black bearing felt) is activated and pushes down on all the damper levers simultaneously - requiring a lot of force and friction against the parts. Previous signs show some marks on the wood. Due to this somewhat primitive mechanism, we have upgraded the damper levers to reduce friction between the wood & cloth. Liquid graphite (liquid pencil lead) is brushed onto each damper lever block, then buffed up; this also eliminates "pedal squeak" and will preserve this mechanism area for another 100 years >>
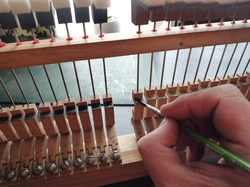
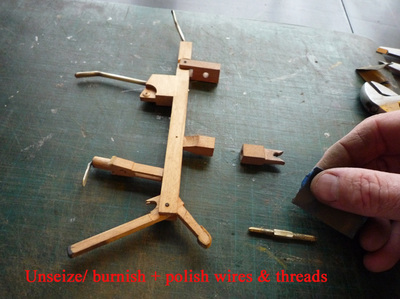
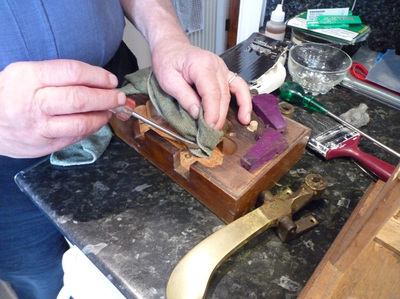
Other areas of a piano mechanism also rely on a dry lubricant where there is a high contact-friction between parts, such as lever jacks, stringing bridge contact, key capstans, repetition levers.... some of these areas show wear and tear of this lubricant, so we always re-paint these areas.
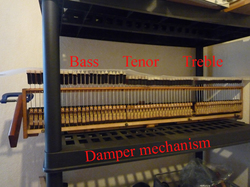
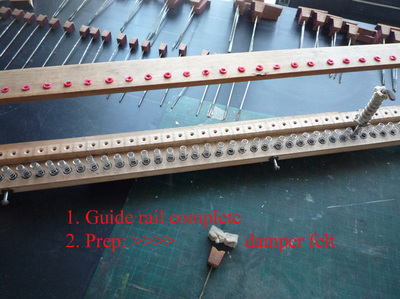
Damper mechanism complete - but not regulated yet. Stored securely until strings are on.
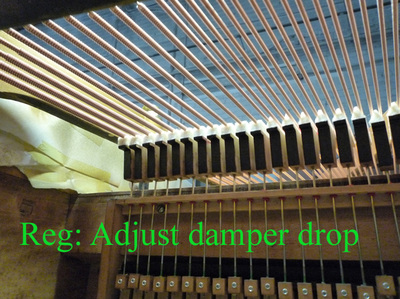
The damper felts (top) are currently set about 15mm below the string height, so can be easily installed without damaging the damper felts. Each damper is then lifted into place against its string, set at the correct angle/ damping tolerance - and the newly fitted grub screws are tightened up.
<6> GUIDE + REST RAILS
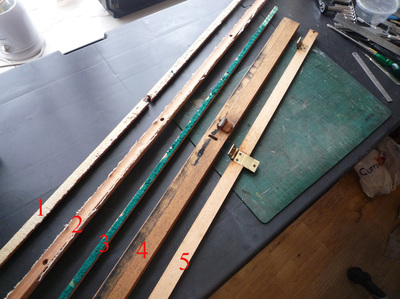
Image 1: 1/ Key slip rail 2/ Hammer rest rail 3/ Damper lever slap rail 4/ Sustain pedal rail 5/ Damper support rail
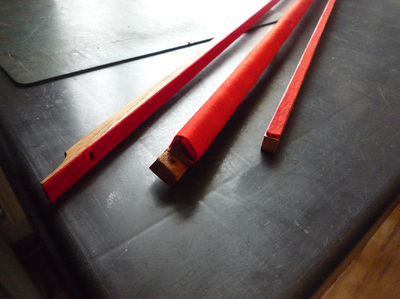
Image 4 (above): 1/ Key slip rail 2/ Hammer rest rail cushion felt, overlapped with bearing cloth 3/ Damper rail cushion felt.
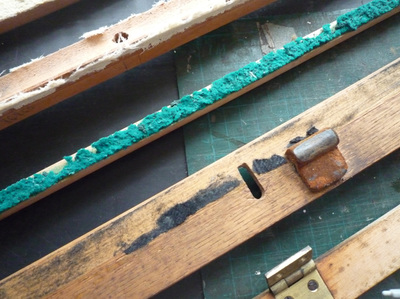
Turquoise felt is unavailable - the colour is not important, but the grade and thickness of felt is critical for its application.
<7> KEYBOARD RESTORATION
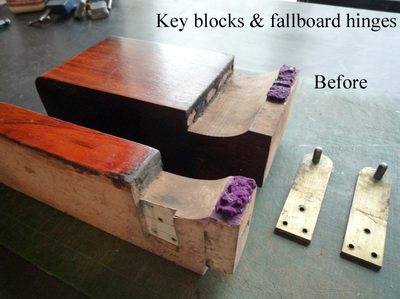
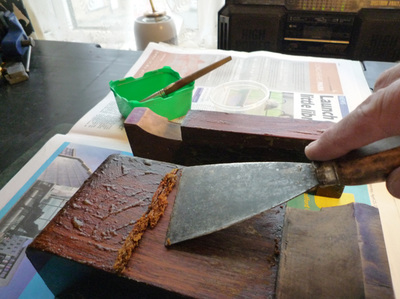
The keyboard & key frame went under a massive job to preserve all the wooden parts. Previously, several DIY repairs and attempts to remove broken ivories resulted in several keys (under the ivory) being gouged by trying to force a screw driver from the rear of the keys, and also breaking the key slip rail in half...... all history now!
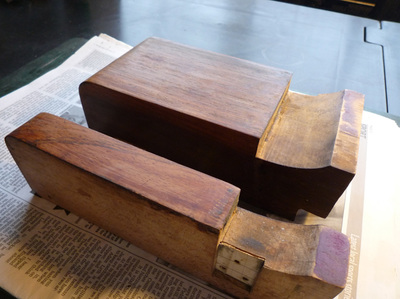
I also asked a local wood craftsman / wood designer to make some wooden key wedges specially for the Erard key bushings - of which conventional key wedges did not fit.... I can not thank him enough for his skilled work.
Sit back and enjoy the slideshow. >>>>
<8> CAST IRON FRAME GILDING // STRINGING PREPARATION
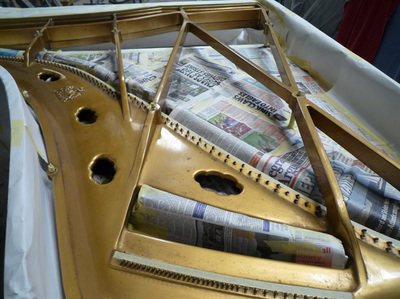
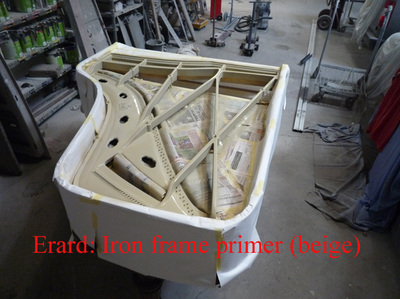
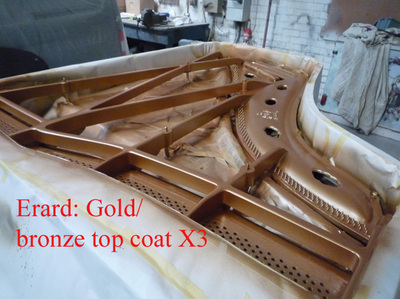
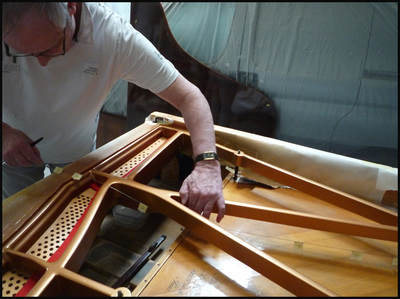
Prior to re-stringing, the 1/2 ton cast iron frame is prepared for re-gilding in gold/ bronze and lacquer.
This work is carried out free of charge with all re-strings, but excludes any detailed art work/ raised iron lettering enhancements.
The whole cabinet area (inside & out), rims, soundboard, bridges and under felt gluing areas is masked off - takes about 4 hours.
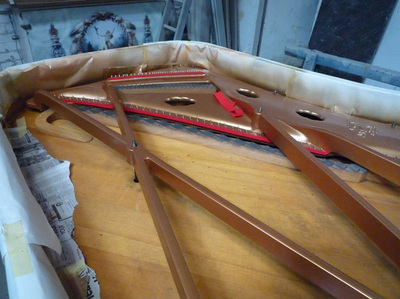
Small scratches are filled, then the whole frame is sanded/ chemically cleaned and application of tack cloth to remove any dust - before adding the primer coat. This is left overnight to dry, then 3 coats of gold spray are applied (2 days to dry), then finally lacquered.
The masking is partially removed where the stringing will occur, leaving the cabinet covered for added protection.
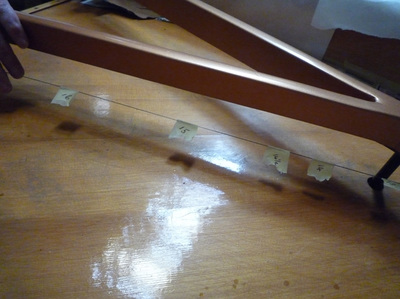
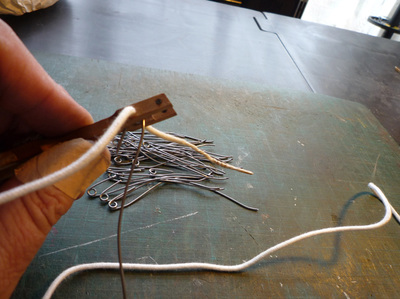
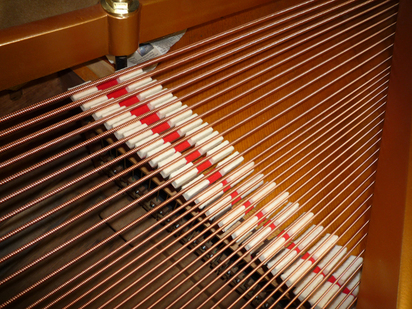
Images 9 + 10 above: Prior to the treble steel strings being hand-wound in the workshop (192 of them!).... and each wire having its own hitch eye (like a guitar string), a "test wire" is hooked onto various hitch pins in ten different places where the longest string ends each section of gauge; the test wire is stretched across the sound board, then 'flagged' with masking tape to denote the length of wire for each gauge.... this wire is then taken back to the workshop and used as a template for cutting the piano wire to the correct length - with a bit to spare for good measure.
<9> UNDERCARRIAGE RESTORATION & REPAIRS
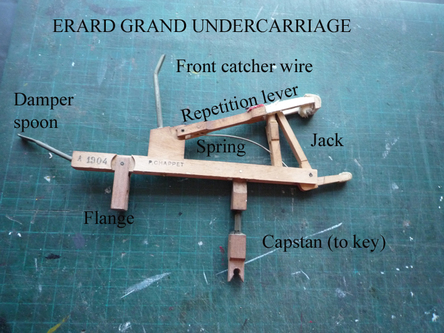
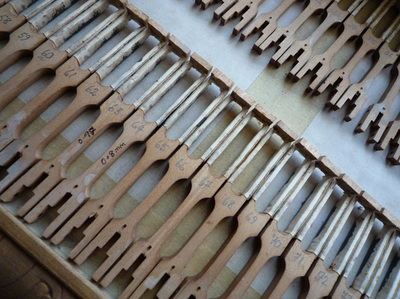
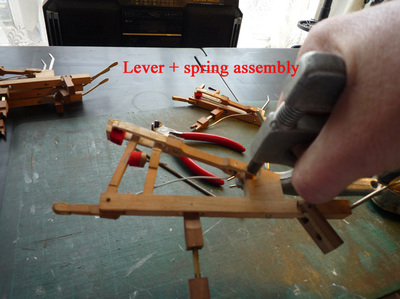
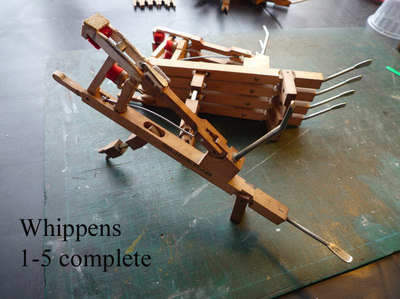
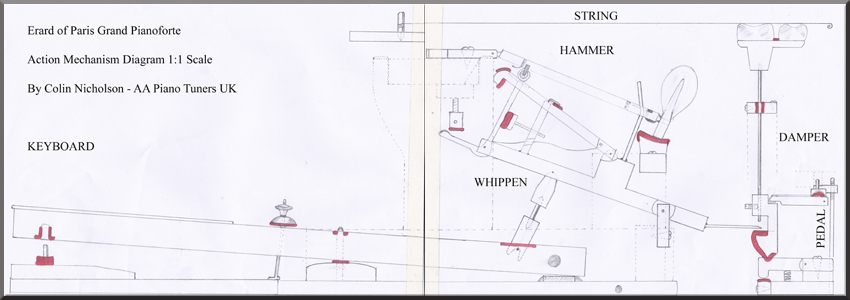
The undercarriages (levers/ whippens) consist of three main components: 1. Undercarriage itself 2. Repetition Lever 3. Jack
This part of the mechanism is located between the piano key and hammer, and this complete part operates the hammer and damper.
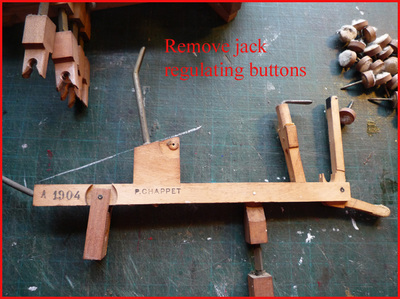
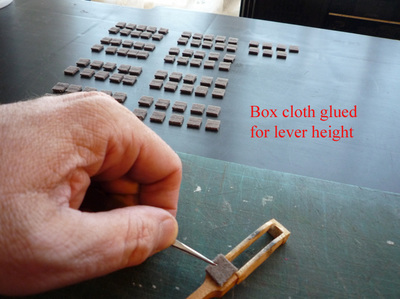
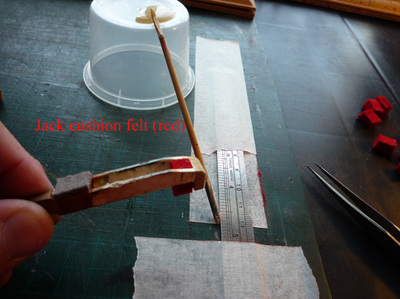
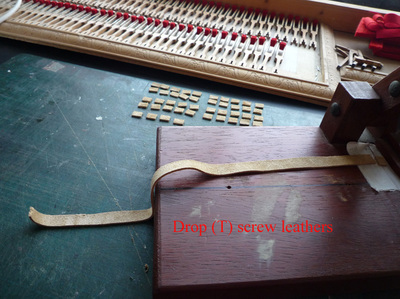
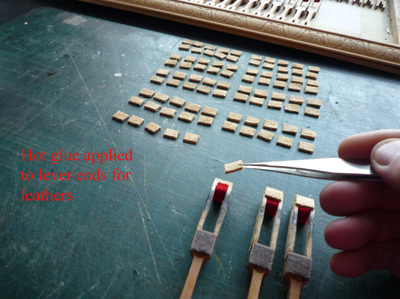
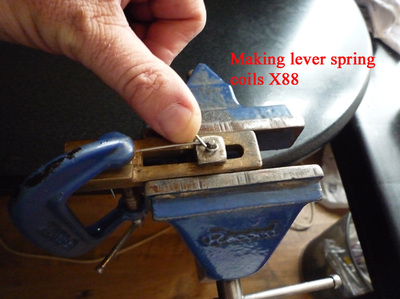
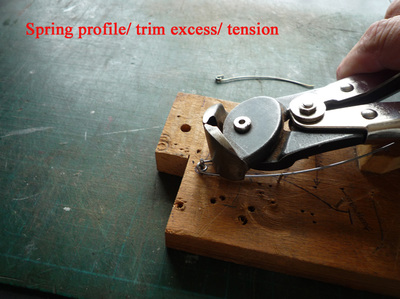
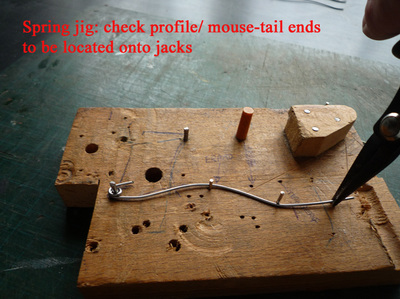
As the undercarriage rises, the jack protrudes through an opening in the rep lever, then pushes & glides on the hammer roller to propel the hammer to the string. As the jack quickly trips by catching on its set-off button, this allows the hammer to rebound from the string - but should only rebound once. A catcher wire then holds the hammer in "check" and should the pianist wish to quickly repeat the note, the repetition lever (not the jack) suspends the hammer (by the strength of the spring).... a fraction of a second just after the undercarriage lifts, the rear damper spoon operates the damper from the string to allow it to vibrate. When we let go of the note, the catcher wire releases the hammer, the jack goes back under the roller, and the damper springs back up to mute its string(s)..... then the cycle starts all over again. To ensure that everything operates and glides smoothly, the spring tension, jack & lever position is vital for correct operation (regulation). So that everything operates quietly, all the parts are fitted with cushion felts, cloth and leather components. All the undercarriages have been completely stripped down and rebuilt using new materials and springs >>
[The 'undercarriage' is sometimes referred to as the 'whippen' or 'under-lever']
<10> NEW ERARD HAMMER HEADS - CUSTOM MADE
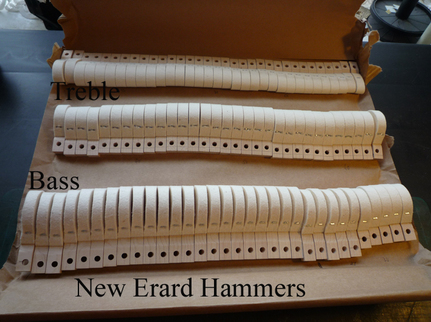
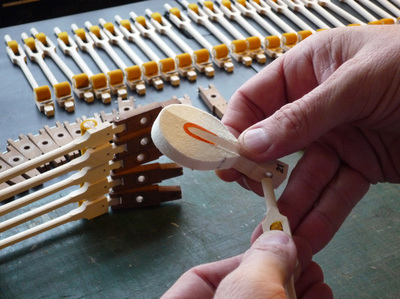
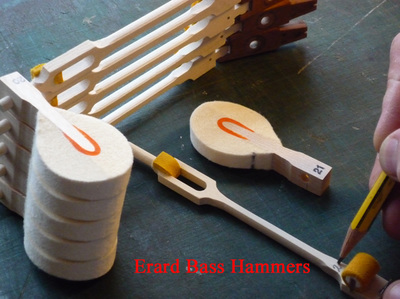
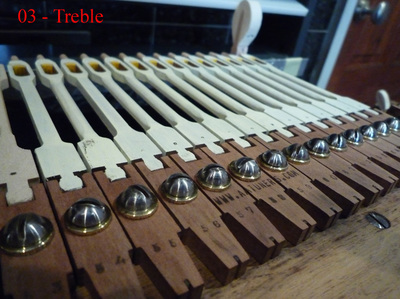
Erard grand hammer heads are unique to Erard only, and not interchangeable with any other kind of grand piano. The rear of each hammer head is square-cut and not tailed. New hammers arrived all pre-bored between 12 - 0 degree angles, bass hammer felt cut at an angle, and T-rivets fitted. All hammer heads are hand-crafted to exact specifications.
Erard grand hammer heads are unique to Erard only, and not interchangeable with any other kind of grand piano. The rear of each hammer head is square-cut and not tailed. New hammers arrived all pre-bored between 12 - 0 degree angles, bass hammer felt cut at an angle, and T-rivets fitted. All hammer heads are hand-crafted to exact specifications.
<11> NEW ERARD HAMMER SHANKS
Erard grand hammer shanks are only unique to Erard only - like the hammer heads. There are three different types of hammer shank for Erard: E1 (for this piano); E2 and E3. E2&3 shank have the same shank stump arrangement for attaching the head, but the flange/ butt end is different. The E1 shank is not interchangeable with either of E2&3 shanks, and both designs have a unique opening 'window' in the middle of the shank for the undercarriage catcher wire to pass through.
NOTE: Erard hammer heads & shanks/ rollers/ catcher leathers/ flanges are still available on the market, however all other mechanism parts such as dampers, undercarriage and key parts can only be hand-crafted from scratch. If any of these parts are missing or beyond a normal repair, always seek professional advice before purchasing any piano - upright, grand and even Erard!
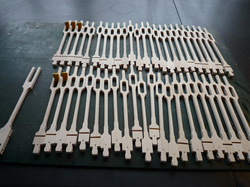
E1 type hammer shanks (raw) awaiting parts to be fitted.
E3 type shank (far left) shown in comparison - this shank is NOT used for this piano.
Selection of images showing the hammer building process >>
[ See section <17> for hammer installation ]
<12> PEDAL LYRE + MECHANISM
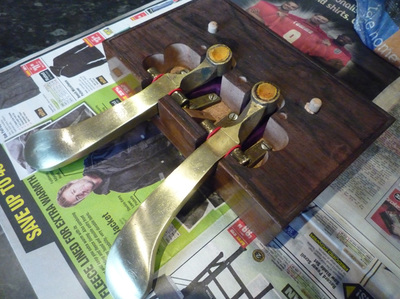
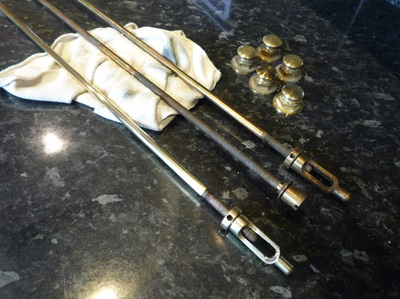
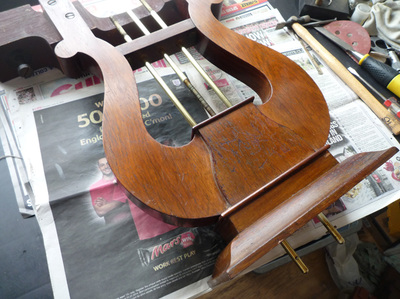
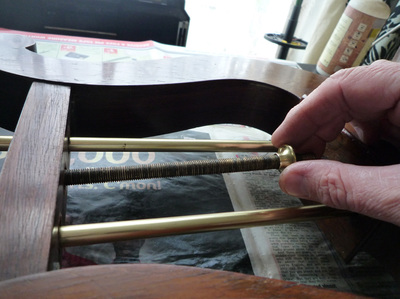
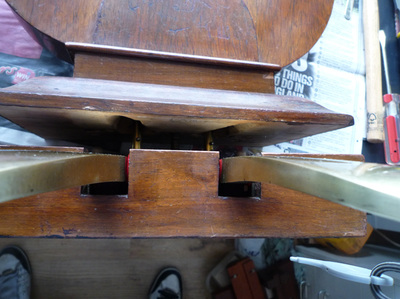
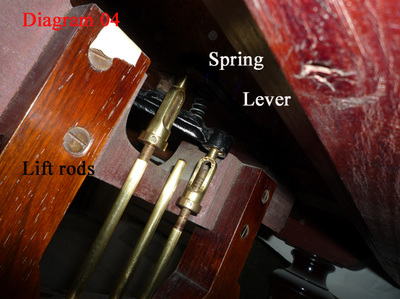
Images showing some of the restoration stages >>
Images showing some of the restoration stages >>
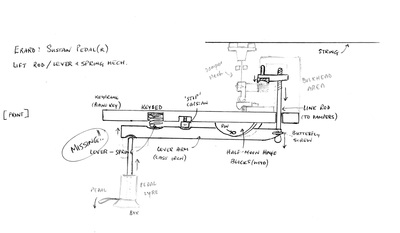
Throughout all of the restoration processes, detailed diagrams have been hand-drawn and labelled in pencil (highlighted in black pen) and placed in the workshop schedule/ manual book for later reference to installation. This has proved to be valuable for email new part orders/ missing or broken parts, and to show the general layout of any given mechanism unique to Erard. We also have detailed technical drawings for the hammers, undercarriages, dampers and keyboard layout.
<13> RESTRINGING - NEW BASS & TREBLE STRINGS
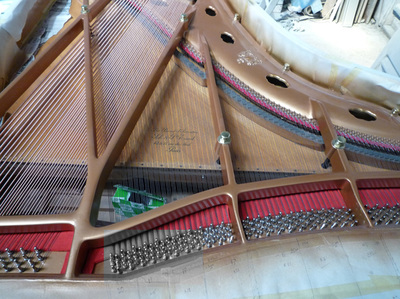
Following on from stage <8> above, images showing some of the stringing restoration >>
<14> SET-OFF RAIL // HAMMER FLANGE RAIL
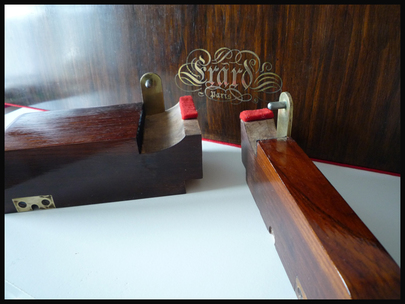
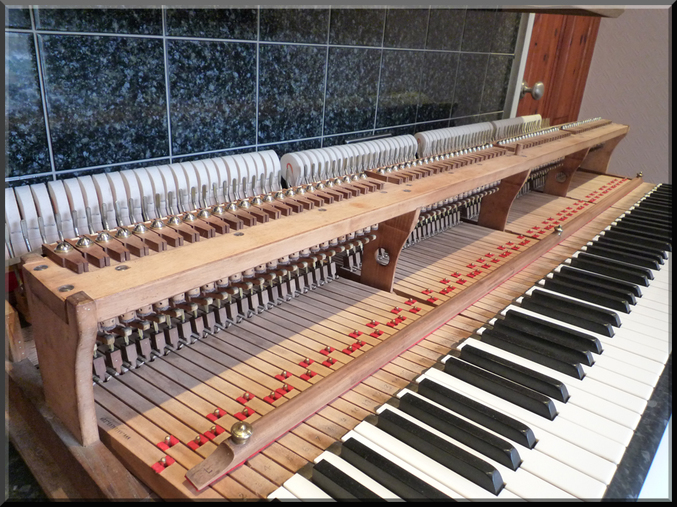
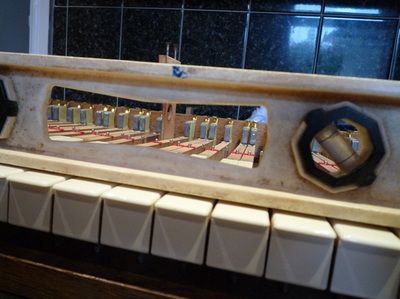
All grand pianos have a wooden rail running across the width of the action rail. This is secured by various vertical inner brackets and two end brackets - often used to assist in the removal of the mechanism. Erard have oval-shaped holes cut out in 2 of these brackets so our fingers can pull out the mechanism & keyboard without touching any part of the piano keys.
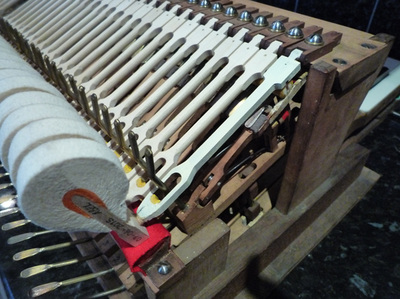
This wooden rail does 2 jobs: Top rail = hammer flange rail with flange guide pins to secure hammers.
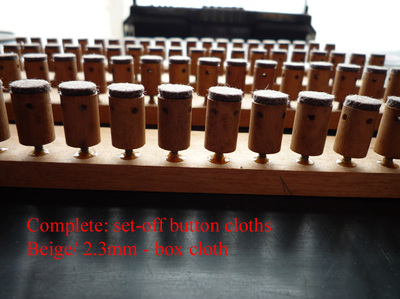
Lower rail = set-off rail with 88 wooden capstans & button cloth..
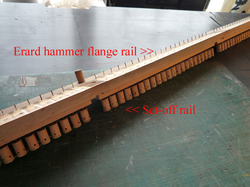
Showing the rail removed from action.
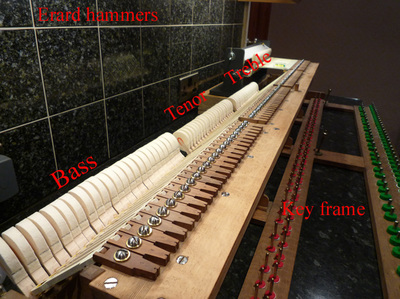
The rail is split into four sections to allow for the cast iron frame strengthening bars, so all the piano keys, hammers, undercarriages, dampers and other components are also uniformly split up into these four sections - allowing gaps between sections.
Although all the piano keys are next to each other when we play the piano, the back end of the keys are steered into different directions, and split up into these 4 sections.
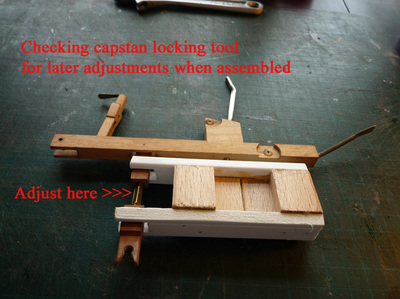
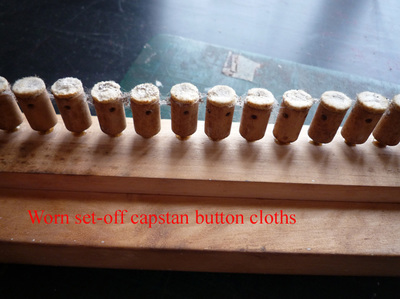
SET-OFF RAIL: This consists of four platforms for each wooden capstan to be threaded into a stud. This part of the mechanism creates the "escapement" of the hammer by tripping the jack.... a crucial part of the mechanism. Each wooden capstan is adjustable, and has a cloth or felt pad glued to the underside.
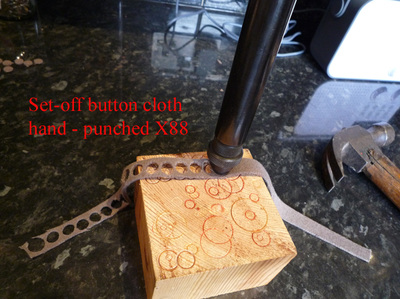
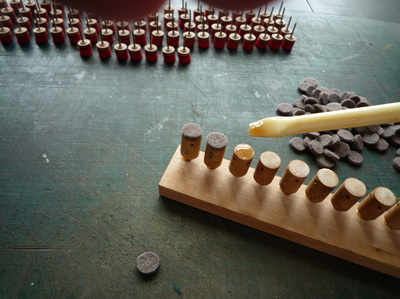
Over 100 years of constant use, combined with years of wear & tear/ deep grooves/ bits of cloth missing etc.... the capstans have been removed, and all 88 cloth pads replaced with new box cloth.
Showing images of the set-off rail restoration >>>
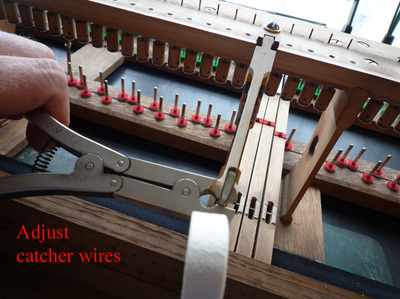
Image 5 above: Showing location of the top hammer flange rail in relation to the set-off rail beneath.
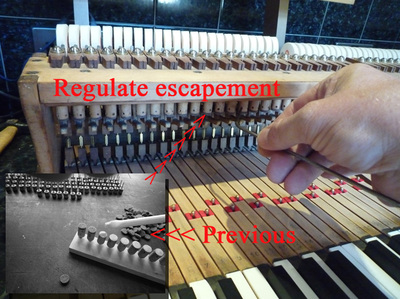
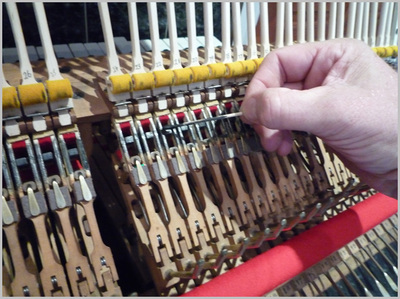
Also showing a sample hammer, undercarriage & key regulating the catcher wires with cranking pliers.
At this stage, the relevant capstan is temporarily wound down to create escapement, for the catcher wire to work, then later, the escapement is finely regulated (adjusted) with the strings so the hammer trips at the right moment from the string.
<15> DAMPER MECHANISM INSTALLATION
Images showing installation and raising bass dampers to strings >>
|
<16> MISCELLANEOUS
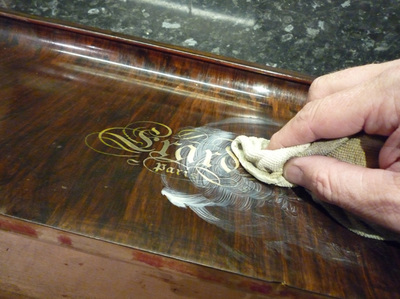
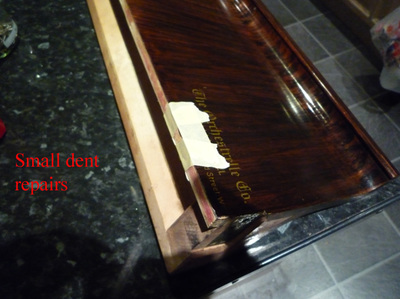
Miscellaneous includes small cosmetic repairs, tidying up and general cleaning to front facia areas of the piano, in reflection of the work done to the keyboard. The piano cabinet is not being restored at present, but we feel that due the new look, some courtesy work has been done as a gesture of goodwill. |
<17> HAMMER INSTALLATION
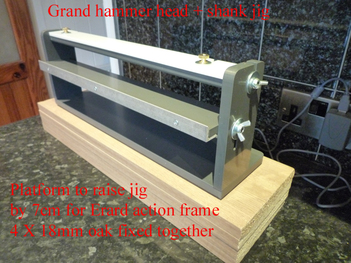
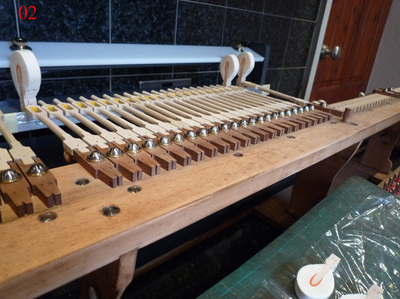
Before installation can take place, a 'Spurlock' grand hammer hanging jig and 7cm platform must be set up at the correct height, to firstly align and level the shanks, then installing the hammer heads, one section at a time starting in the bass.
A standard grand action frame (not Erard) is separated from the key frame, and held in place with 5 or 6 alloy brackets - this is easily separated from the key frame by removing about 10 screws. With the 'action' sitting on a bench, the hammer rail is approximately 12cm in height, so the hammer hanging jig can be used on its own.
The Erard (1904) grand action frame is one complete wooden structure, and cannot be separated from the key frame, as all five wooden brackets are moulded, fitted and glued into the key frame base permanently. The 'action' therefore is sitting higher, and the hammer rail is 18cm in height above bench level.... therefore the hammer hanging jig must be sat on a platform to make up the difference in height. All hammer shanks should be perfectly level (at about the height they strike the strings) to check their alignment and travel (flange camber) before finally fitting the hammer heads.
The platform was made from 4 oak panels, each one 55cm in length, 15cm depth and 1.8cm height - all panels screwed together internally with 6 X 1cm wood screws, and the base fitted with anti-slip leather pads in each corner. The middle shelf on the jig has an aluminium 'L' rail for the hammer tails to rest on, and the top rail is for alignment of the hammer felt shoulders.
The following images show the various stages of the hammer installation >>
General information/ tips
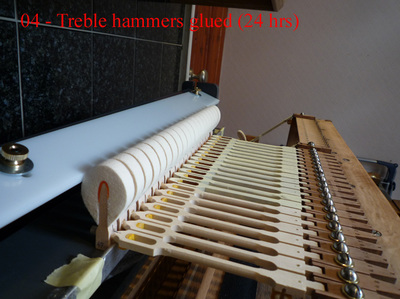
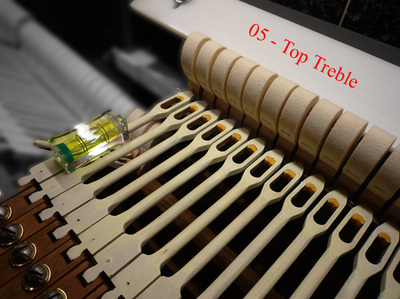
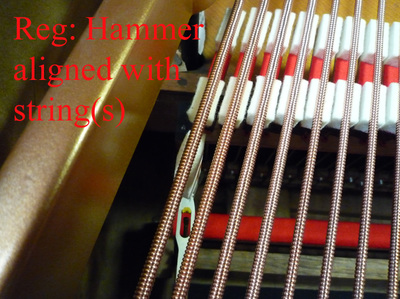
Erard hammer shanks are VERY expensive! .... about £25 each, so it was vital that I checked everything many times. If I had glued a bass hammer on incorrectly.... it's game over, and start again with a new shank! .... I made sure I carefully aligned all the guide hammers first inside the piano, with their strings, then fitted the remaining hammer heads 'dry' and checked THEM with their strings also. Starting in the bass, working from left to right, each hammer head was pulled off one a time, knurled the shank stump several times to ensure a smooth 'glide' when the glue was applied. Marked the hammer head end stump with pencil, then quickly applied 2 blobs of glue on the shank stump. Twisting the head on to ensure an even bead of glue around the base of the hammer, then quickly aligning the head with the neighbouring hammers.
(Image 3 above): I also applied a strip of cling-film to the aluminium rail, taped it down at the ends, to prevent any glue sticking to the jig. When the glue was dry, the cling-film easily peeled away, and I finished off by cutting off the shank stump's excess with an X-acto saw, then smoothened the head off with a Dremel tool.
< 18 > REGULATION
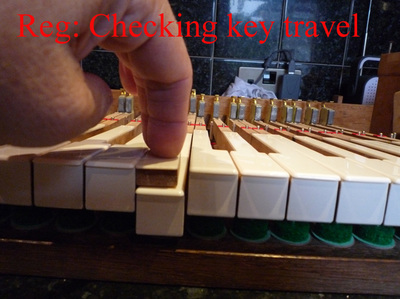
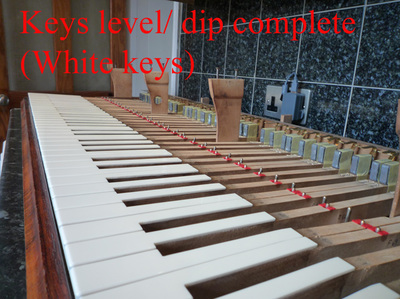
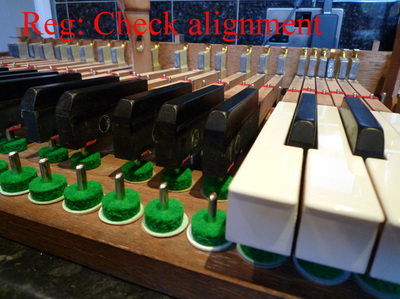
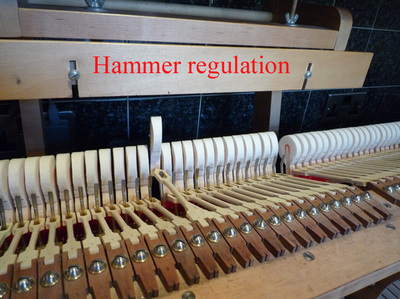
"Regulation" is the adjustment to all the parts for optimum performance.
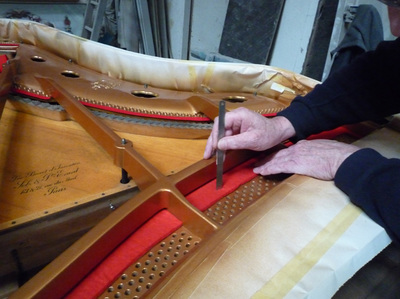
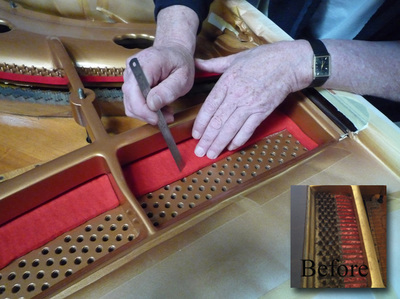
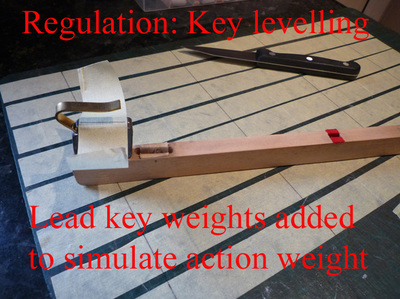
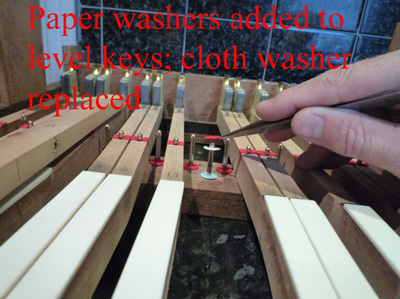
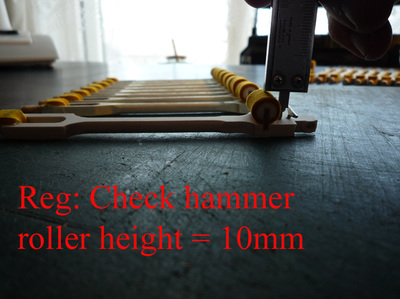
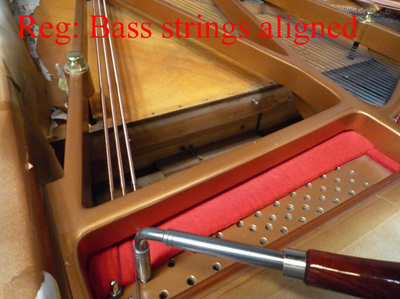
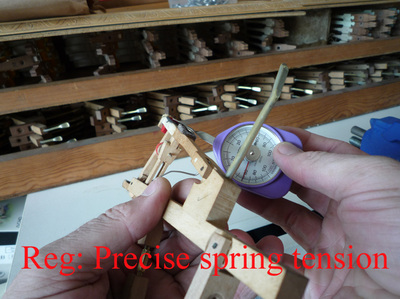
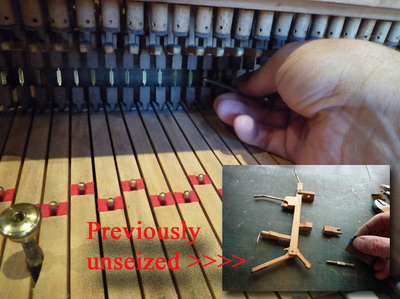
This includes: turning special screws, capstans, measuring gaps/ distances; eye to part contact, alignment & spacing - some aspects involve bending wires, adding/ subtracting paper & card washers, and using apparatus to simulate the strings.
Tools required: Spirit level, vernier calipers, steel rule, cranking pliers, long-nosed pliers, cranked needle tool, 3.2mm open spanner, spring tension gauge, jack button needle tool, .... and a GOOD eye!
All regulation specifications, measurements, distances etc. are a closely guarded secret within the piano trade (no matter how much you spend on a restoration).- however we are willing to show you some of the regulation stages and the tools used.
There are about 25 aspects of regulation per note.
TO FOLLOW: Hammer toning/ Tuning / Further regulation.
During the pre-tuning stages, the mechanism will be tested to its full potential (with some Rachmaninov between stages!).... this is so that all the new materials (leather, baize, cloth & felt) start to embed and compress against their respective parts. Also the general weight of each part resting on one another will change some of the measurements & regulation previously done.
We are welcome to order parts and materials for your Erard - if you have one to restore, but we do not disclose any information about our suppliers or trade information - WE would be your suppliers, so please get in touch.
Sit back and enjoy our full feature length video of the restoration with backing music >>
Copyright 2017 - AA PIANO TUNERS UK
All images, photographs and diagrams are Copyright and must not be duplicated or copied, unless permission has been granted
by AA Piano Tuners UK.
All images, photographs and diagrams are Copyright and must not be duplicated or copied, unless permission has been granted
by AA Piano Tuners UK.
